Brake Caliper painting
"Super Caliper Phatuilistic Colour's Not Atrocious"

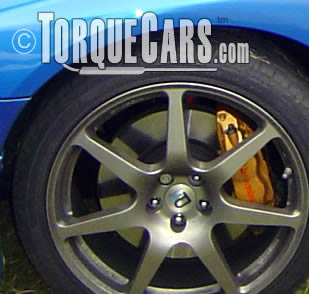
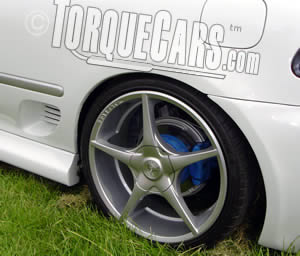
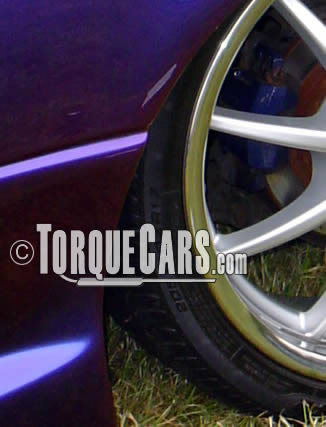
Ferrari, Lamborghini and Maserati all have one thing in common, coloured calipers which seductively peek through the phat alloys.
Often emblazoned with a logo they draw attention to a very dull and frequently dusty part of the car.
How do you emulate this look on your car? TorqueCars shall look at various methods of caliper painting techniques and generally the longer you spend doing the job the better it will be. We will list some quick ways and also a few shortcuts.
Ideally you will have had the calipers removed from the car to enable you to do a proper job but it is possible to do a reasonable job with them on the car if the wheel is removed to allow proper access.
TorqueCars have also known people with big gaps in the alloy wheel to paint them with the wheel on but removing a wheel is not difficult so there is no need to be that lazy. If you decide to paint the calipers while they are still fitted be very careful to mask off the brake disk, pads and pistons etc... to prevent paint from getting where you don't want it.
The first job is cleaning off the caliper, if you have new calipers to go on then you have saved yourself a very messy and time consuming job.
Safety first though, older cars brake dust contains asbestos and as such should be considered lethal to inhale it due to the high risk of developing lung cancers. Most brake pads in recent times are of an Asbestos free formulation but we still advise you to avoid inhaling the dust.
A mask is highly recommended along with gloves to protect your skin from the chemicals you will be using.
First jet wash or hose down the caliper to remove the loose grit and dirt.
A good alloy wheel cleaner will help to loosen and help remove the baked on brake dust and dirt. If you fail to strip off the dust and dirt you can expect your new paint to start peeling in a very short time.

Using a small wire brush, and then a toothbrush or similar, really work in the alloy wheel cleaner to all of the edges.
Next step is to clean off the wheel with water according to the instructions on the cleaner.
Next spend a little more time scrubbing the caliper and use a little washing up liquid to remove any grease or grime and more importantly and residual brake cleaner or copper grease that may still be bonded to the surface.
Next spray over the caliper a good quality solvent cleaner taking care that this does not go onto the rubber piston boots or brake hoses as this can quickly dissolve them and break them down.
What paint should you use? The calipers can get very hot in use and you certainly want to use a paint which is resistant to heat.
Very high temperature paint in spray form works best if you have removed the calipers.
If the calipers are still on the car then a good metal paint like hammerite or even something specifically for brake calipers such as foliatec paint or even duplicolor brush on ceramic paint will provide a good finish.
When painting on make sure you use a good quality brush and build up a few very thin layers rather than just slapping on a thick coating. Let the paint dry between coats as per the instructions on the tin.
If you apply a thick coating it can be very hard to fit and remove the calipers later on so bear this in mind.

The paint may well start to fade after 6 months but having a layer of paint will actually make cleaning them a lot easier next time and it is actually very easy to touch up any chips and flakes with the calipers on the car every six months.
If you want a semi gloss finish then polish them up using a cutting paste and soft rag but most people prefer to leave them matt, or you might consider a final clear coat of high temperature paint.
Allow the caliper paint to dry for 24 hours and then take the car out and use the brakes more than usual to warm them up and bake on the paint (building up the heat slowly works best).
When reassembling the brakes always check that they work at low speeds rather than just assuming that everything will be fine.
A small amount of copper grease will now need to be applied to lubricate the moving parts of the brake assembly and prevent them from seizing up.
Now stand back and admire your work - your cars calipers are now show ready. Join us in the forum to discuss all aspects of car styling and to see the gallery which shows what our members have done to their cars.
Please Check out my YouTube channel, we're regularly adding new content...
PLEASE HELP: I NEED YOUR DONATIONS TO COVER THE COSTS OF RUNNING THIS SITE AND KEEP IT RUNNING. I do not charge you to access this website and it saves most TorqueCars readers $100's each year - but we are NON PROFIT and not even covering our costs. To keep us running PLEASE Donate here
If you liked this page please share it with your friends, drop a link to it in your favourite forum or use the bookmarking options to save it to your social media profile.
Feedback - What do You Think?
Please use our forums if you wish to ask a tuning question, and please note we do not sell parts or services, we are just an online magazine.
Help us improve, leave a suggestion or tip
Please watch this video and subscribe to my YouTube channel.
One Response to “Tips on brake caliper painting.”

 Click to accept YouTube Cookies & Play.
Very helpful info on painting brake caliper – ESPECIALLY THE SAFETY ON TESTING BRAKES.
Regards Bob