Prince's BMW E36 318is Coupe

Hi all,

I bought this car quite a while ago. Originally I got the car as my Civic was involved in an accident and I needed something to get me from A to B, but wanted something that would hold it's value. I travelled to Peterborough one very snowy evening to check the car and it was fine (mechanically) so I lowered the seller to £1200 and drove it away that night. After owning the BMW for a while I decided to keep it instead of the Civic.

I've quietly started my project over the last month or so and decided to share it with everyone on here. It's not the most powerful car in the world but right now it fits the bill perfectly.

The previous owner's work wasn't the best so I have to correct scratches, rust and the awful back box. I've already had to replace a blown manifold (common problem on the M42 lump) and replace the clutch thanks to the release bearing. He did have some taste though as M3 rear lights have already been installed and the car has lowering springs (which will do for now). The car also had the full tool kit, torch, warning triangle and first aid kit.

My plans are:

Cosmetics
- M3 Body Kit
- AC Schnitzer Mirrors
- MTEC Mouldings
- BBS Style 5s (Summer Use)
- Smoothed Boot
- Lashings Of Carbon Fibre

Suspension
- HSD Coilovers (Fully Adjustable)
- X Brace
- Eibach Anti-Roll Bars
- Powerflex Purple Poly Bushes
- Front Upper Strut Brace
- Rear Upper Strut Brace

Power (Aiming for 160bhp+)
- Scorpion Exhaust
- Simota Carbon Fibre Induction Kit
- Big Bore Throttle Bodies
- Remap

Brakes
- Either a 330i conversion or an M3 conversion

Interior
- Honda Integra DC2 Type R Recaros
- Sport Headlining Conversion

In the future I will look into the possibility of a turbo or an engine conversion.

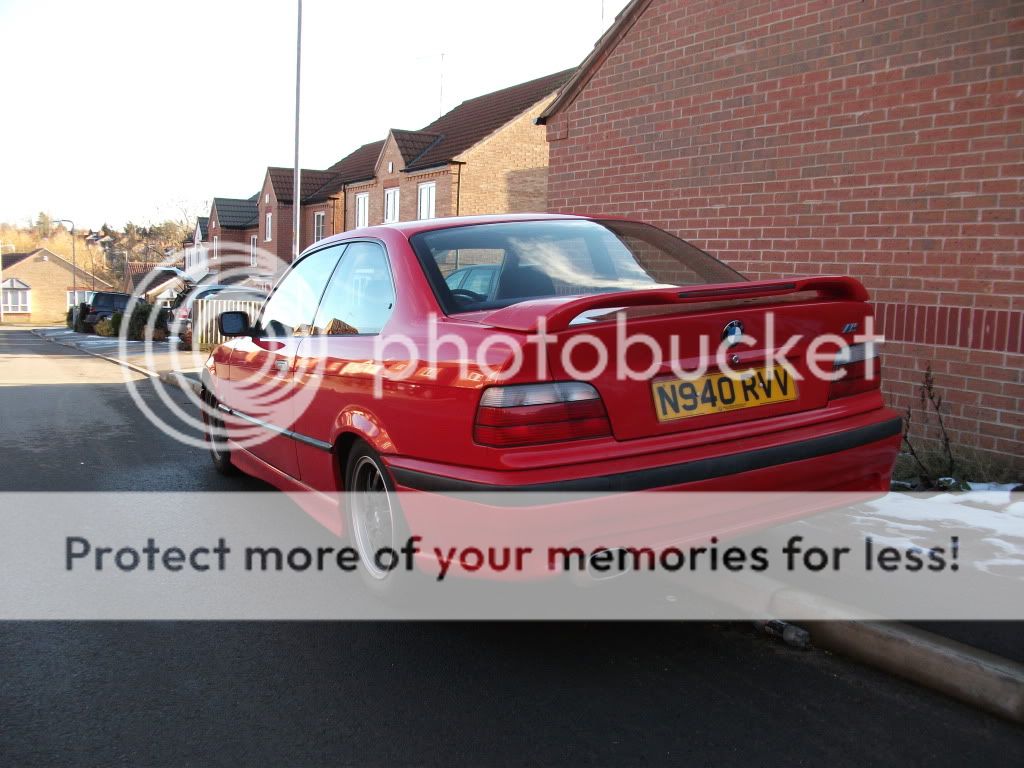
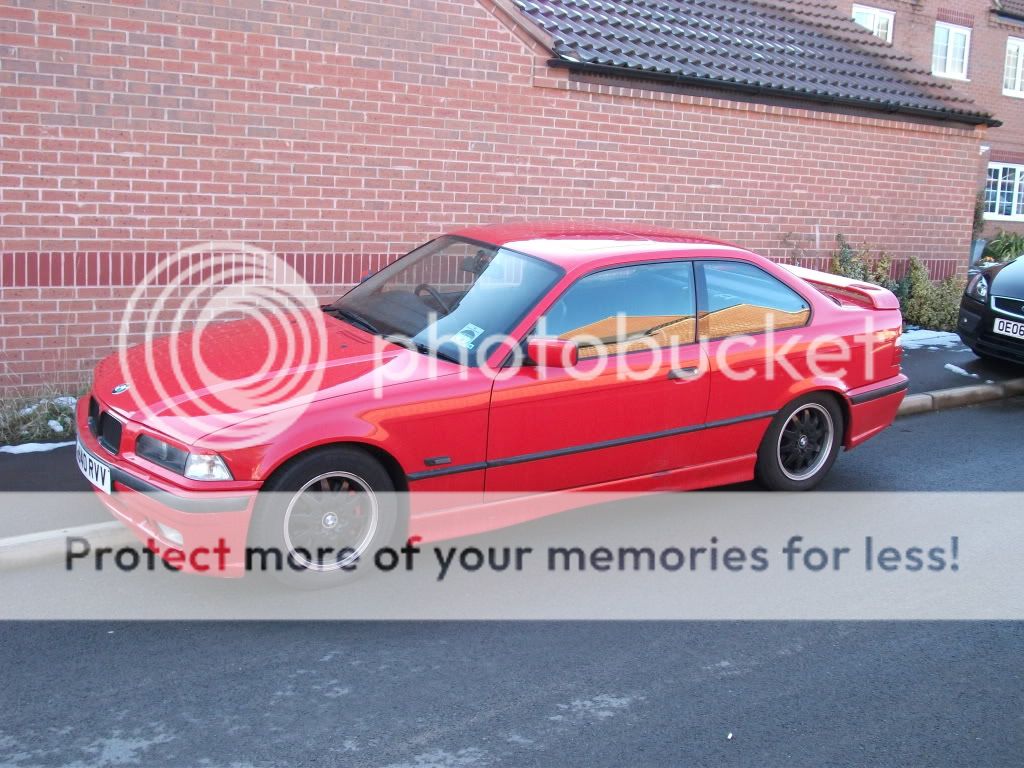
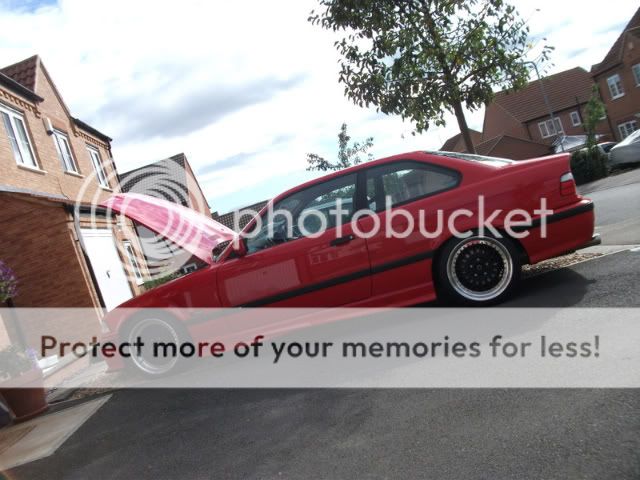
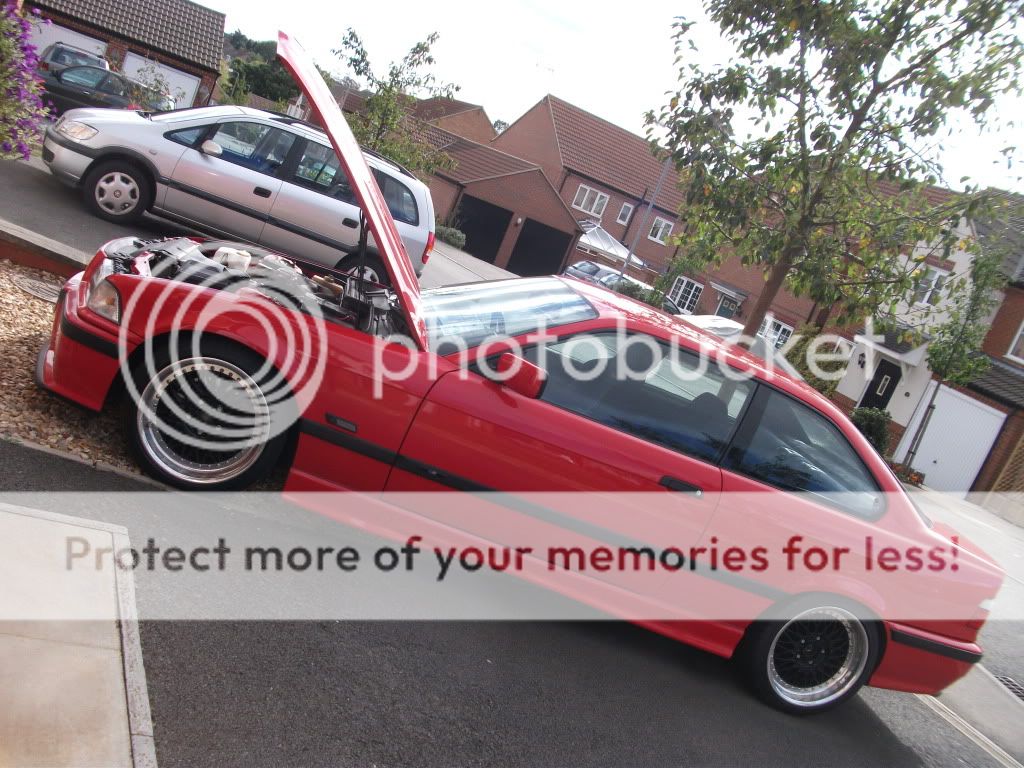
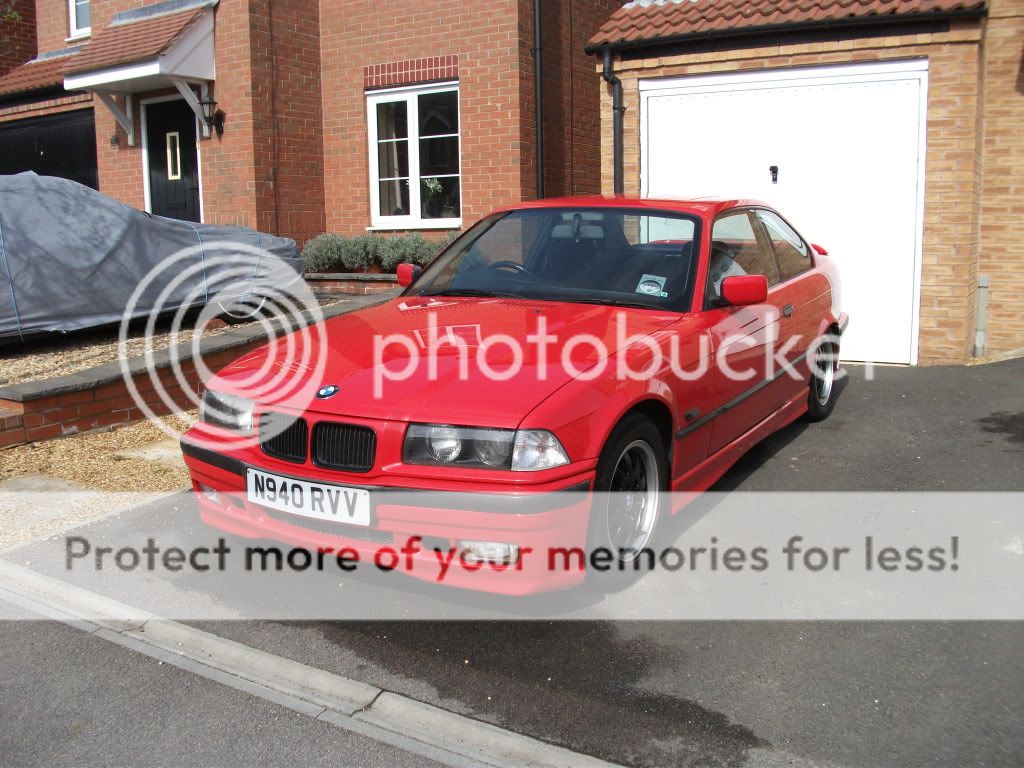
This is how it looked when I bought it:
DSCF0058.jpg


DSCF0062.jpg


DSCF0059.jpg


Obviously those awful eye brows had to come off, and that terrible M badge had to be removed.

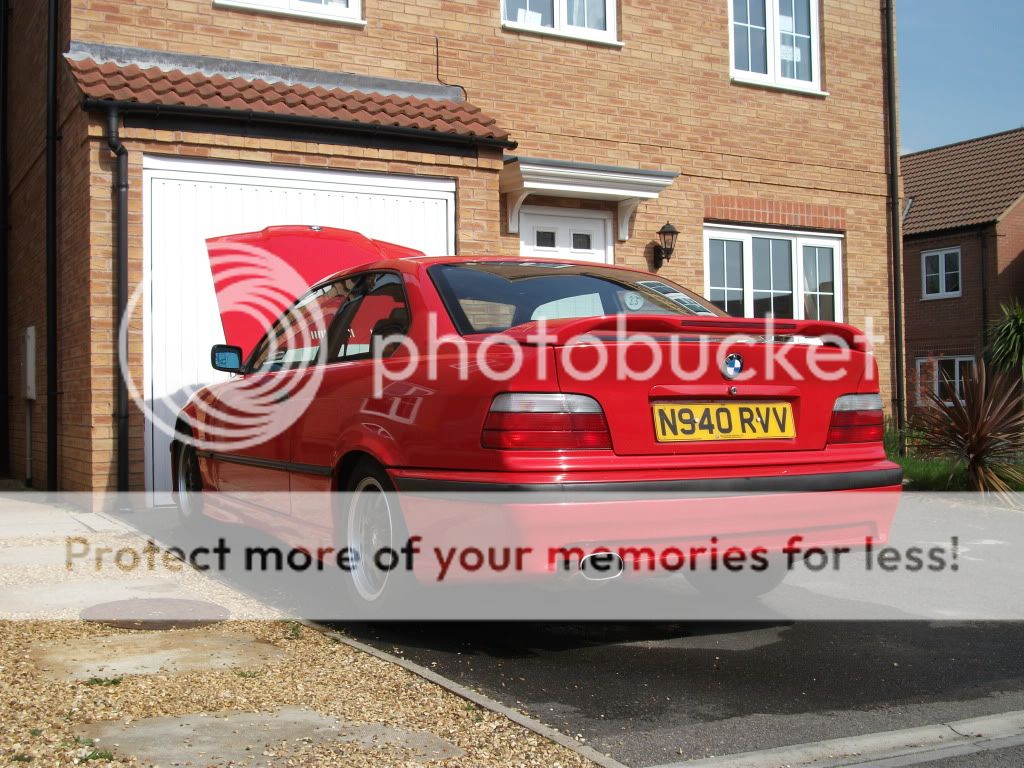
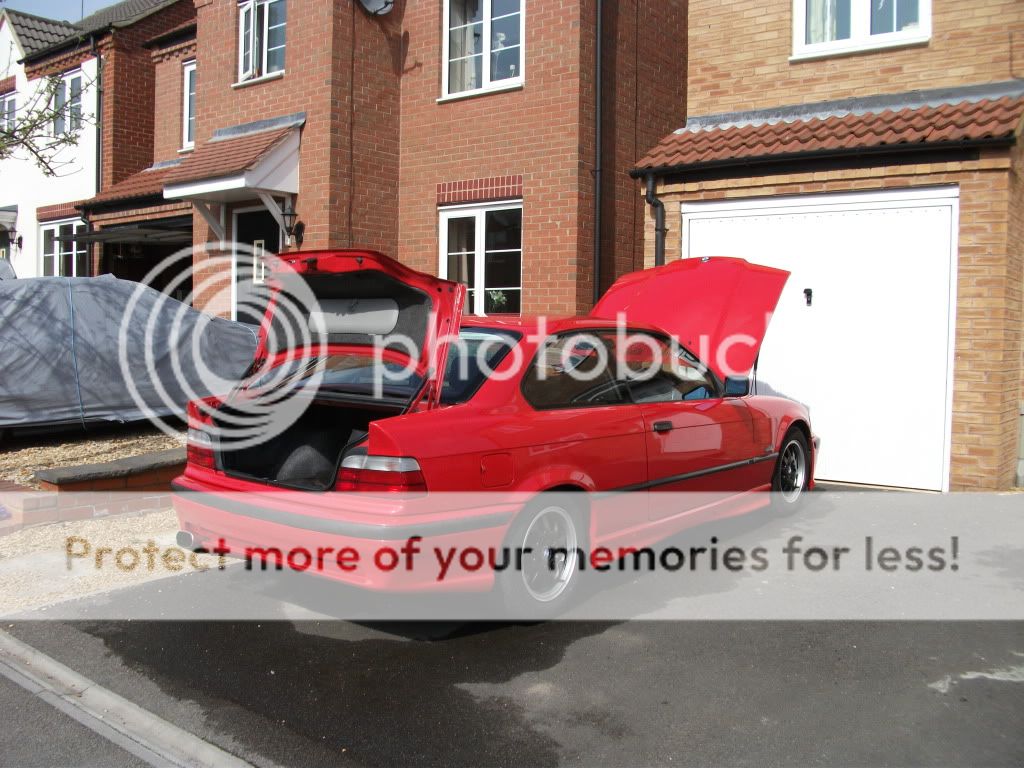
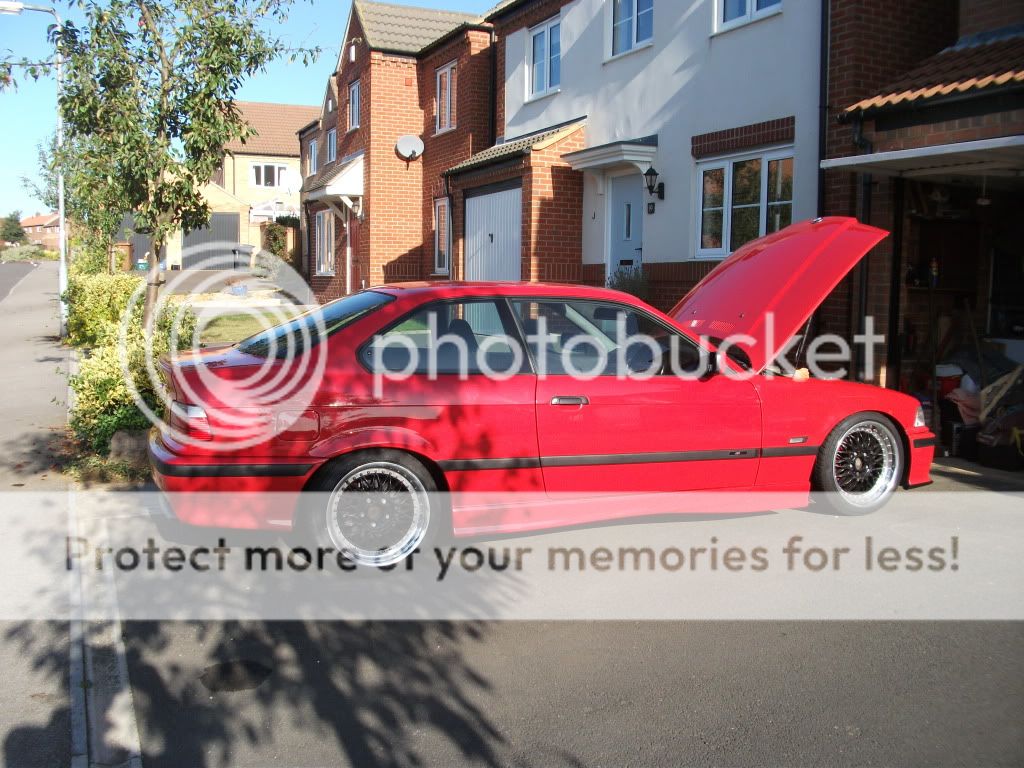
So as soon as I had the time I removed them and gave it a clean:
E36_019.jpg


E36_007.jpg


E36_005.jpg
 
Last edited:
Have you got that supercharger yet mate?

I've ordered it and it's currently being assembled in America. As luck would have it, it's the last one ever to be made.

I've also ordered the LSD you suggested. It will retain my current ratios as well.

I'm not planning to fit anything until after new year though as I want to stock pile everything needed to transform the car.

Research has now begun on clutch and flywheel setups. I already have a single-mass flywheel as standard (which is still fairly new) but I'm considering something lighter and something that will handle the power better. It's not something I will need to change straight away, but if I go for more power than the initial 230bhp aim then it will need changing.

I've also got some small updates but the missus currently has my camera!
 
I don't think a stronger flywheel will be worth the hassle mate, but a stronger clutch will be worth it, power isn't why you need an uprated clutch it's torque
 
I suppose it depends what the standard one is like, maybe you could get it lightened, but if it did need strengthening then I suppose you could get it cyro'd.
 
UPDATE TIME!

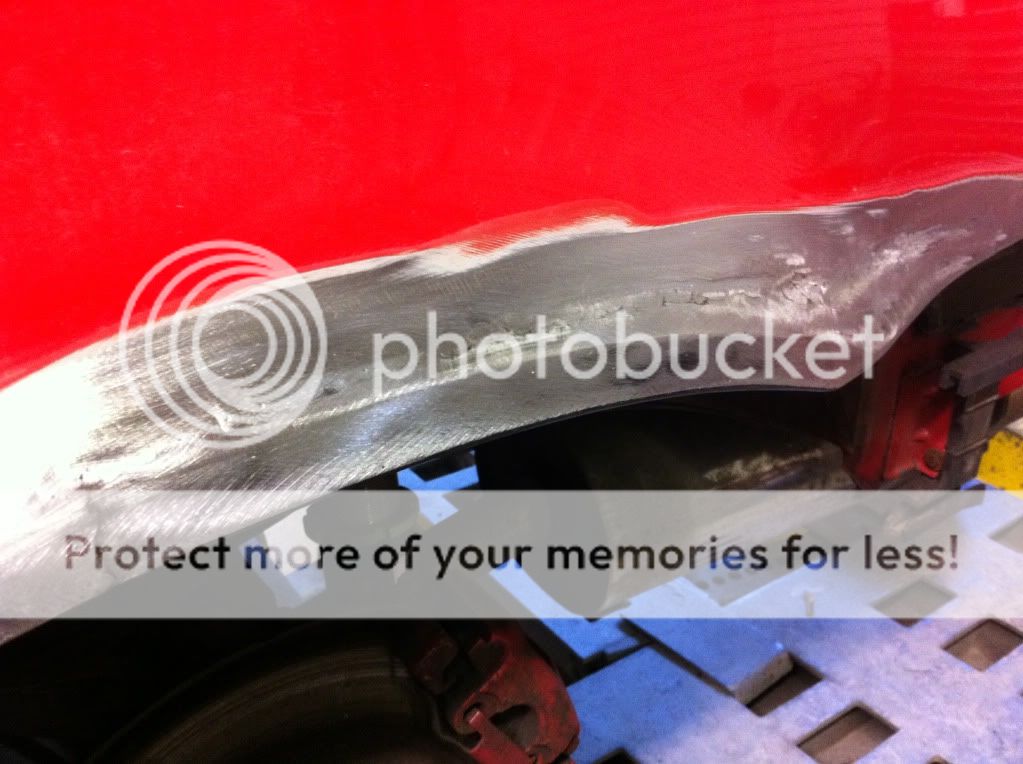
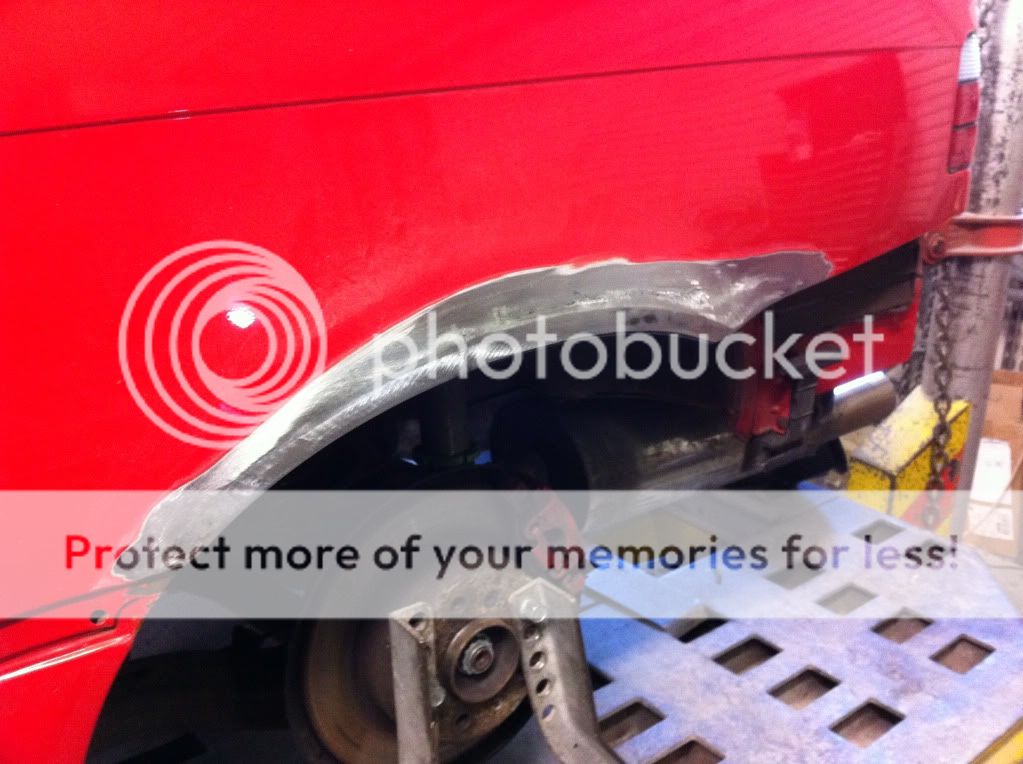
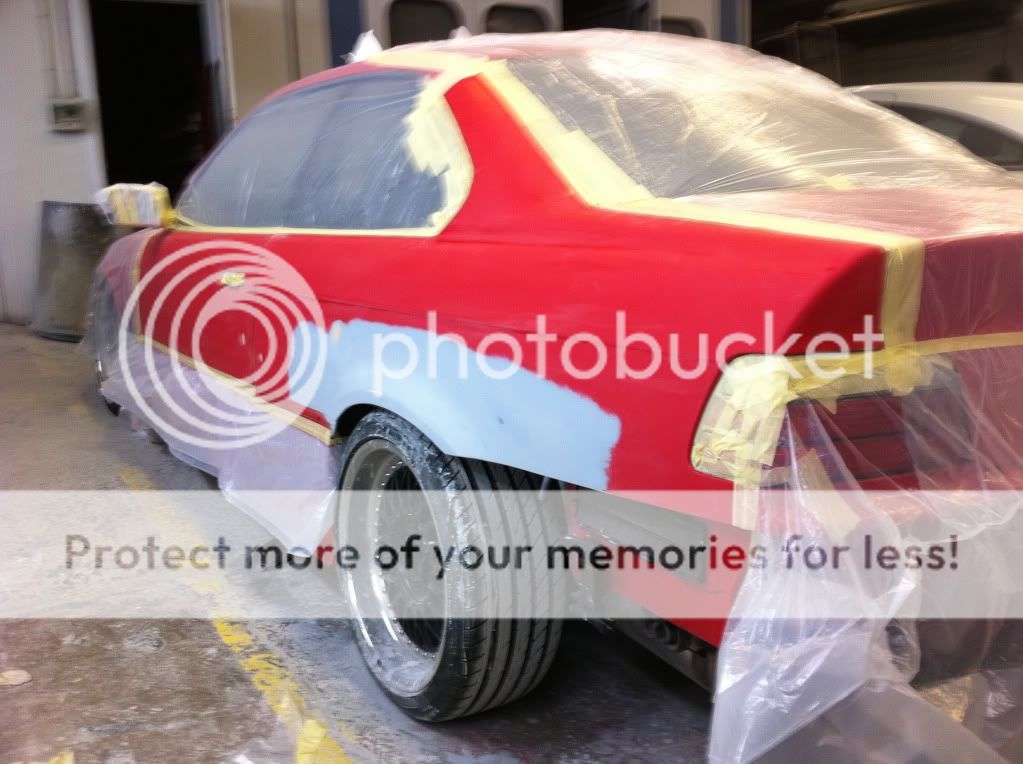
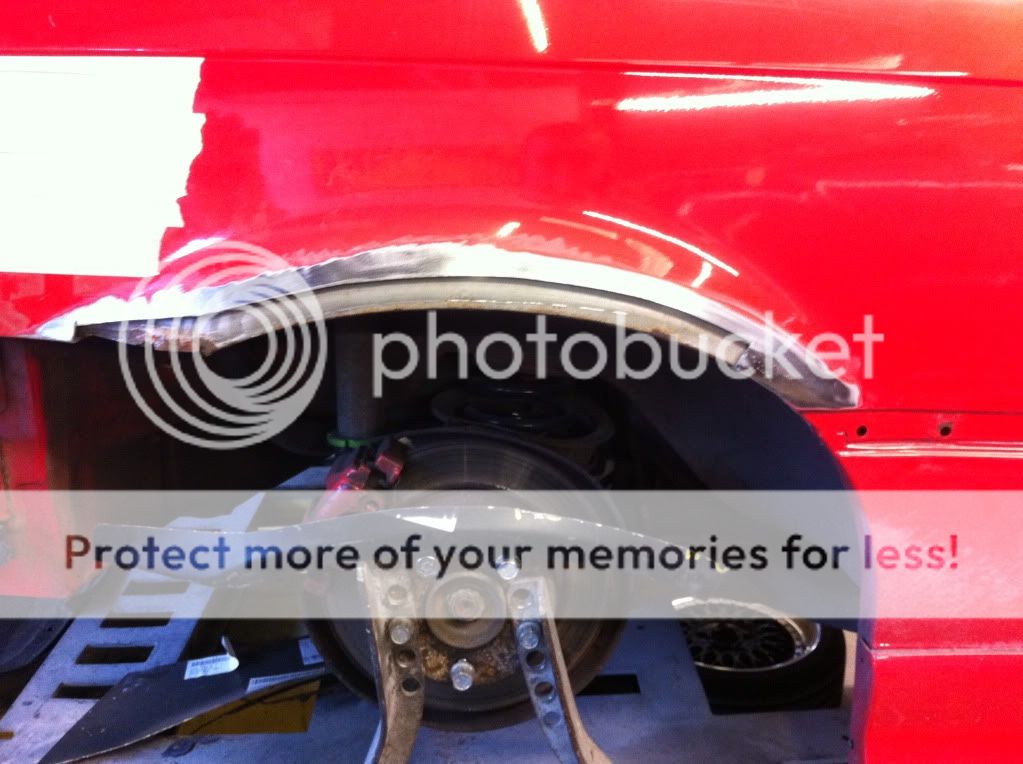
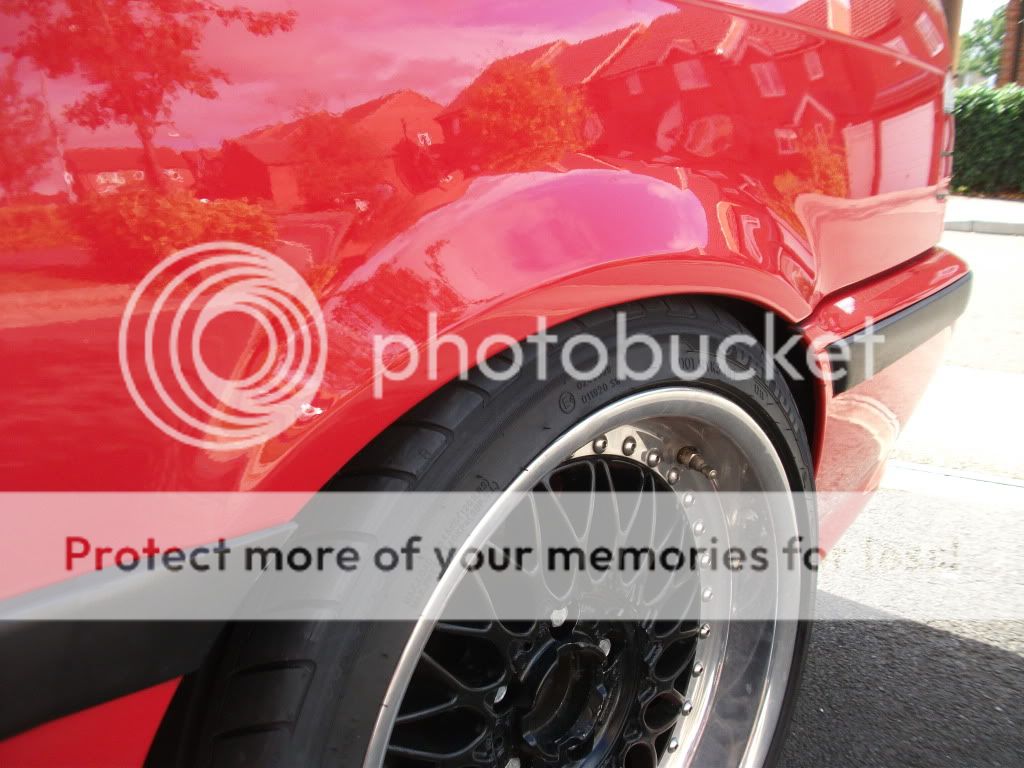
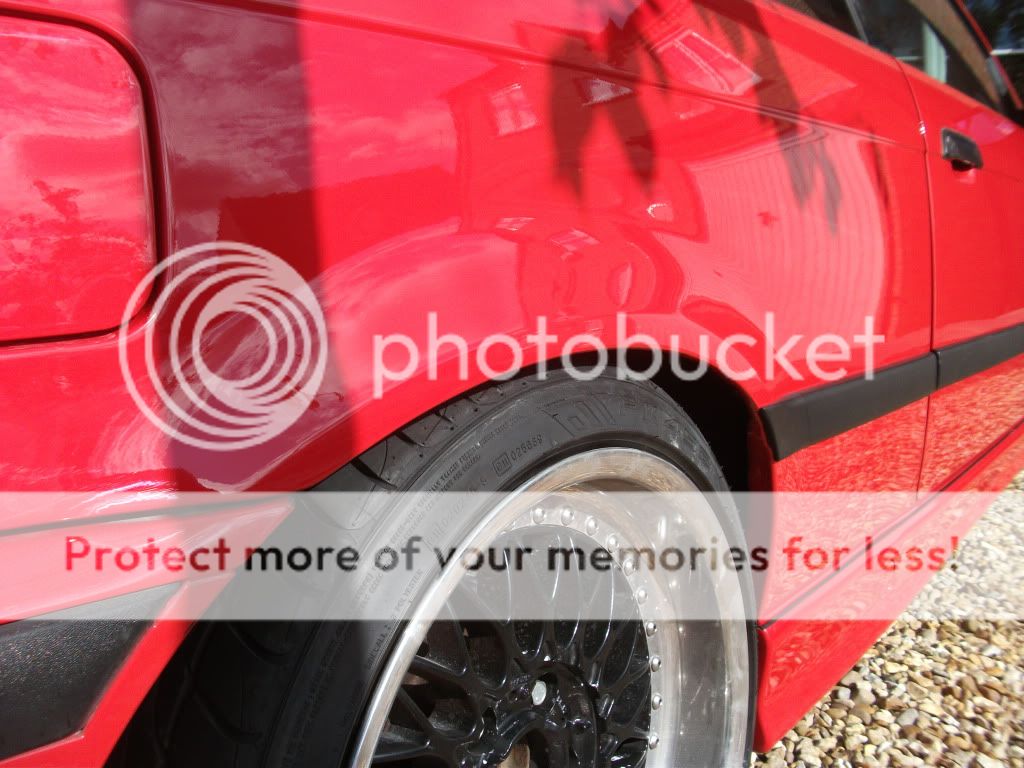
I've got the car back from having the rear arches done and must say I am very pleased. Almost everything from the wings back has been sprayed.

Passenger side:
E36_110.jpg


E36_109.jpg


E36_111.jpg


Driver's side:
E36_112.jpg


E36_113.jpg


The end result:
E36_115.jpg


E36_116.jpg
 
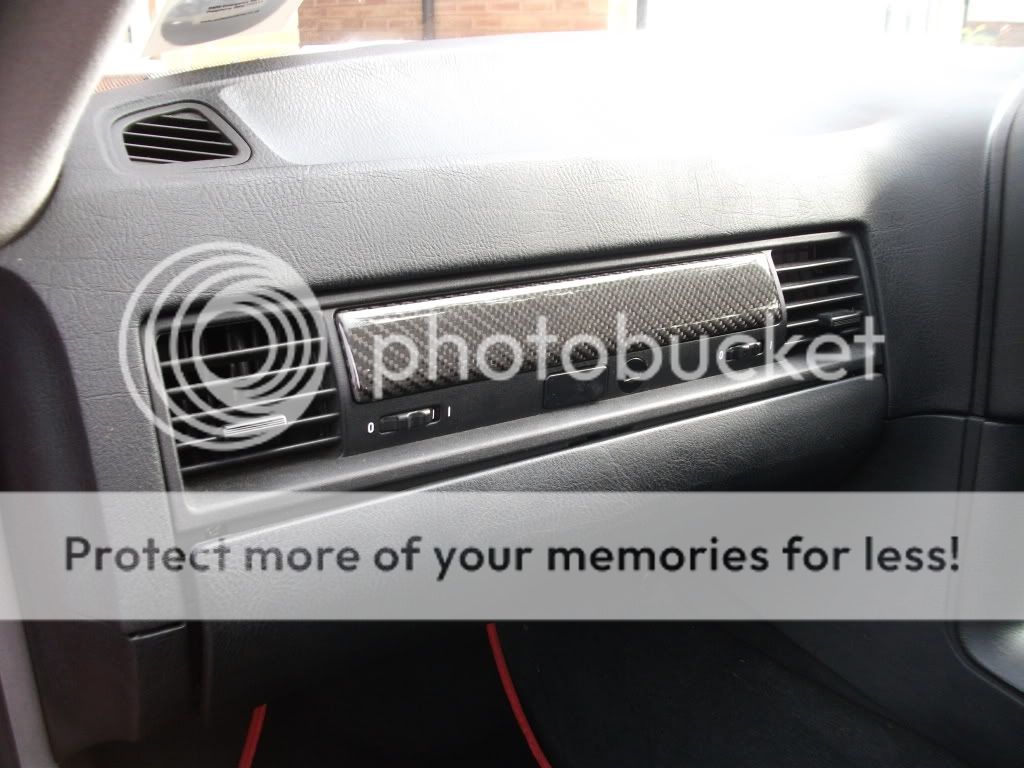
I also picked up this little bit of carbon fibre trim to feed my fettish...

E36_121.jpg


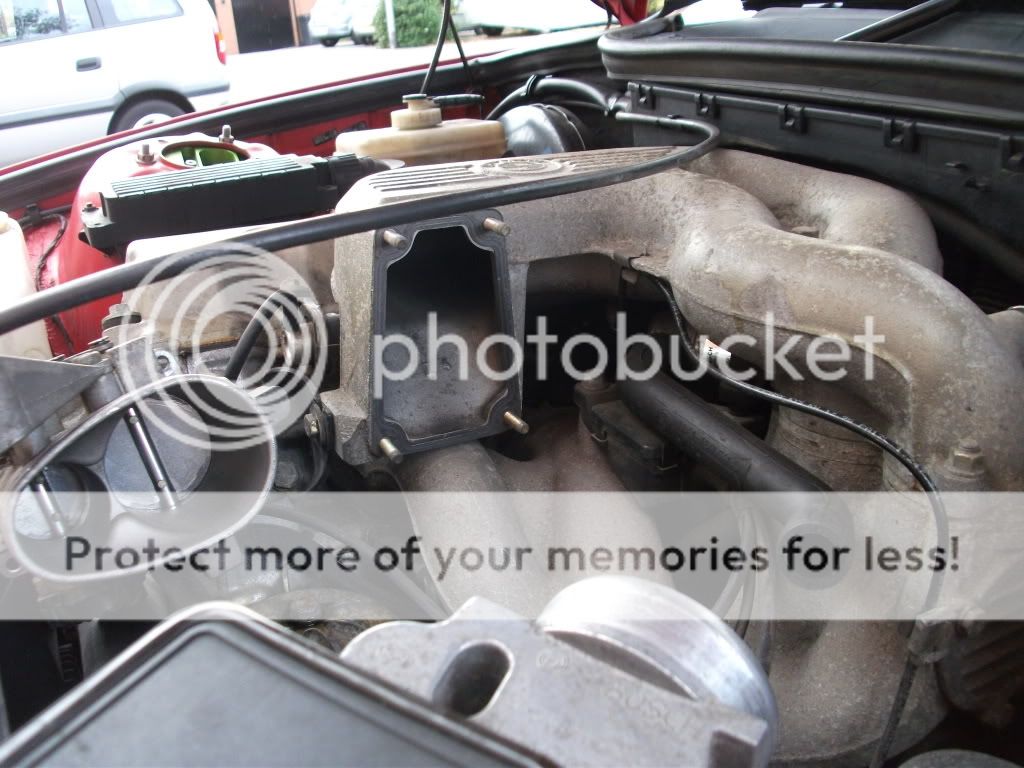
I also had some fun taking out and cleaning the ICV. Took me around an hour and a half. I used this guide, but took a few pictures anyway (amazingly forgot to take one of the ICV off the car).

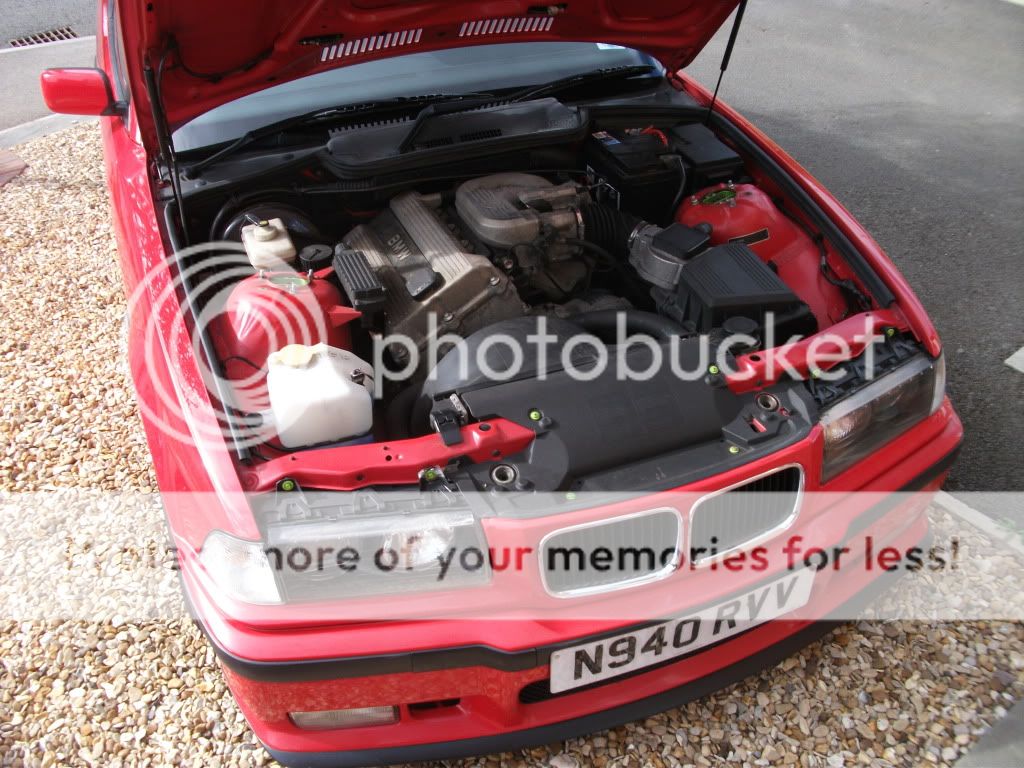
Under the bonnet:
E36_126.jpg


Rubber boot off:
E36_122.jpg


Throttle body off:
E36_123.jpg


Top of the inlet manifold off, and the ICV now visible:
E36_124.jpg


A couple of random shots:
E36_127.jpg


E36_125.jpg


Comments welcome as always. :D
 
The arches were done at Custom Cars, in Heston (near Heathrow). They have a very good reputation within the BMW community.

Very nice job that Prince, those sprayers must have been good if you drove all the way from Northampton to Heathrow to get the body sorted out.
Love the CF trim btw.
 
i'm not far from heathrow (20 mins no traffic) so if anyone needs a cuppa while their car is being worked on... :p

Looking tidy prince, as always! what supercharger you gone for?
 
Very nice job that Prince, those sprayers must have been good if you drove all the way from Northampton to Heathrow to get the body sorted out.
Love the CF trim btw.

Thanks mate! You have to travel in this game if you want the best. They'll be much more caron to come as I have some (secret) plans!

looking sweet man, mine's hopefully going in the body shop for a few bits before xmas

Thanks buddy. Before winter is a good idea if you think it's bad.

Mate that looks awesome, I might send the GTI and the 306 to them, there seems to be a complete lack of good body shops around here

I was able to see a lot of the work Custom Cars had done as they usually have a club stand at the BMW events. The quality of work is very good. The price was very unlike-London as well. Thanks for the compliment as well. :D

i'm not far from heathrow (20 mins no traffic) so if anyone needs a cuppa while their car is being worked on... :p

Looking tidy prince, as always! what supercharger you gone for?

If only I had known before!

I'm getting a Downing Atlanta kit. It should give me 200rwhp. See here.

I have also decided against the Quaiffe LSD as well. Instead I'm going to get a medium case 328i sport LSD and get it rebuilt to a different ratio. This way I won't have to change it when I get more power hungry. I will be going with a ratio somewhere between 3.45 and 3.90 to try and achieve a good acceleration vs top speed, with acceleration being more important.
 
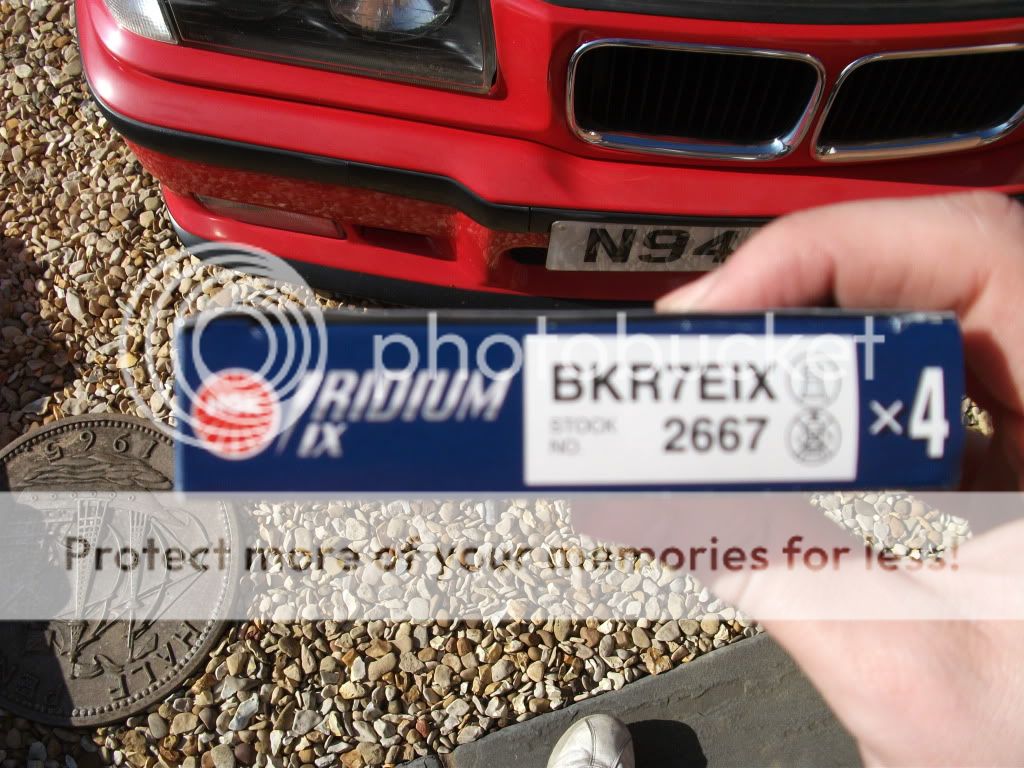
Today I changed my spark plugs and air filter.

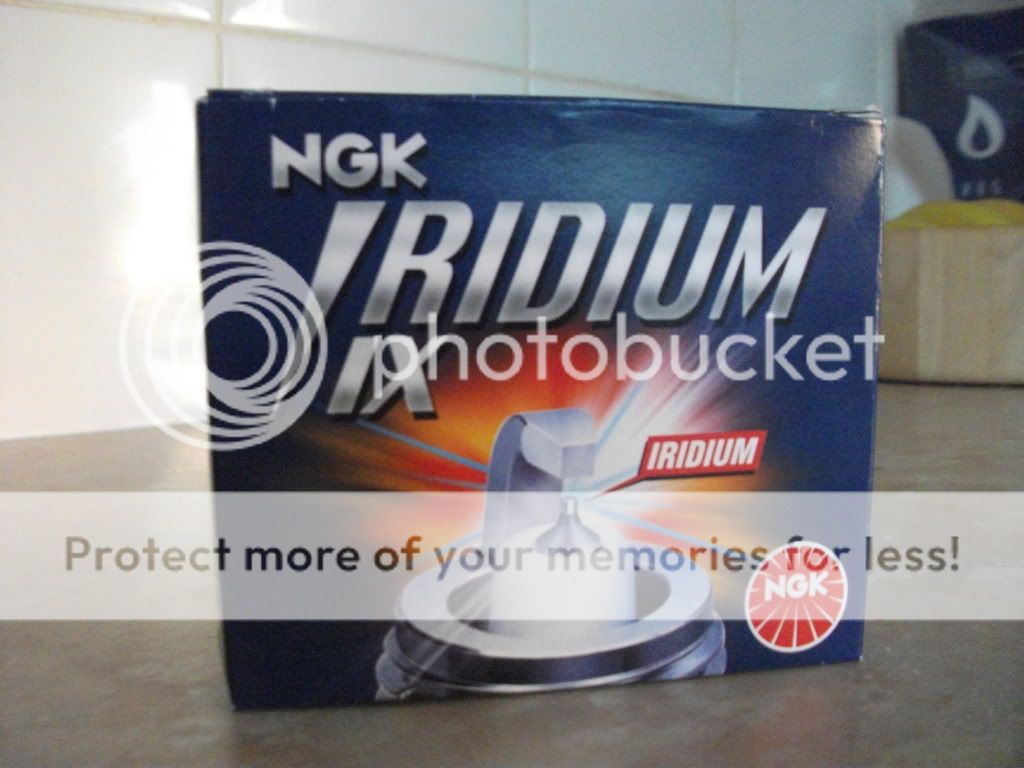
Here are the plugs I used:
E36_128.jpg


E36_129.jpg


They were recommended to me by Opie Oils after I told him about the supercharger. I was told these were good for higher temperatures.

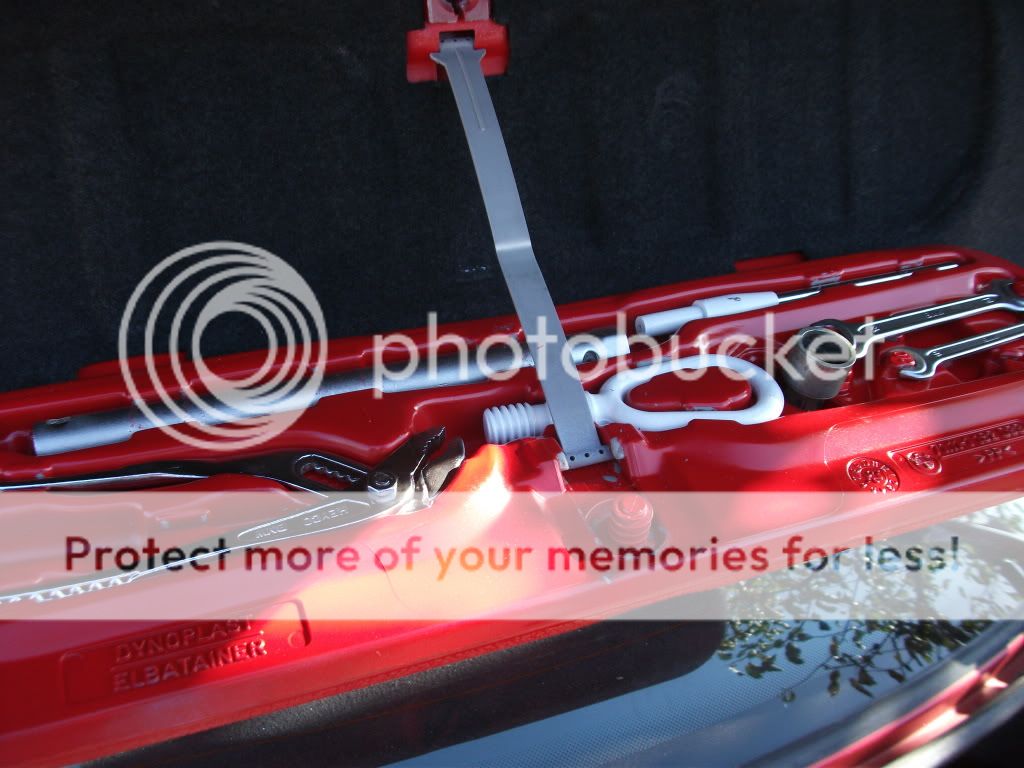
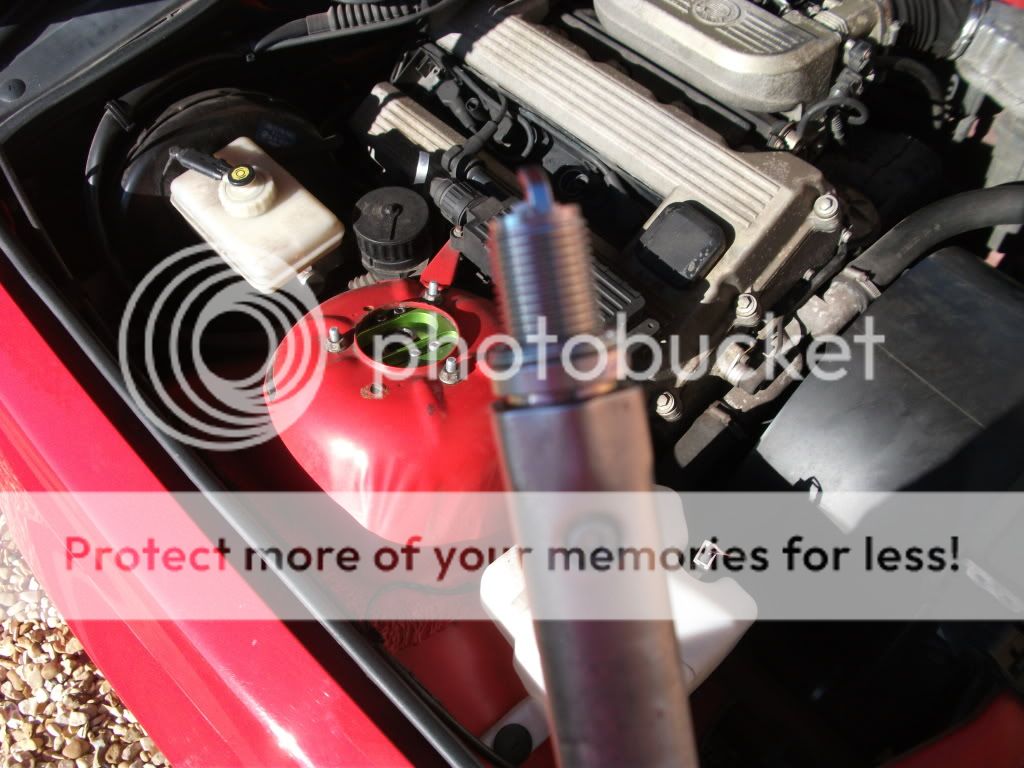
You will need tools found in the BMW tool kit for this job (the 2 at the very back):
E36_130.jpg


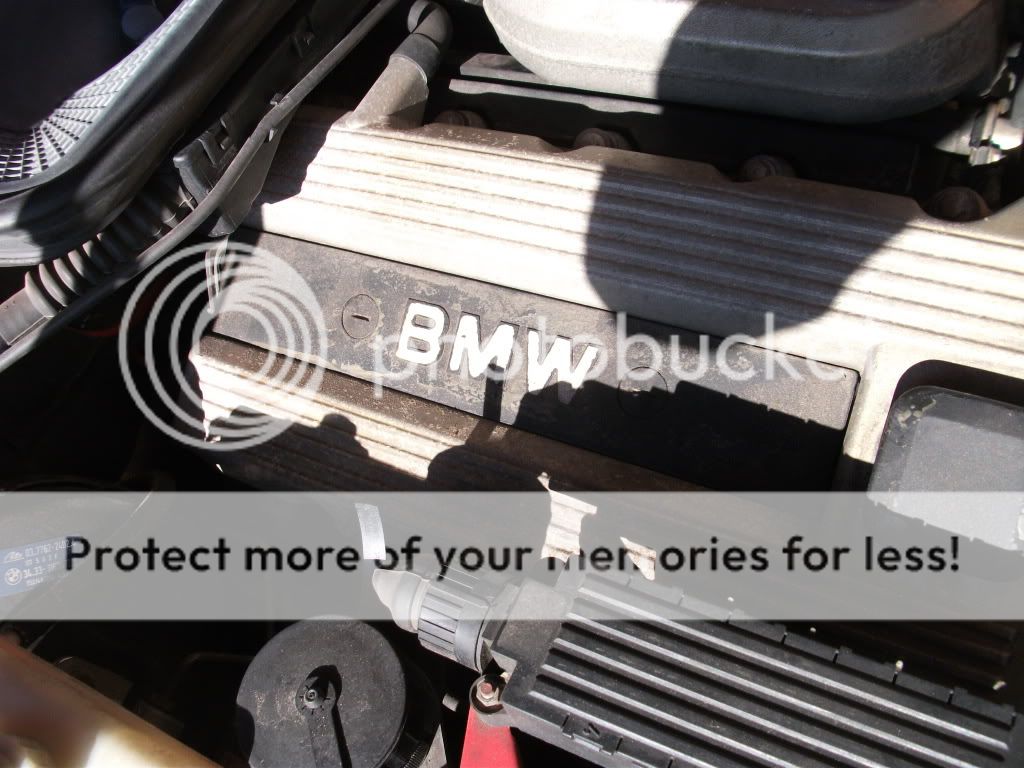
M42 Engine:
E36_131.jpg


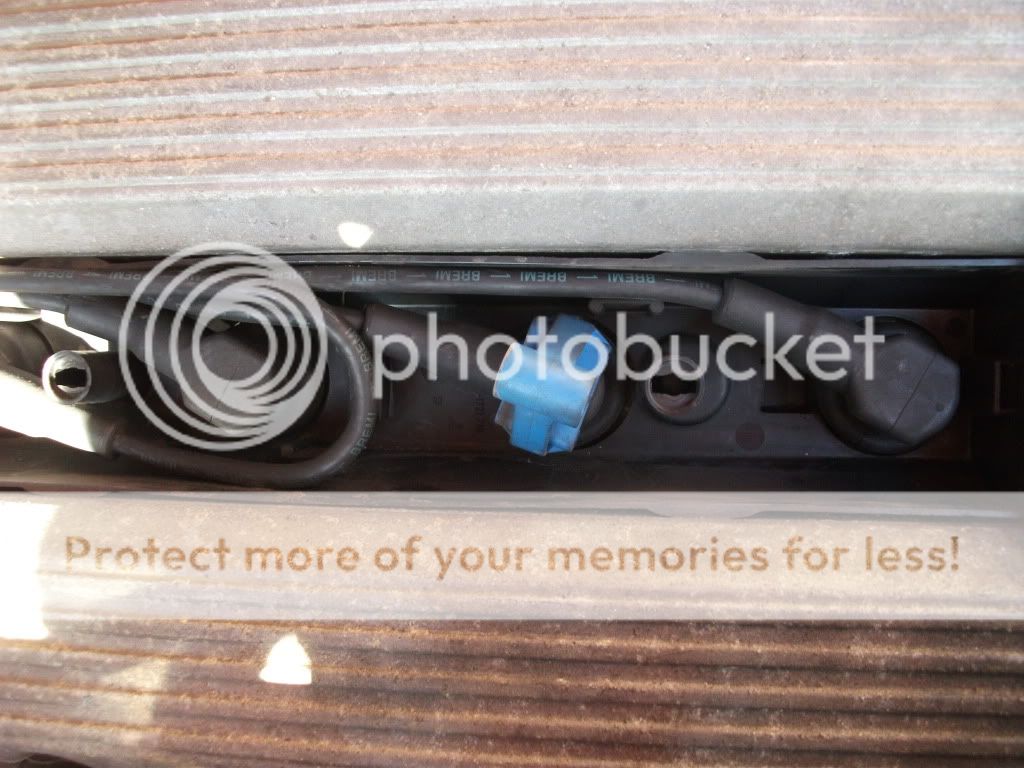
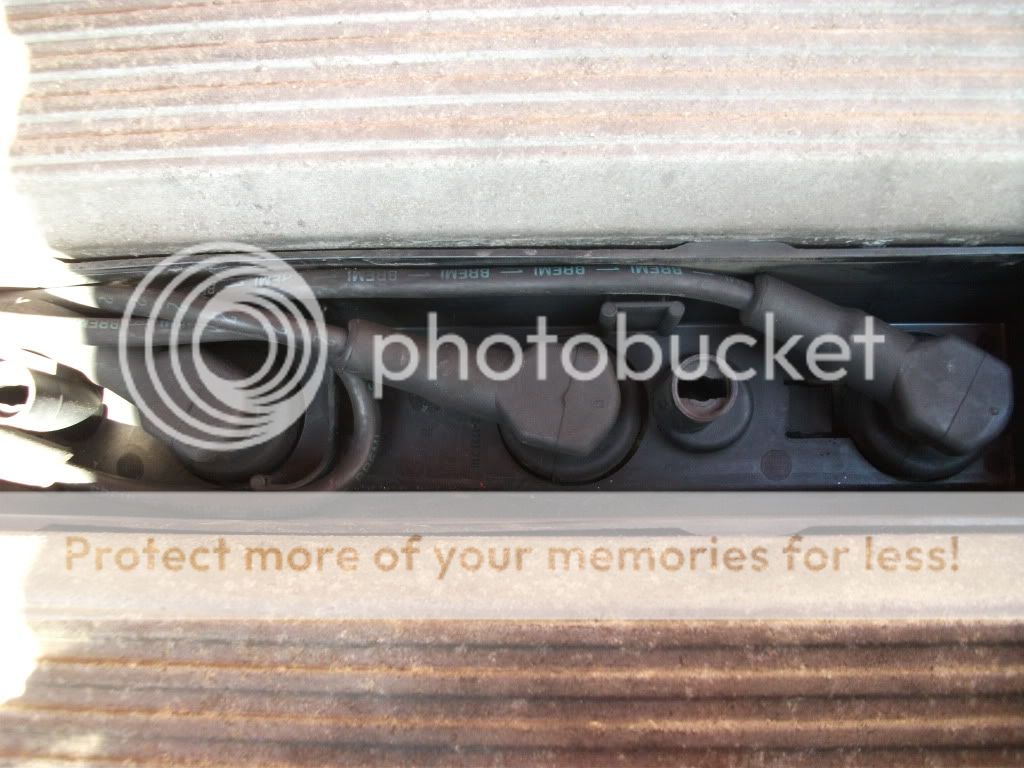
Take the cover off and you'll be greeted by this:
E36_132.jpg


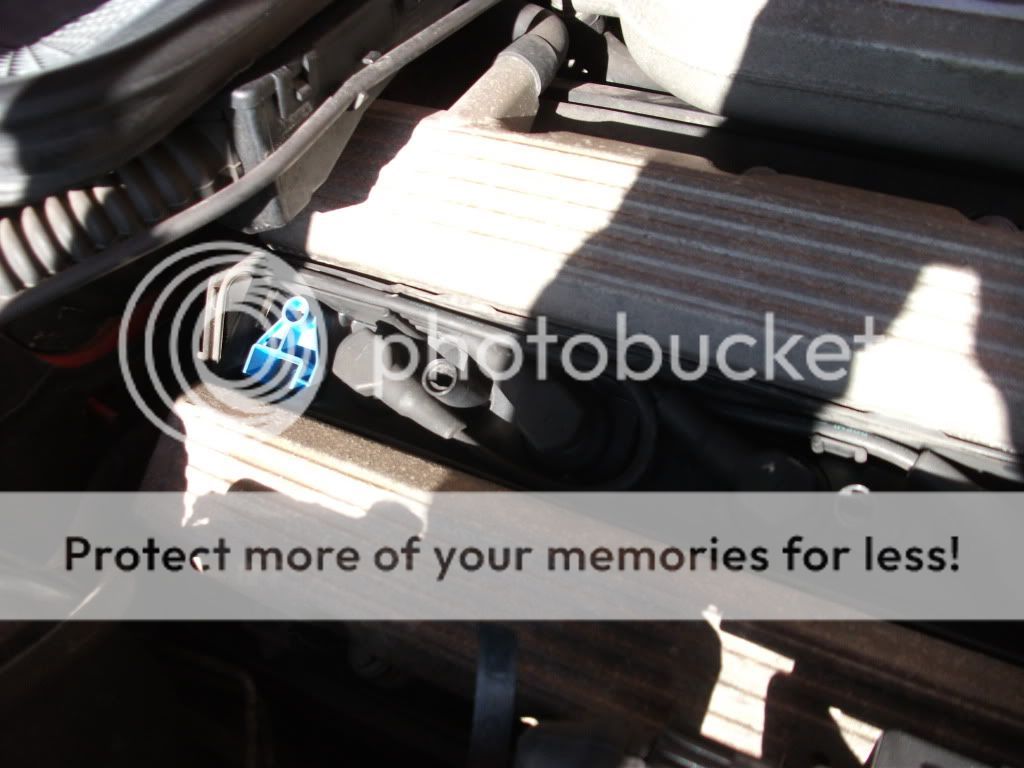
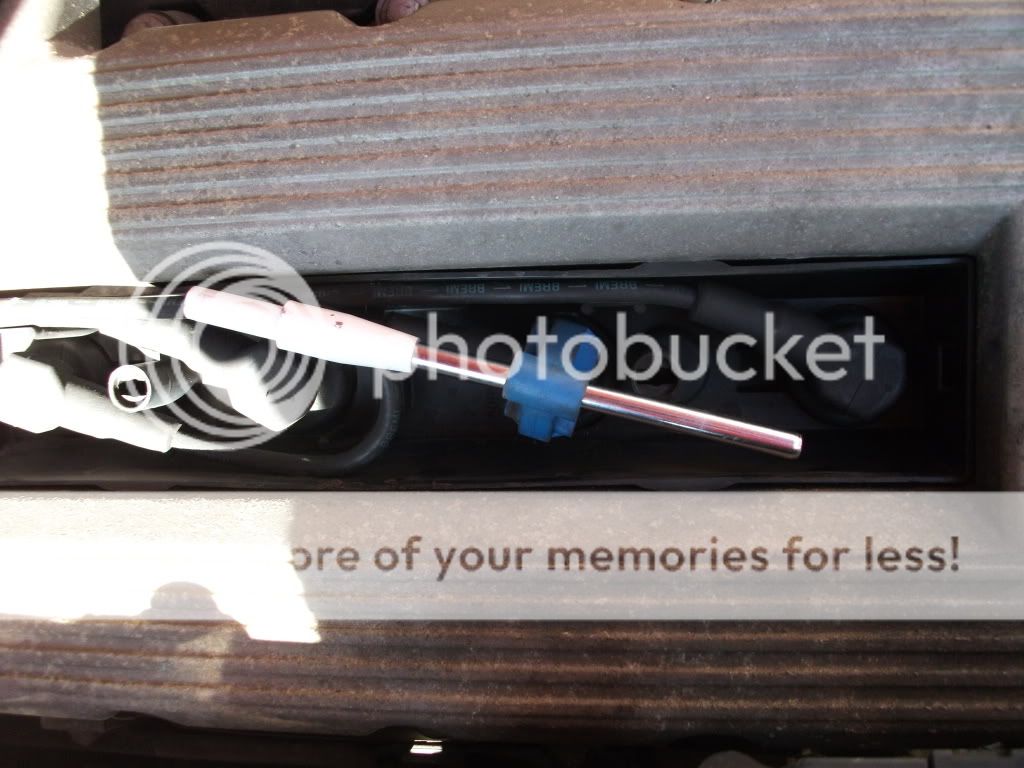
Take the little blue thing and place it like so:
E36_133.jpg


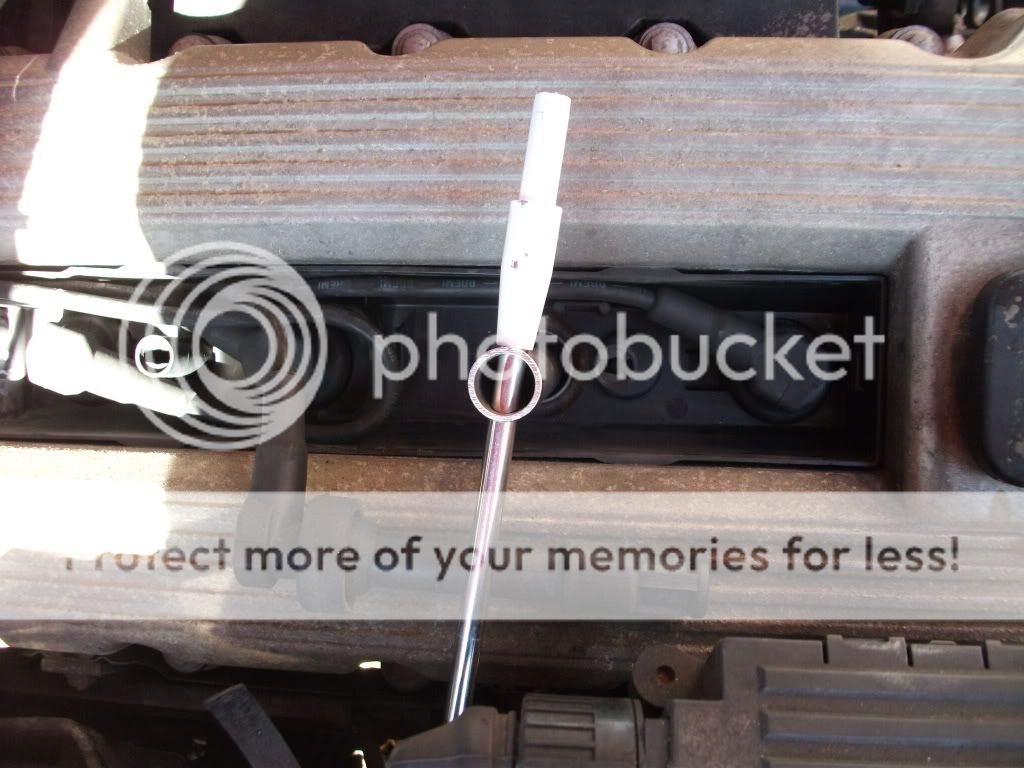
You can use this tool to make things easier. Remember to twist anti-clockwise (towards the windscreen):
E36_134.jpg


Now use the other tool to remove the plug itself, like so:
E36_135.jpg
 
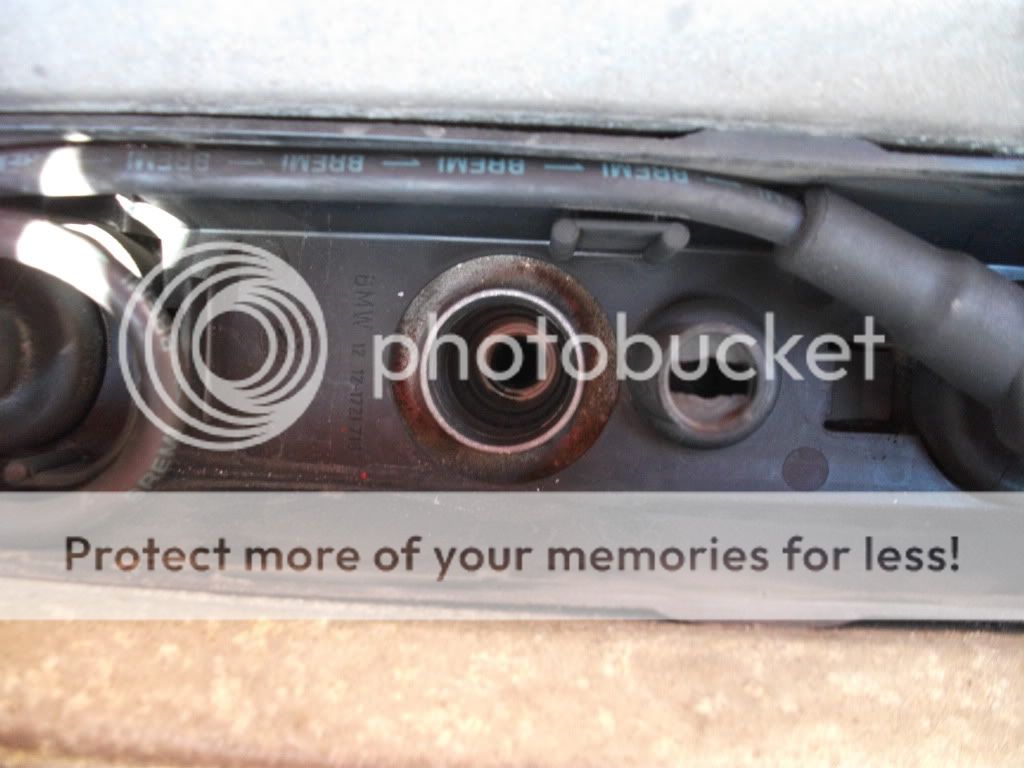
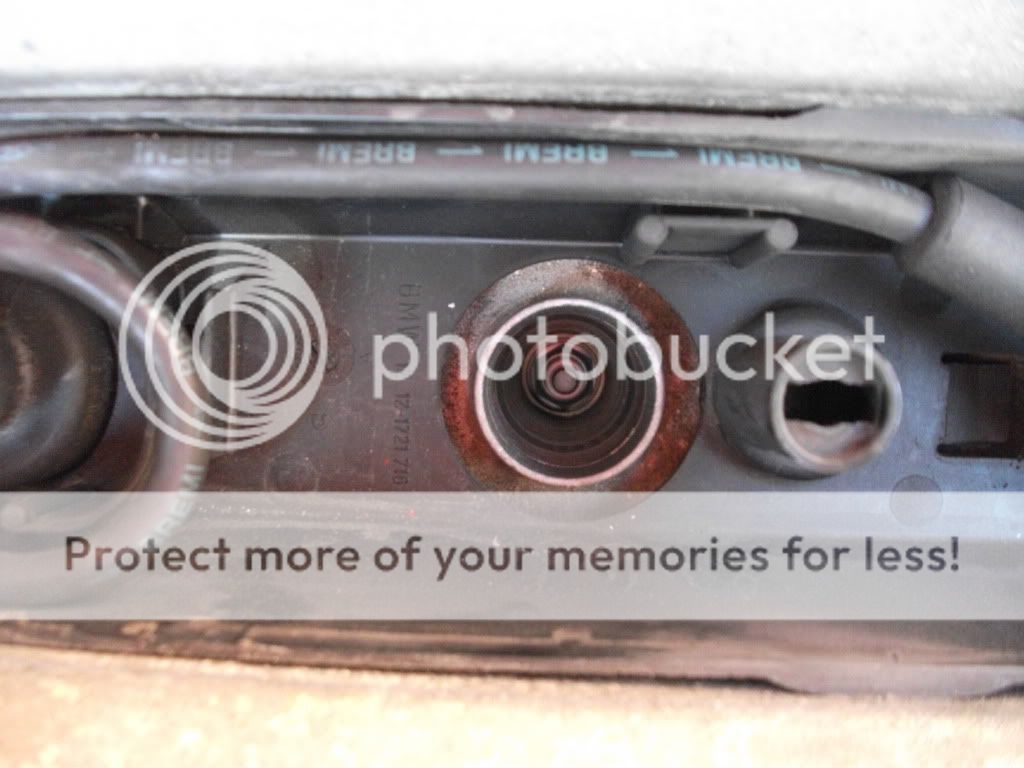
You can now see inside:
E36_136.jpg


As you can see there is no oil leaking in mine which was good!

Take the new plug:
E36_137.jpg


Then put it in. This time turning clockwise. Be careful not to over-tighten:
E36_138.jpg


Then pop the rubber section back in. Make sure it is nice and secure. Repeat for all other plugs.
E36_139.jpg


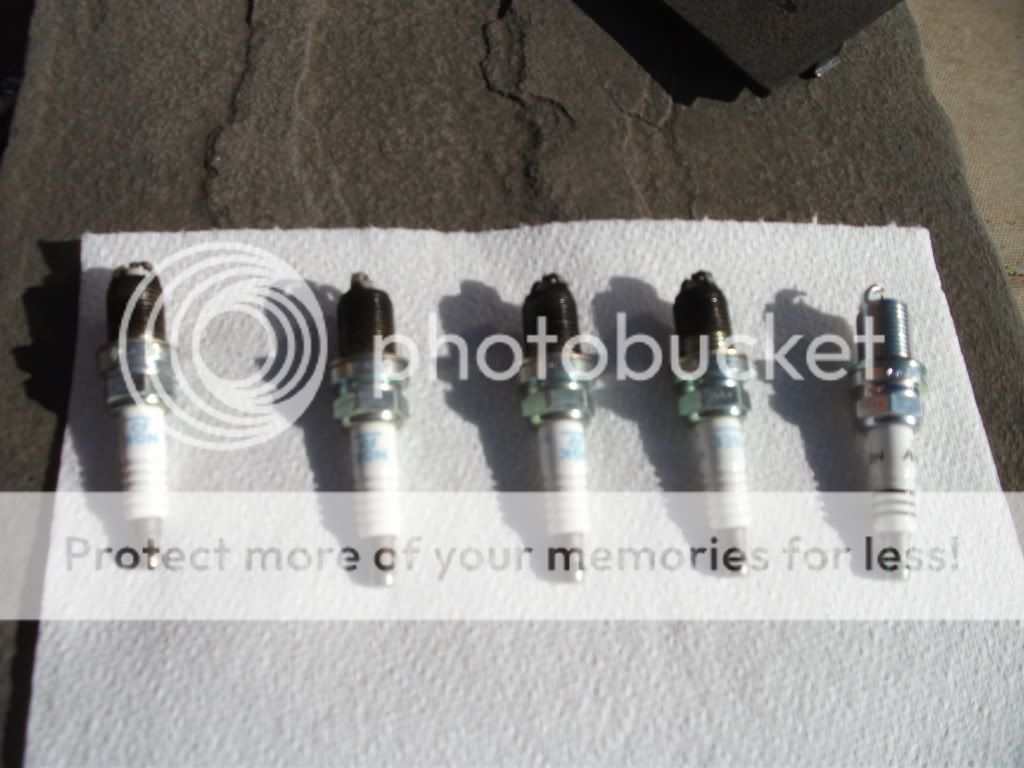
Here are the old plugs vs a new plug:
E36_140.jpg


A very simple job in the end. I've never doen it before yet it took me around 30 minutes. I seriously wonder why I ever paid someone to do it for me!

I hope that will help anyone who hasn't done it before as well. Sorry for the lack of terminology, but you get the point.

Here is the air filter vs the old filter:
E36_141.jpg


E36_142.jpg


I didn't take any other pictures as this should only take you 2 minutes to do!

That's it for today. As always, comments welcome!
 
Firstly, marvellous stuff Prince and many thanks for the write up! :)
Ok possible silly question coming up so forgive me if it is daft! :embarrest:
But back in the day when I used to get my hands dirty, I always had to use a feeler gauge to gap the spark plugs to the correct gap before installing them into the car. Is this not so now then? do they come pre-gapped now for the particular model of car? :blink:

As far as I'm aware mate there is only the one way to make them sit. Pop them in and tighten. I just followed a guide I found on another forum and nothing was mentioned about a gap.

As I said, first time I've ever done it but I'm trying to learn more and do what I can (it also helps the bank balance!).
 
As far as I'm aware mate there is only the one way to make them sit. Pop them in and tighten. I just followed a guide I found on another forum and nothing was mentioned about a gap.

Ah, well it's the gap between the electrode tip and the return, if you look at your old original version, the gap you see at the tip is where you inserted the feeler gauge to adjust the gap to what ever "xxx" of an inch. Modern day technology eh! I am sure some of the old timers know what I am talking about! :blink: OG? :amuse:
 
Well, you don't need to do it on brand new plugs, modern engines go ages between the need to change the plugs so I would personally check the gaps at every oil service.
 
Ah, well it's the gap between the electrode tip and the return, if you look at your old original version, the gap you see at the tip is where you inserted the feeler gauge to adjust the gap to what ever "xxx" of an inch. Modern day technology eh! I am sure some of the old timers know what I am talking about! :blink: OG? :amuse:

And I was beginning to think that you were actually quite a nice guy!

I would have thought that the gap would still need to be checked for a couple of reasons:

Any factory set gap could be changed due to knocks during the many travels the plugs will have between manufacture and fitting.

Do all cars have the same plug gap now? Us 'old timers' still, just, remember when you had to check the manual to make sure you set the plug to the correct gap (although it was usually 25 thou).
 
Last edited:
Basically over it's life in the engine the gap decreases and you get a smaller spark so gapping the plugs correctly at oil change intervals is a good idea if you are that way inclinded....
 
Basically over it's life in the engine the gap decreases and you get a smaller spark so gapping the plugs correctly at oil change intervals is a good idea if you are that way inclinded....

Is this the right way round? I thought the electrode wore away thereby increasing the gap. This is how multi electrode plugs work. As the electrode nearest the centre wears away the next next nearest one takes over the sparking duties (only one electrode sparks, contrary to popular myth).
 
Is this the right way round? I thought the electrode wore away thereby increasing the gap. This is how multi electrode plugs work. As the electrode nearest the centre wears away the next next nearest one takes over the sparking duties (only one electrode sparks, contrary to popular myth).

I'll check that one and report back accordingly but I was always under the impression that the gaps get smaller but you saying that does give me reasonable doubt....
 
Finally have readed your thread. Everything looks really good! Good car and even better thinkering. Old plugs electrode color looks fine also!
 
Another Update!

I did the oil and filter change yesterday. Didn't take long, even for someone that had never done it before.

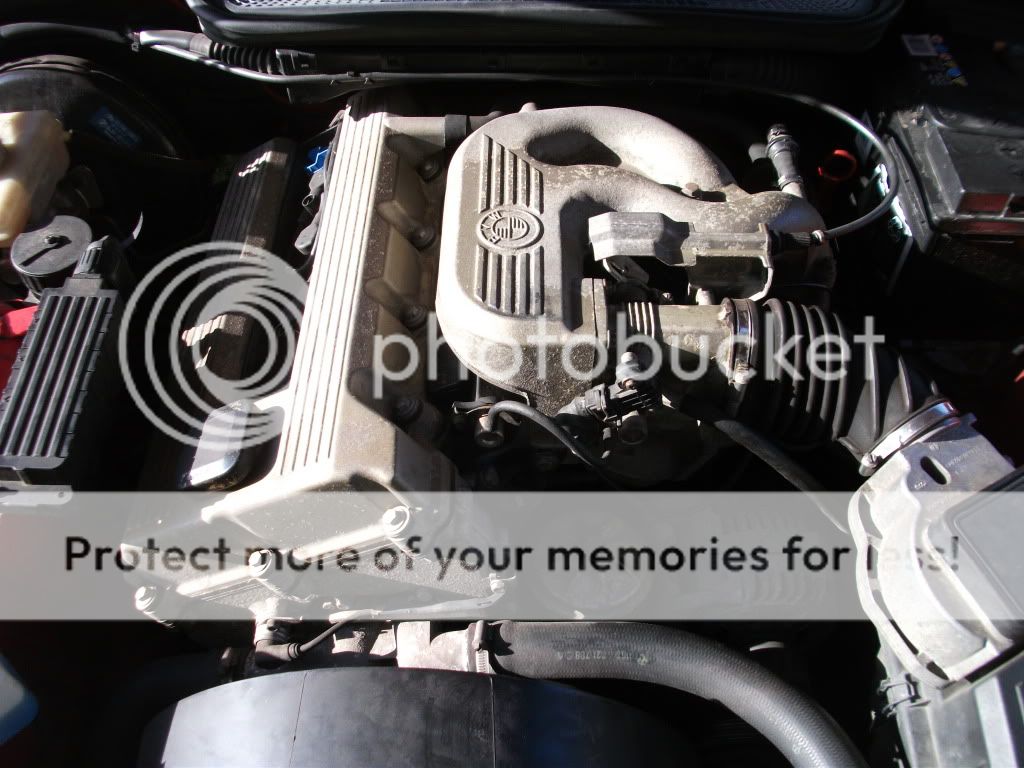
Back under the bonnet. The oil filter is located just beneath the inlet manifold in the picture.
E36_145.jpg


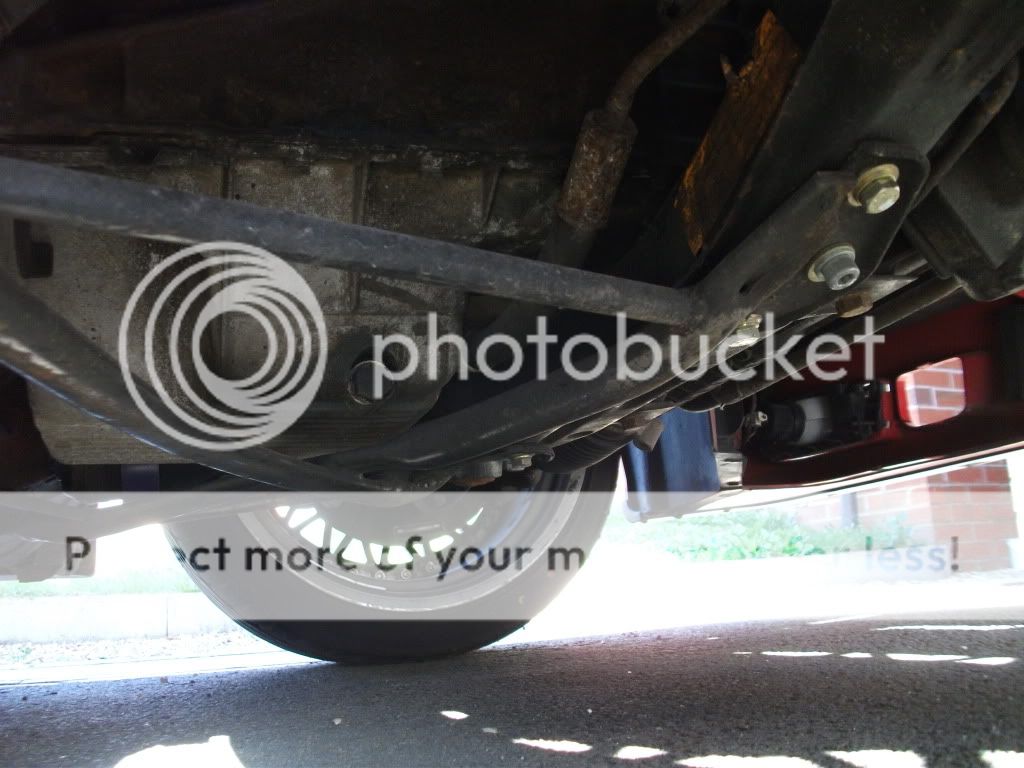
The sump plug is located just left of centre. You will need a 17mm socket for this.
E36_146.jpg


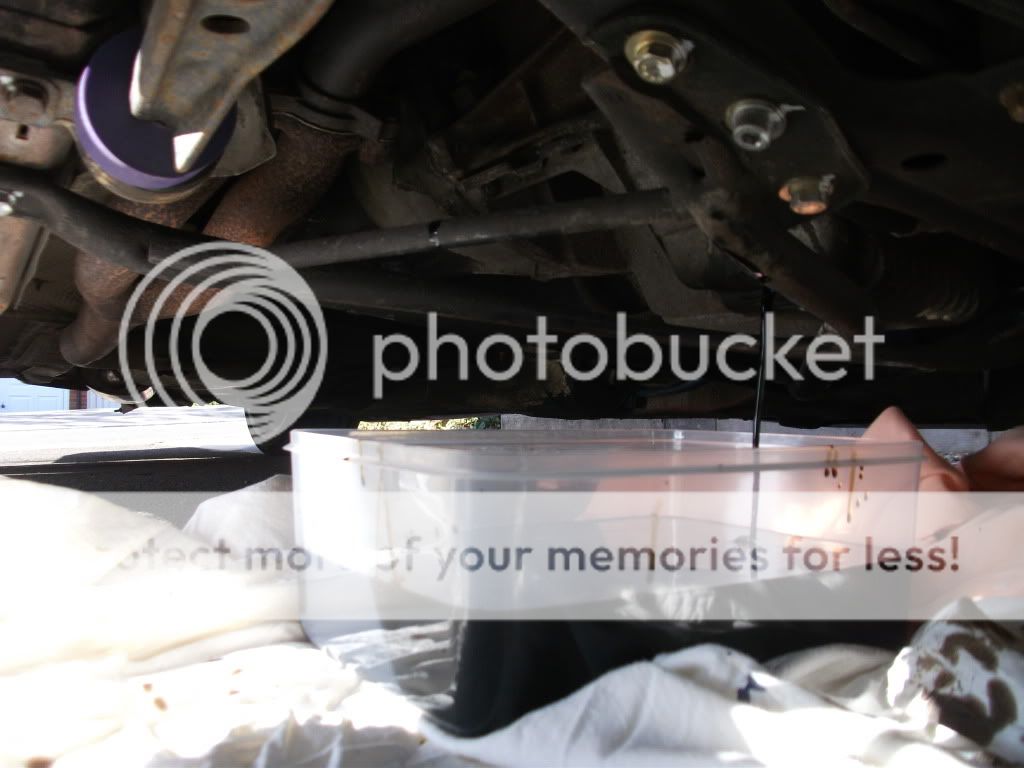
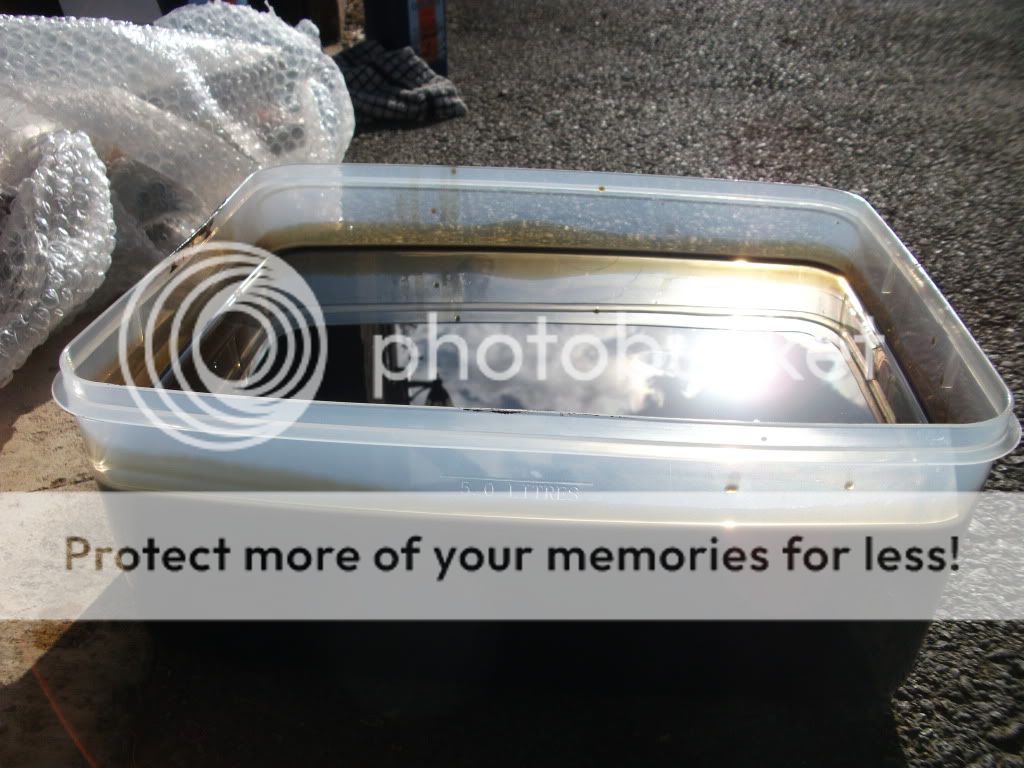
Out comes the old oil.
E36_147.jpg


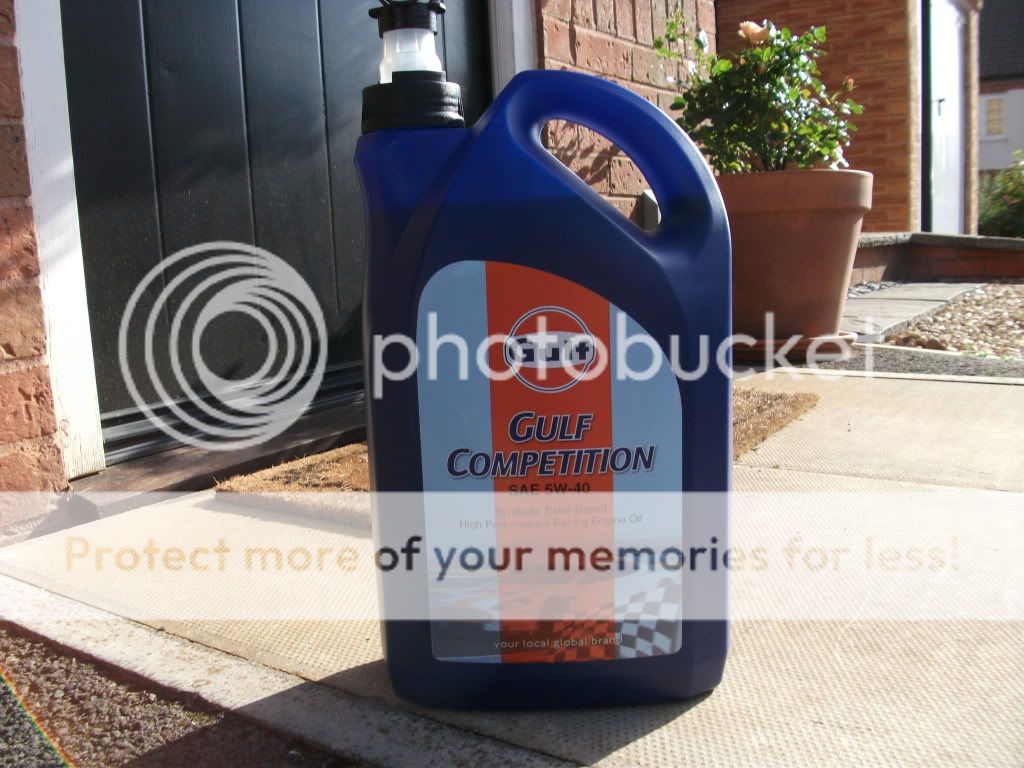
5 litres of new oil ready and waiting. After talking to Opie Oils this was recommended to me.
E36_148.jpg


Dirty, black oil. I was suprised at how much difference there is in the colour.
E36_149.jpg


New oil. I put in it a litre at a time, eventually stopping at 4 and a 1/2 litres. The dipstick measured smack bang in the middle (but I forgot to take a picture).
E36_150.jpg


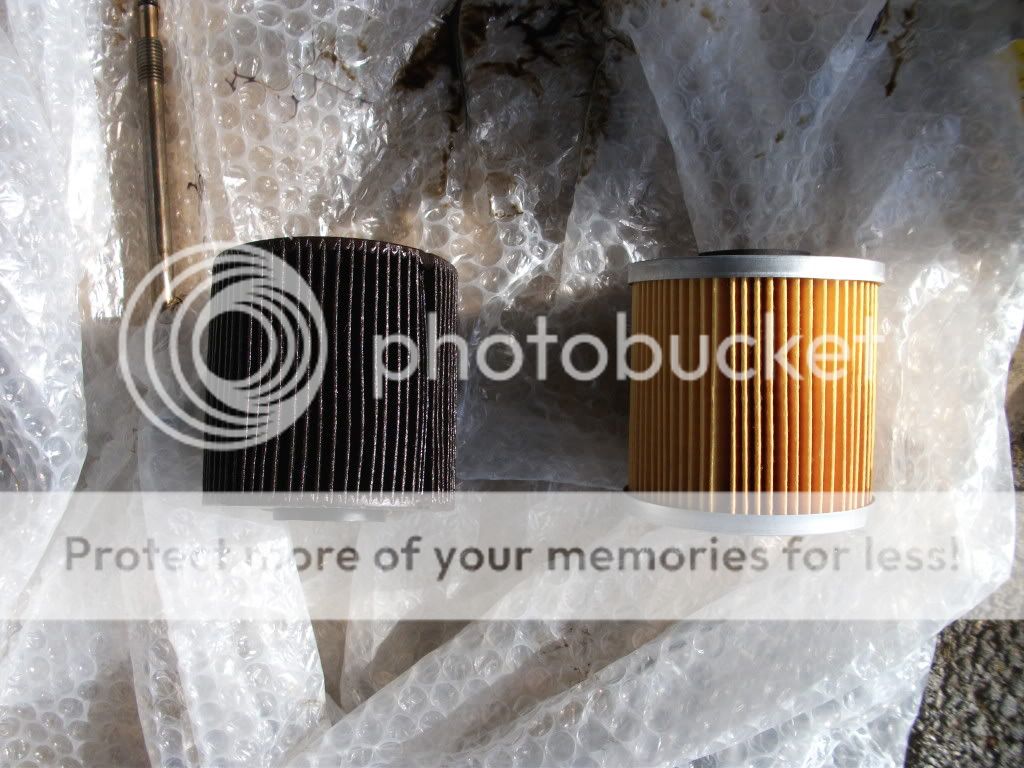
Old filter vs new.
E36_151.jpg


A picture I took whilst waiting for the oil to drain.
E36_152.jpg


Job done! Comments welcome. :D
 
Similar threads

Similar threads


Please watch this on my YouTube channel & Subscribe.


Back
Top