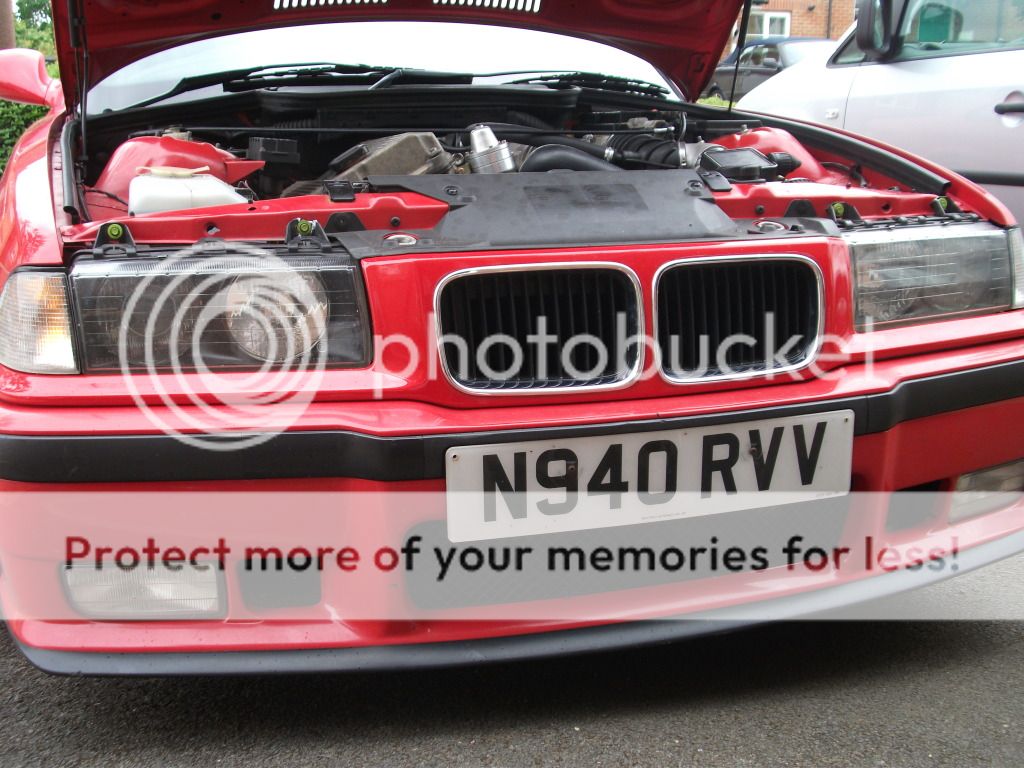
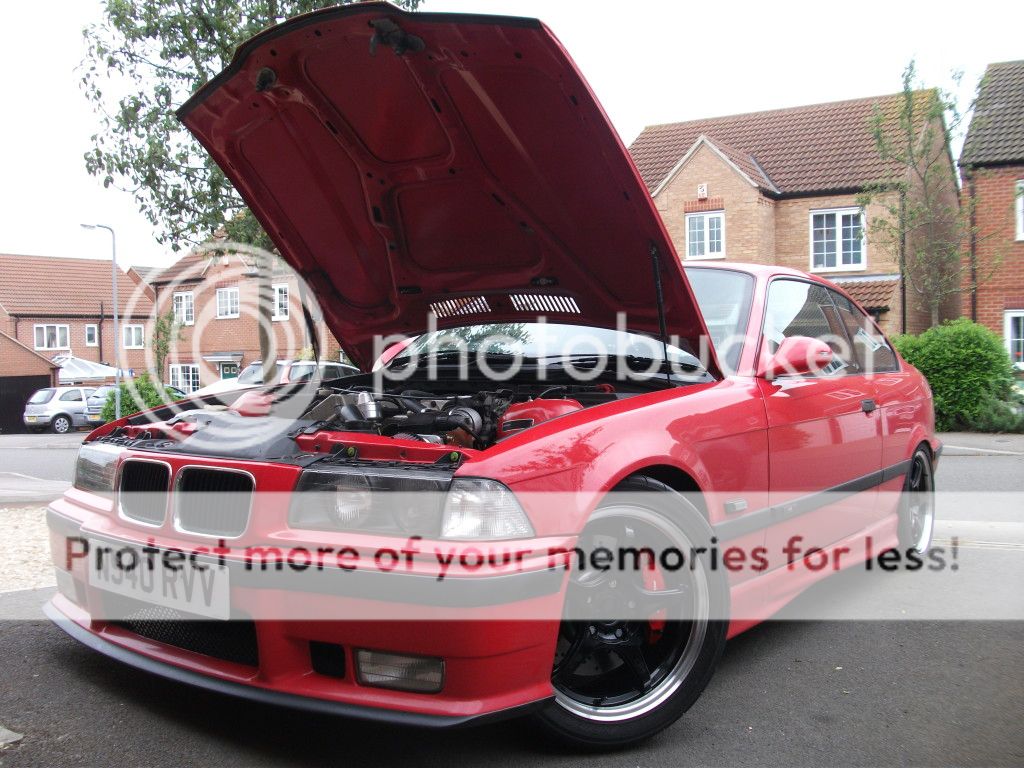
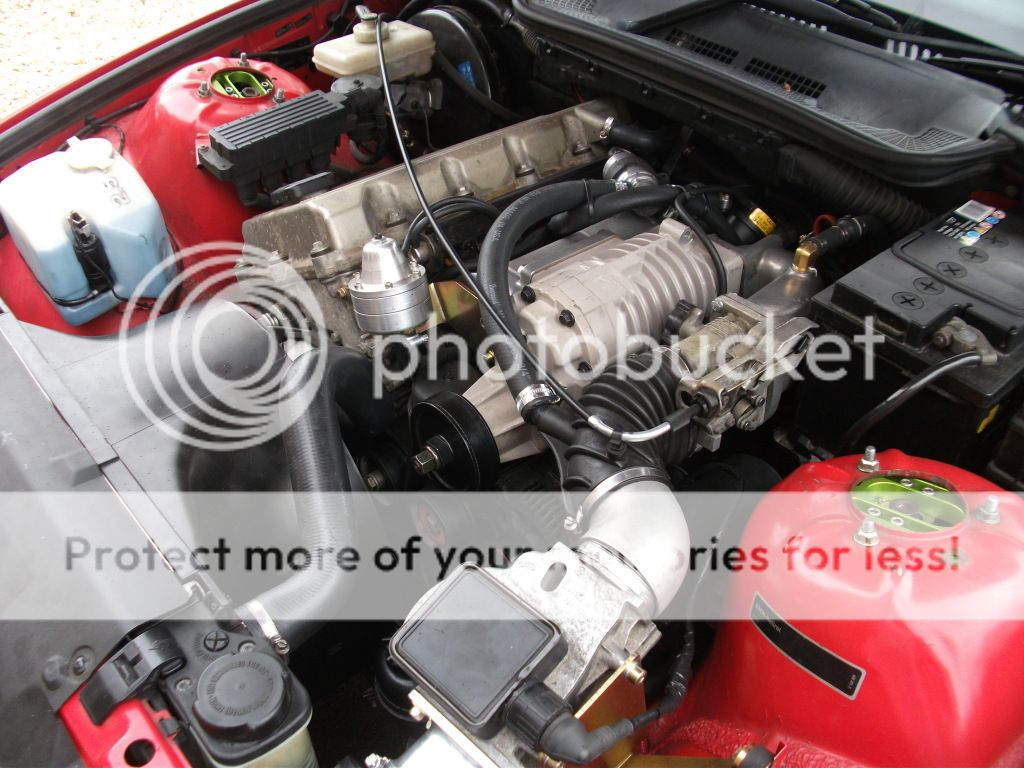
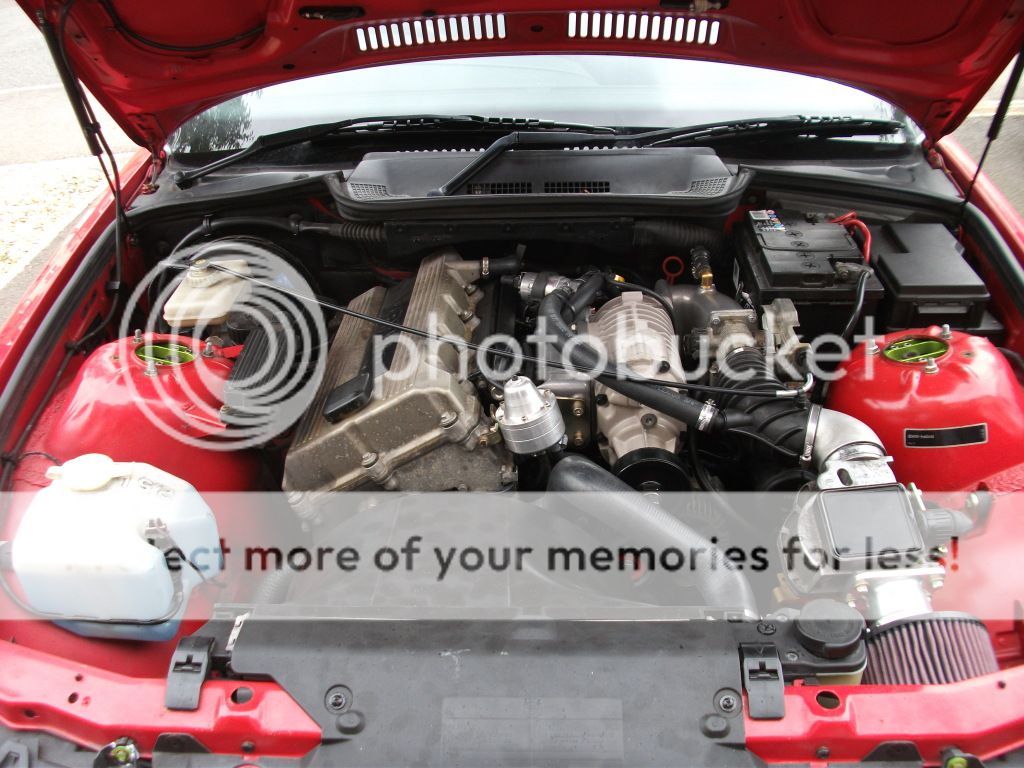
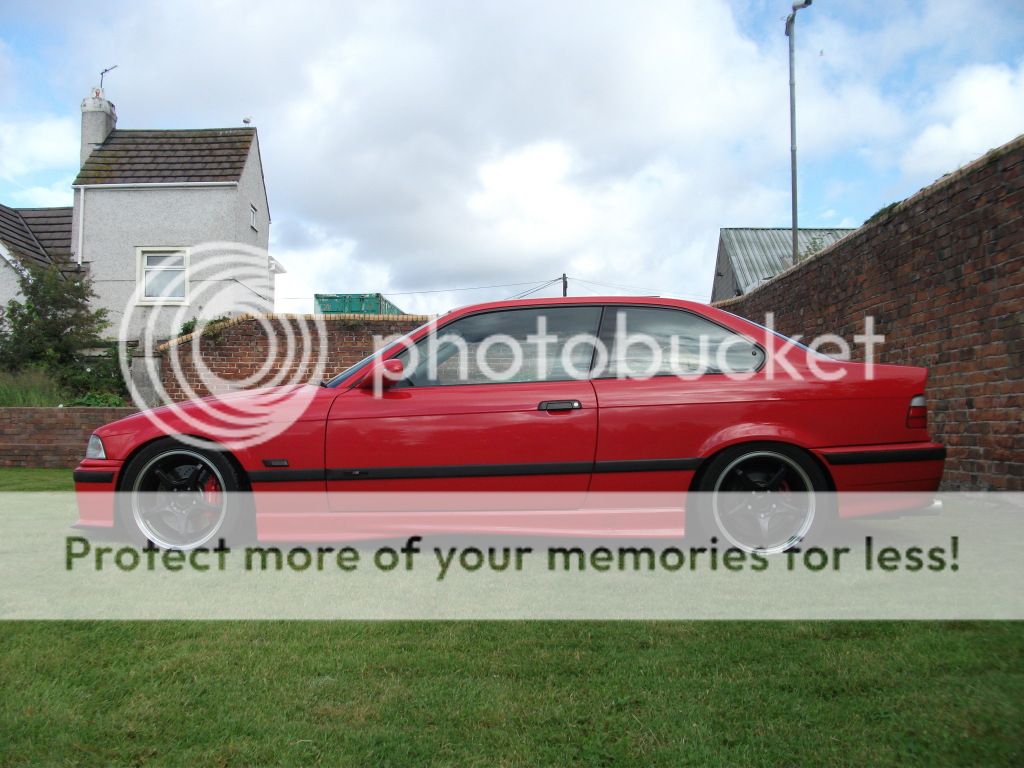
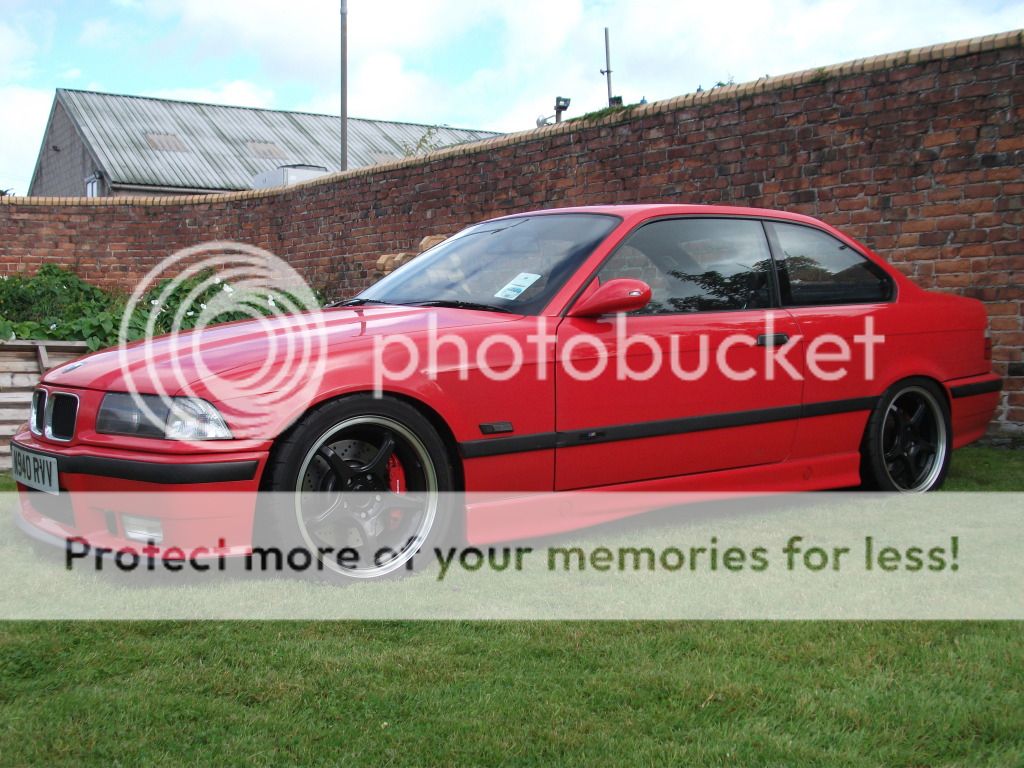
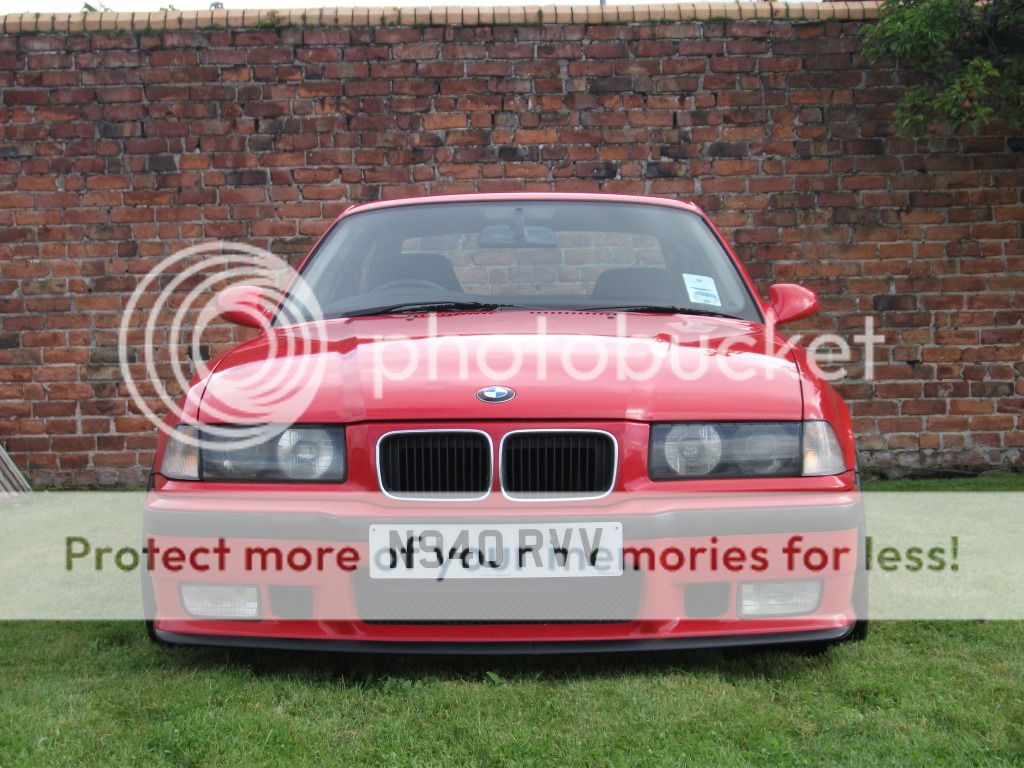
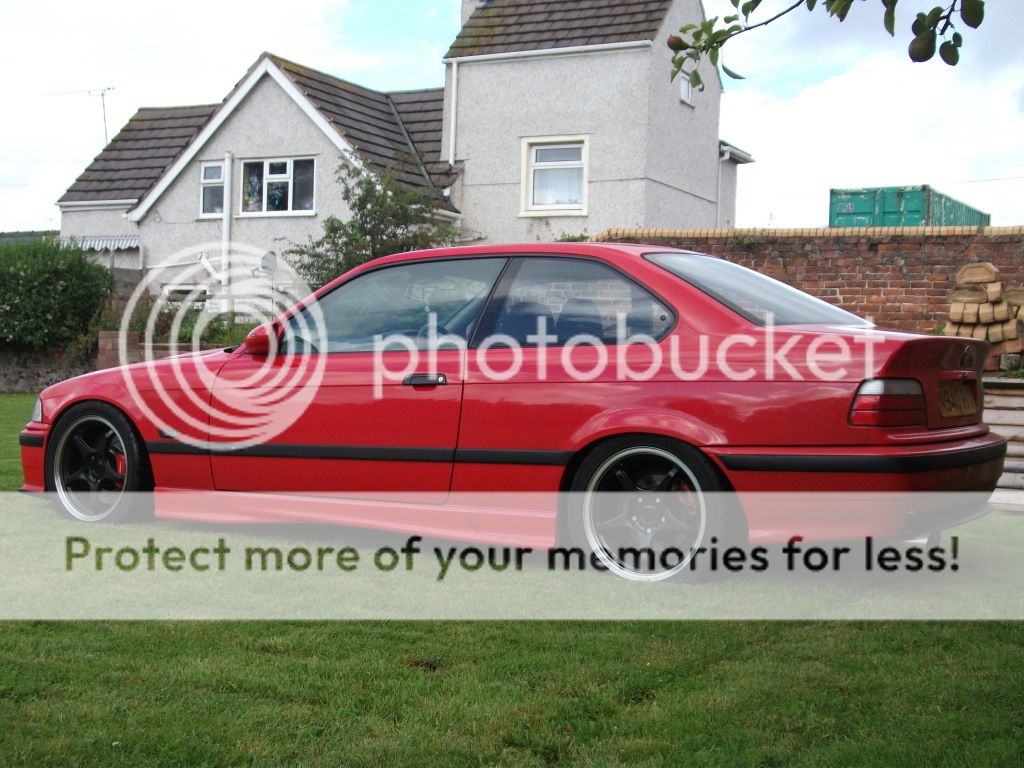
Prince's BMW E36 318is Coupe

Hi all,

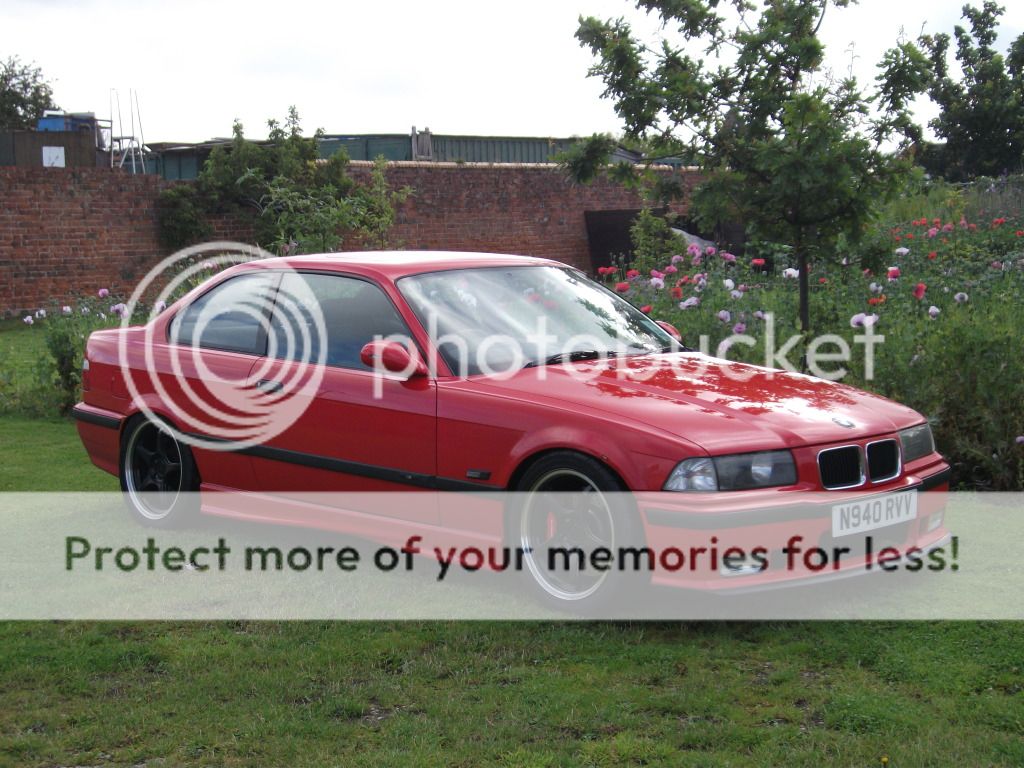
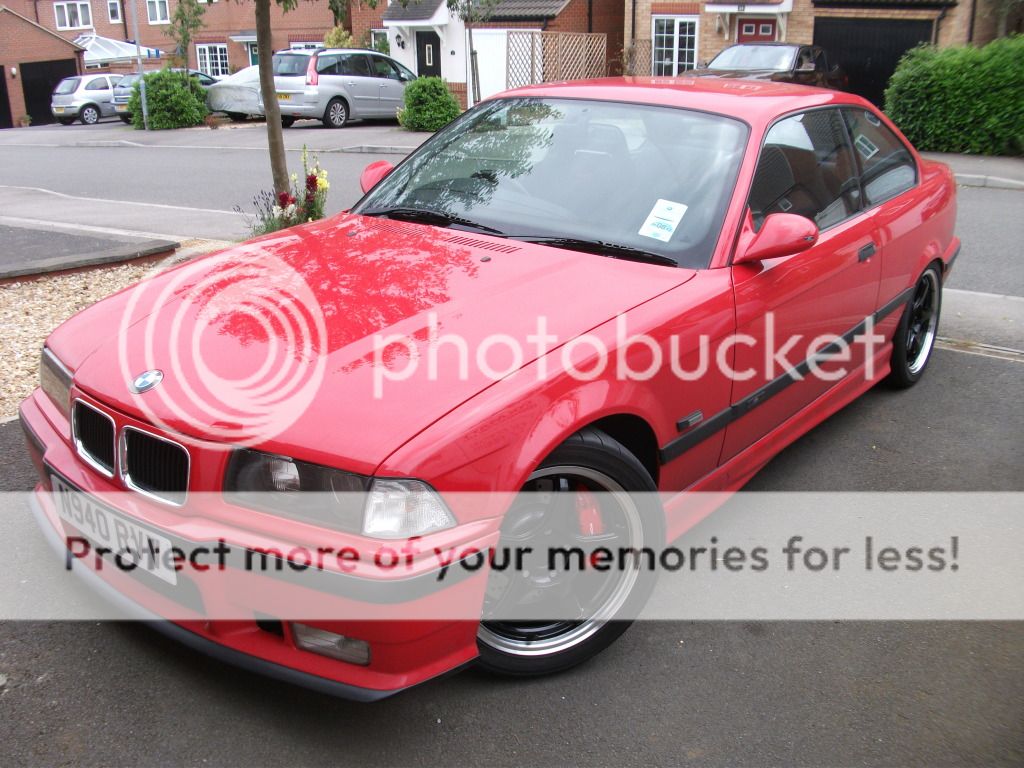
I bought this car quite a while ago. Originally I got the car as my Civic was involved in an accident and I needed something to get me from A to B, but wanted something that would hold it's value. I travelled to Peterborough one very snowy evening to check the car and it was fine (mechanically) so I lowered the seller to £1200 and drove it away that night. After owning the BMW for a while I decided to keep it instead of the Civic.

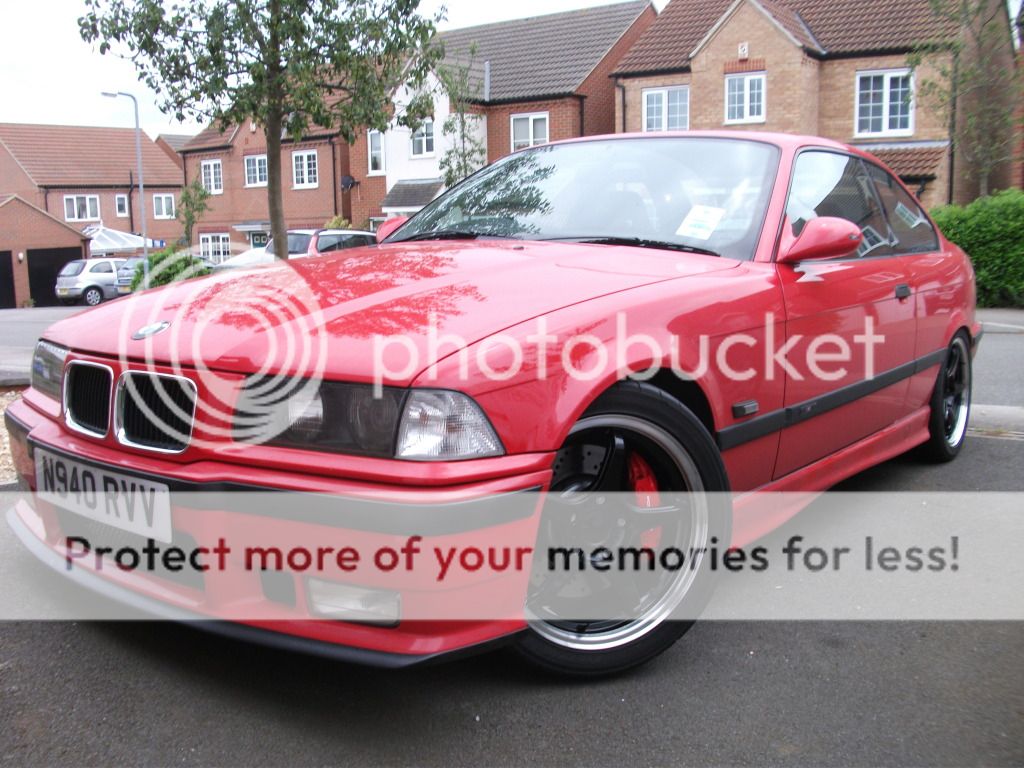
I've quietly started my project over the last month or so and decided to share it with everyone on here. It's not the most powerful car in the world but right now it fits the bill perfectly.

The previous owner's work wasn't the best so I have to correct scratches, rust and the awful back box. I've already had to replace a blown manifold (common problem on the M42 lump) and replace the clutch thanks to the release bearing. He did have some taste though as M3 rear lights have already been installed and the car has lowering springs (which will do for now). The car also had the full tool kit, torch, warning triangle and first aid kit.

My plans are:

Cosmetics
- M3 Body Kit
- AC Schnitzer Mirrors
- MTEC Mouldings
- BBS Style 5s (Summer Use)
- Smoothed Boot
- Lashings Of Carbon Fibre

Suspension
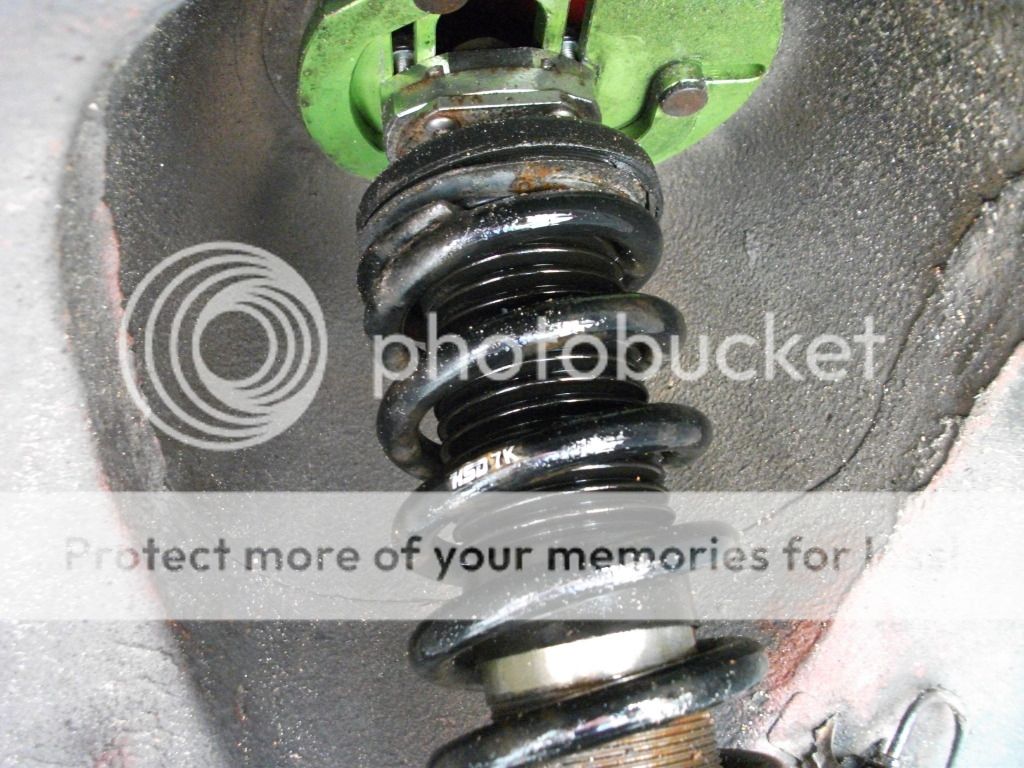
- HSD Coilovers (Fully Adjustable)
- X Brace
- Eibach Anti-Roll Bars
- Powerflex Purple Poly Bushes
- Front Upper Strut Brace
- Rear Upper Strut Brace

Power (Aiming for 160bhp+)
- Scorpion Exhaust
- Simota Carbon Fibre Induction Kit
- Big Bore Throttle Bodies
- Remap

Brakes
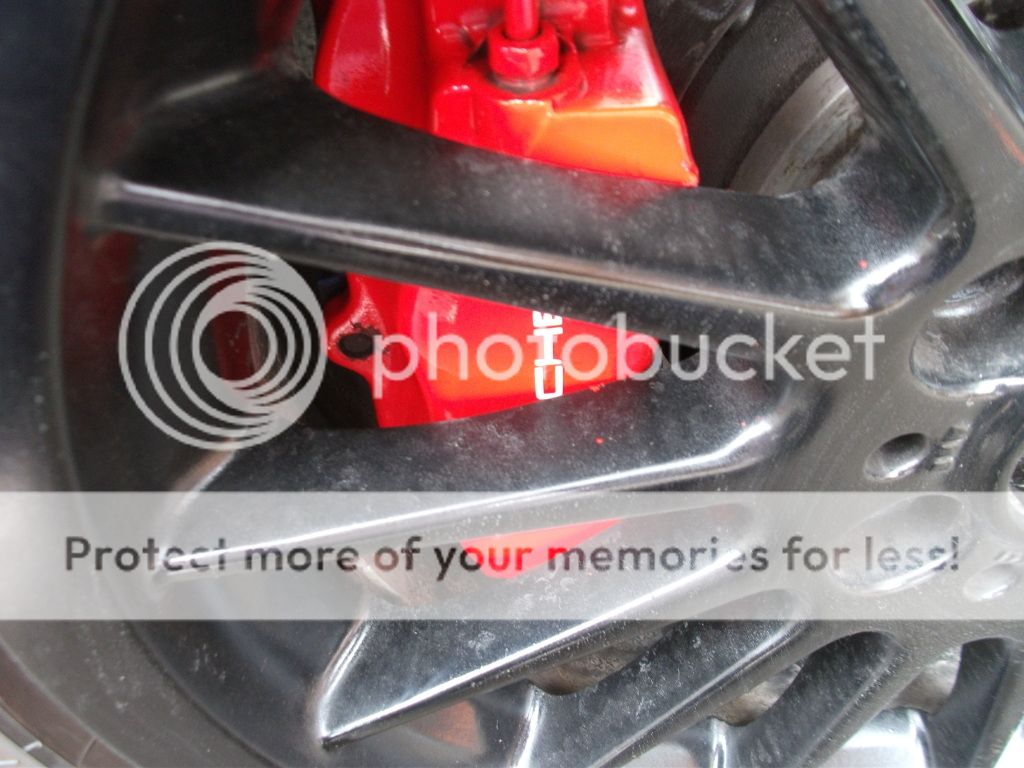
- Either a 330i conversion or an M3 conversion

Interior
- Honda Integra DC2 Type R Recaros
- Sport Headlining Conversion

In the future I will look into the possibility of a turbo or an engine conversion.

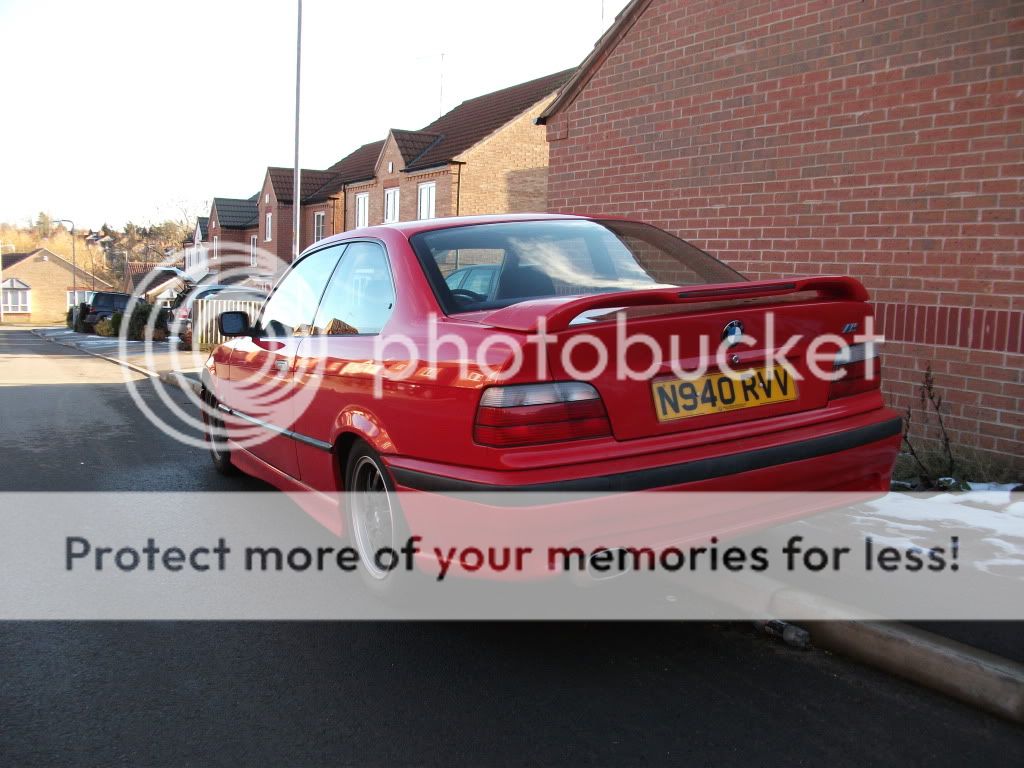
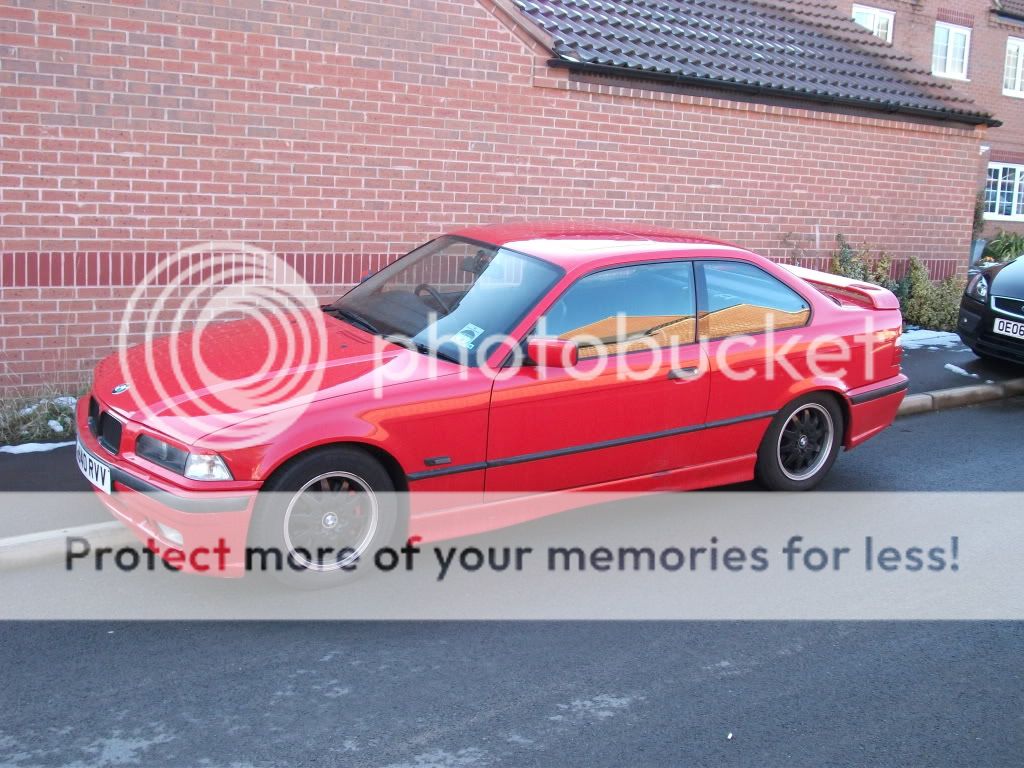
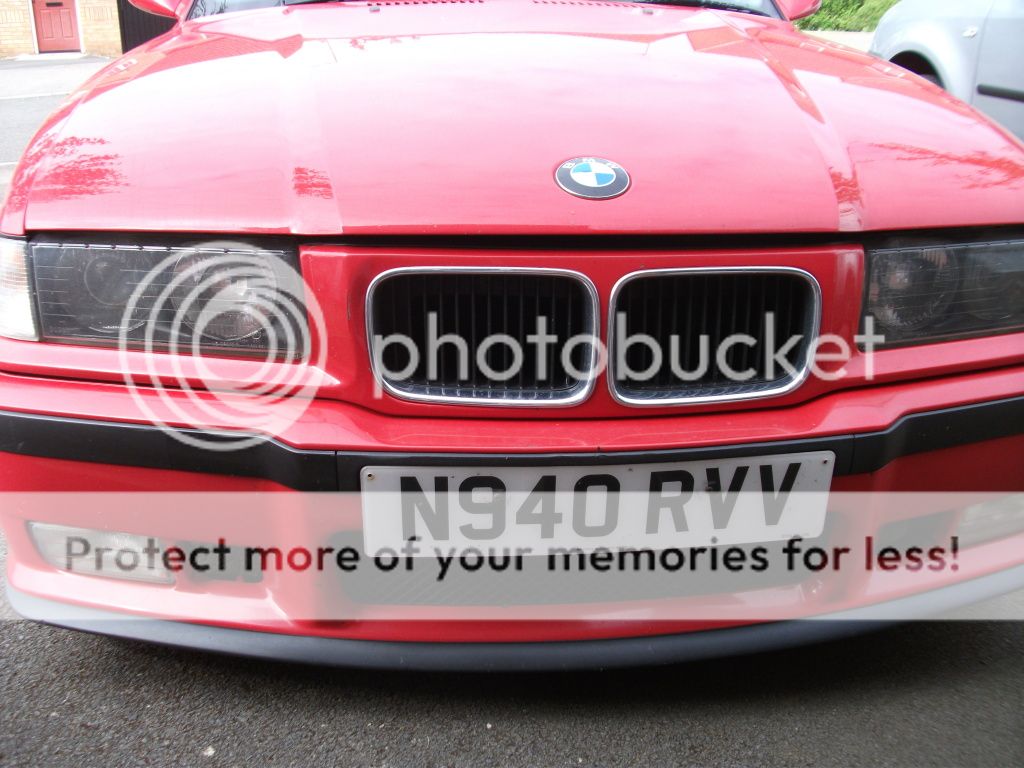
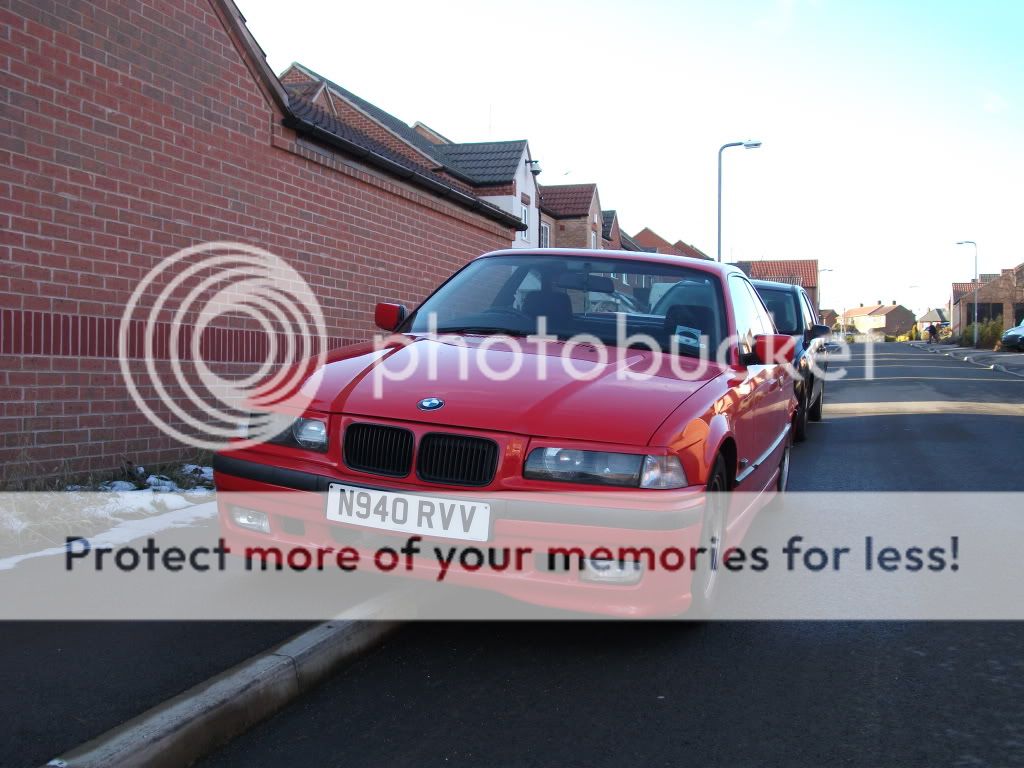
This is how it looked when I bought it:
DSCF0058.jpg


DSCF0062.jpg


DSCF0059.jpg


Obviously those awful eye brows had to come off, and that terrible M badge had to be removed.

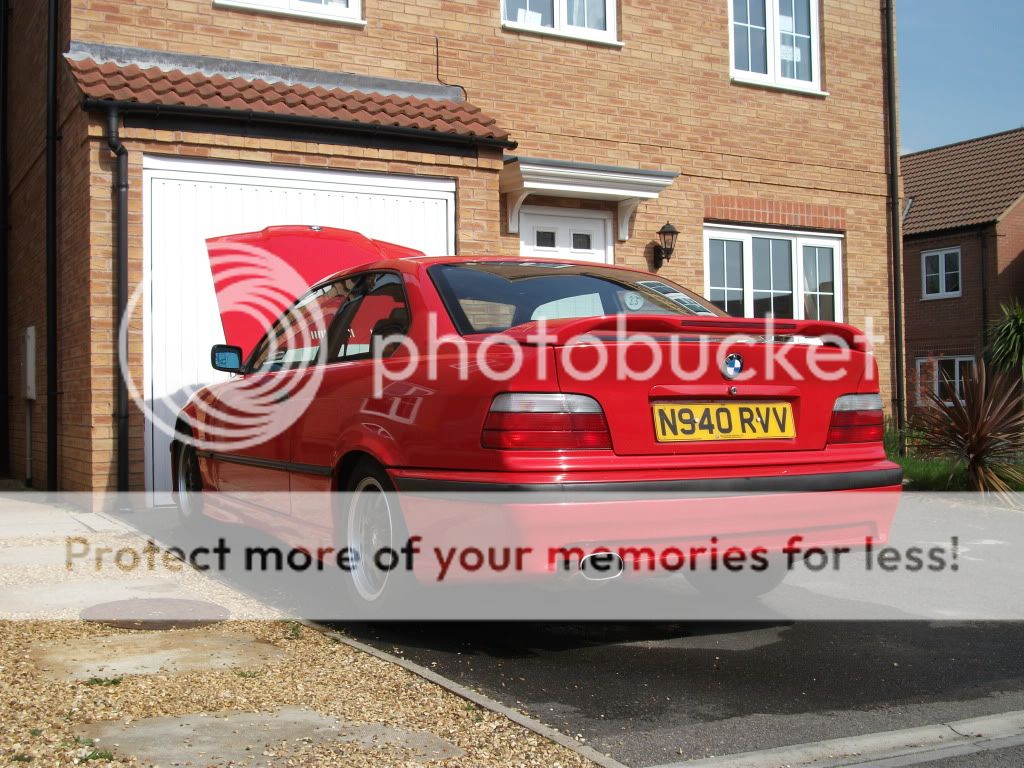
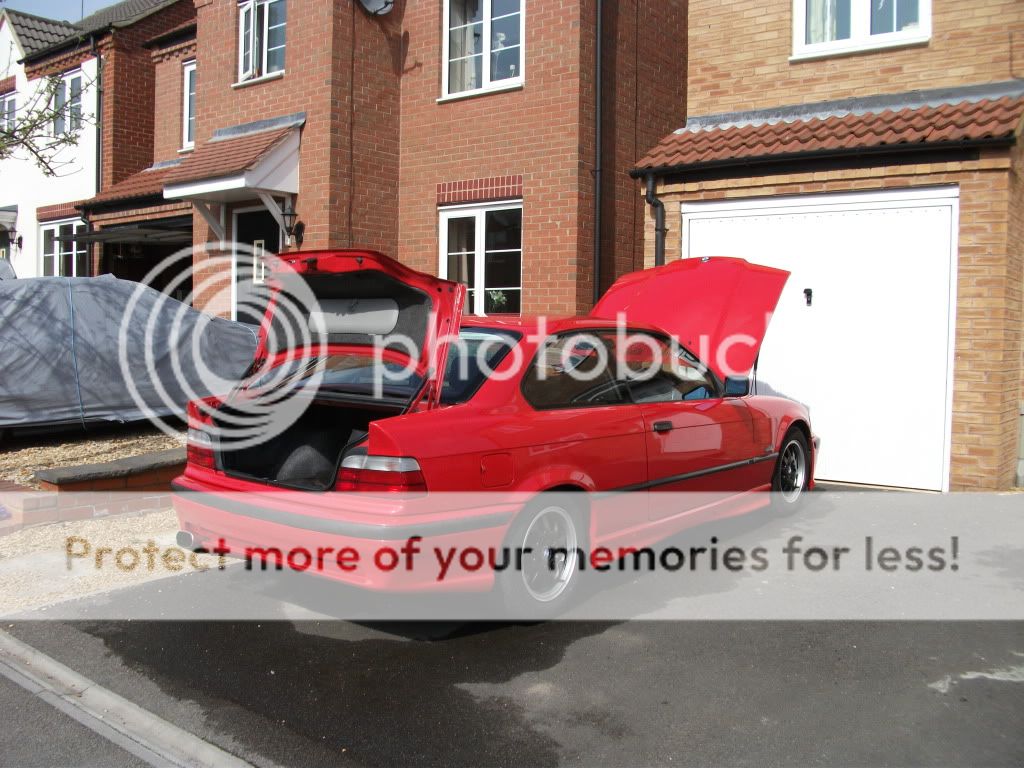
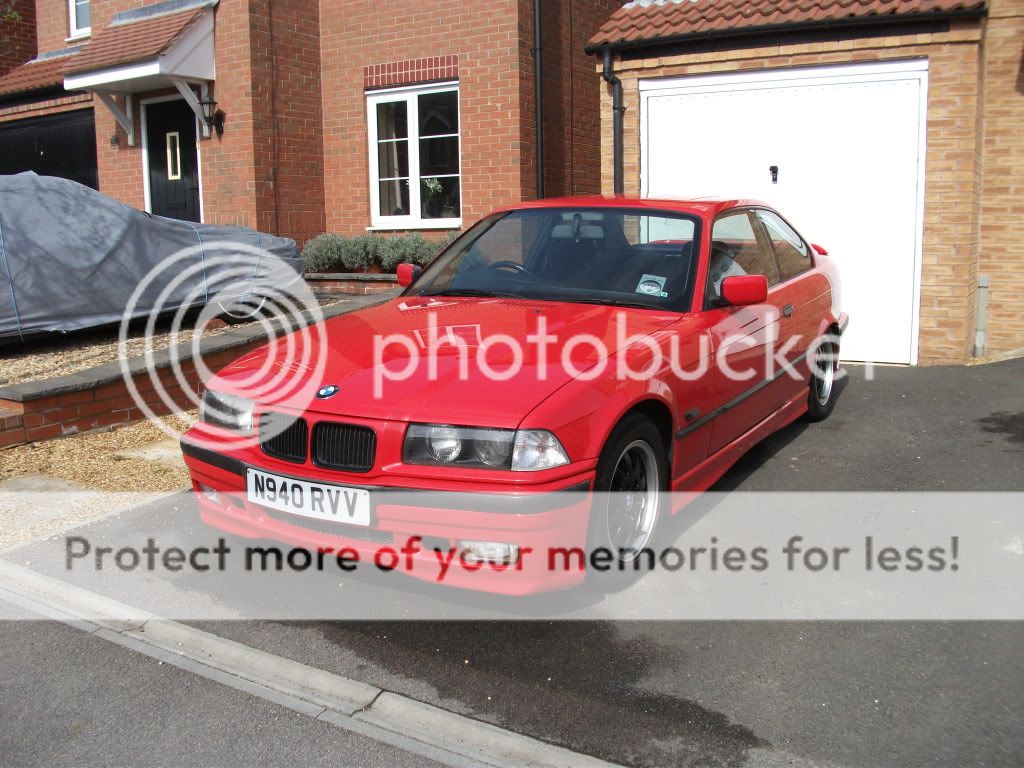
So as soon as I had the time I removed them and gave it a clean:
E36_019.jpg


E36_007.jpg


E36_005.jpg
 
Last edited:
Looking good mate. So why do you need the new wing ? Had a meeting with a hard object that has bent it in a way that does not suit it ? Or is it for a practice for some dark magic ? Don't know, but I'm intrigued and want to know !!
 
Looking good mate. So why do you need the new wing ? Had a meeting with a hard object that has bent it in a way that does not suit it ? Or is it for a practice for some dark magic ? Don't know, but I'm intrigued and want to know !!
Rust i beleive
 
Be sure to take those stickers off :p

Haha... Will do. ;)

Looking good mate. So why do you need the new wing ? Had a meeting with a hard object that has bent it in a way that does not suit it ? Or is it for a practice for some dark magic ? Don't know, but I'm intrigued and want to know !!

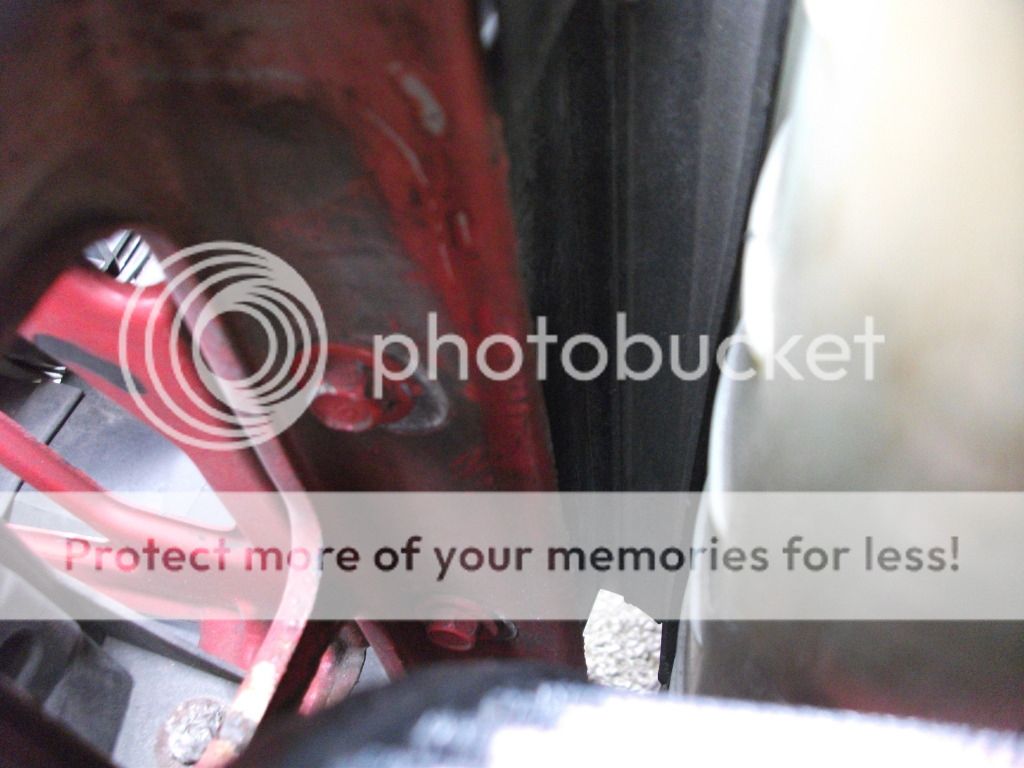
The front wing had a slight dent in and after I fitted the new rims and wide tyres the tyre would catch it on rotation. I tried to knock it out but as I'm not very gentle I kinda just knocked through it and made a hole. So to fix that temporarily I filled and rattle canned over it.

The pictures don't show it as they're either taken from too far away or taken from the other side.

nothing like sexy brakes to brighten up your day. :D They look sweet dude.

Indeed. I am most pleased with them. Can't wait to get them on and get the handbrake sorted at the same time.

Rust i beleive

That's what I thought. But you never know lol .......

Nope.

Couldve been stolen haha

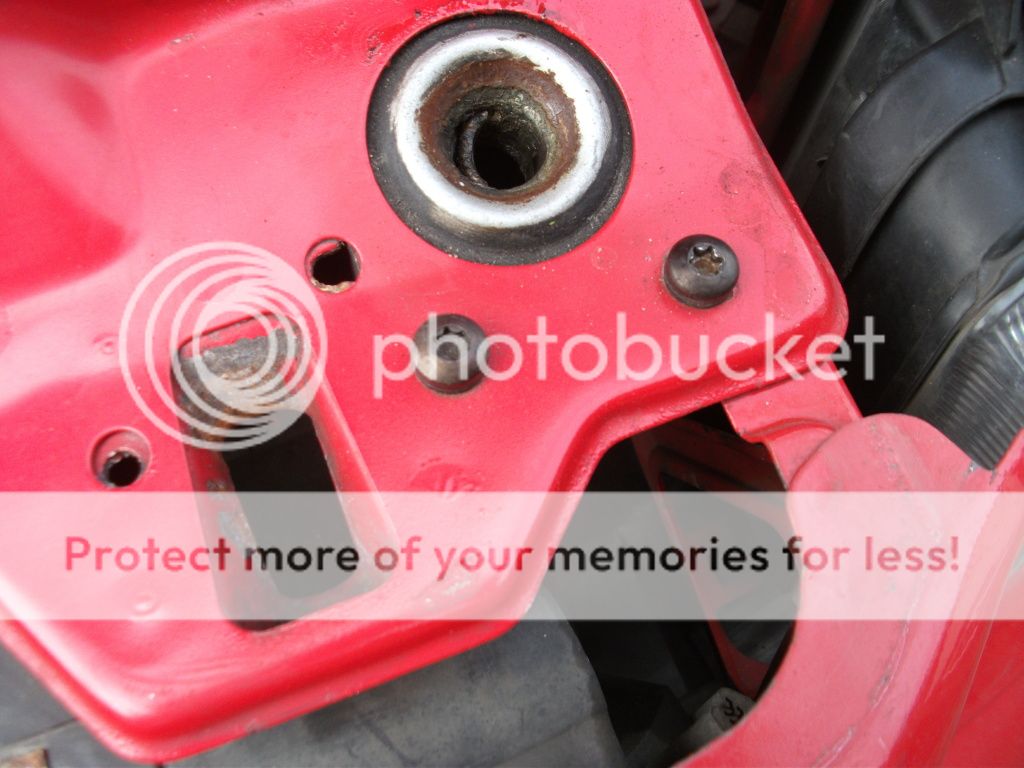
Not possible unless you get the bonnet open. Even then BMW decided to put torx screws in and to put it bluntly they are a #!#!#!#!#!#!#! to get off. So much so I'm gonna have to pay my mate a visit at his garage and use some proper equipment.
 
finally caught up
looks fantastic mate, glad you managed to get it to fit even with all the issues

the nitric discs i ran on the front of the bora but went for their cross grooved ones. 20k odd miles and there wasnt even a lip on them
 
finally caught up
looks fantastic mate, glad you managed to get it to fit even with all the issues

the nitric discs i ran on the front of the bora but went for their cross grooved ones. 20k odd miles and there wasnt even a lip on them

Thanks buddy. Got there in the end! Good to know about the Nitrac discs. I've never heard of them but for the prices vs the quality I can't complain.
 
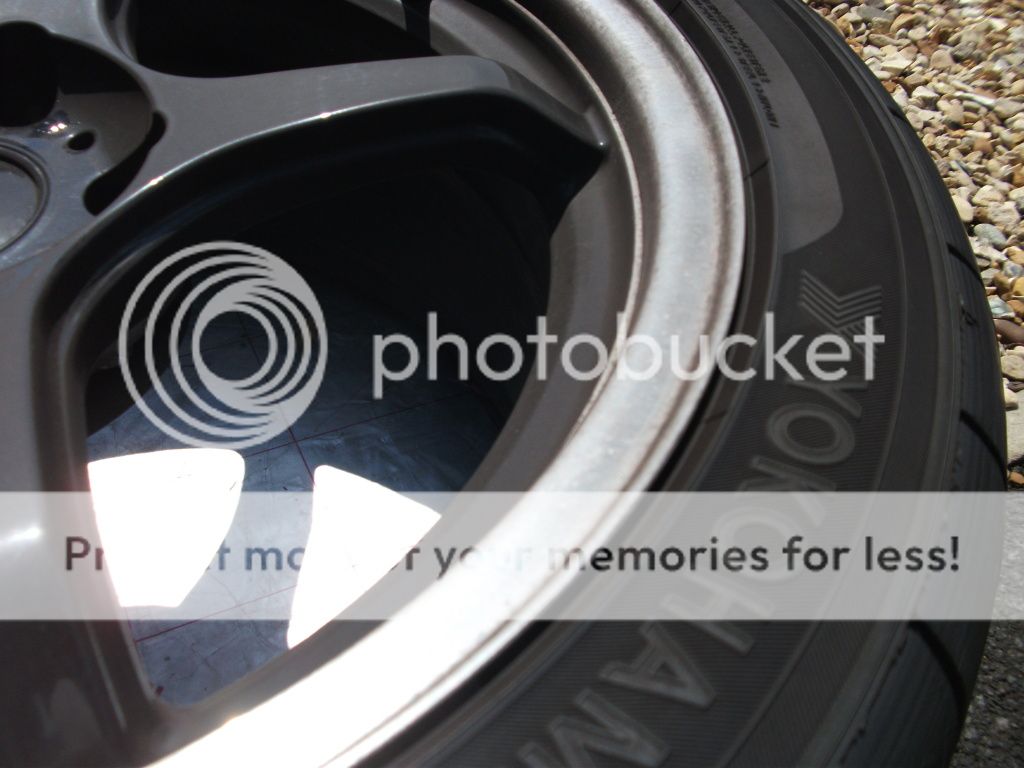
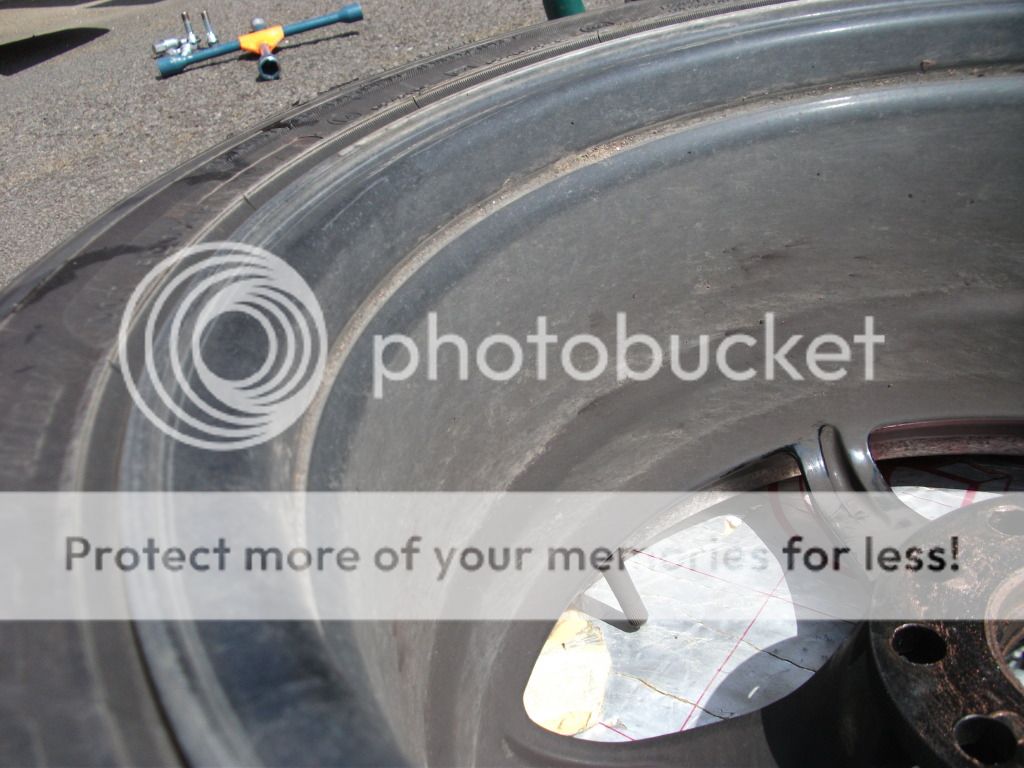
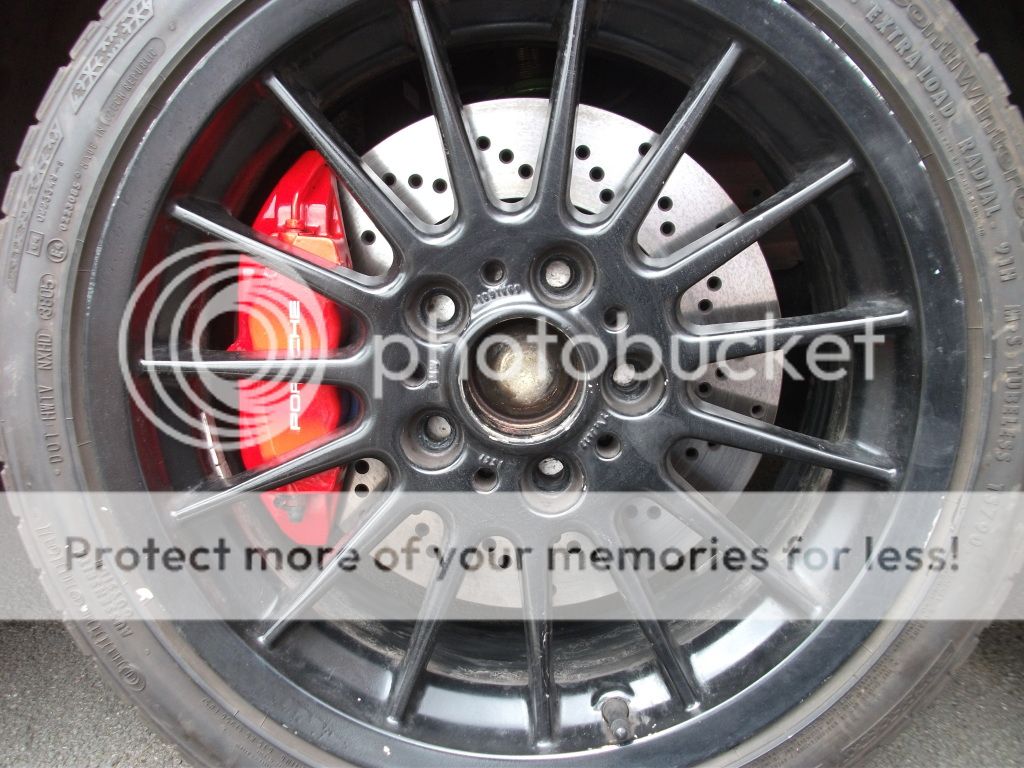
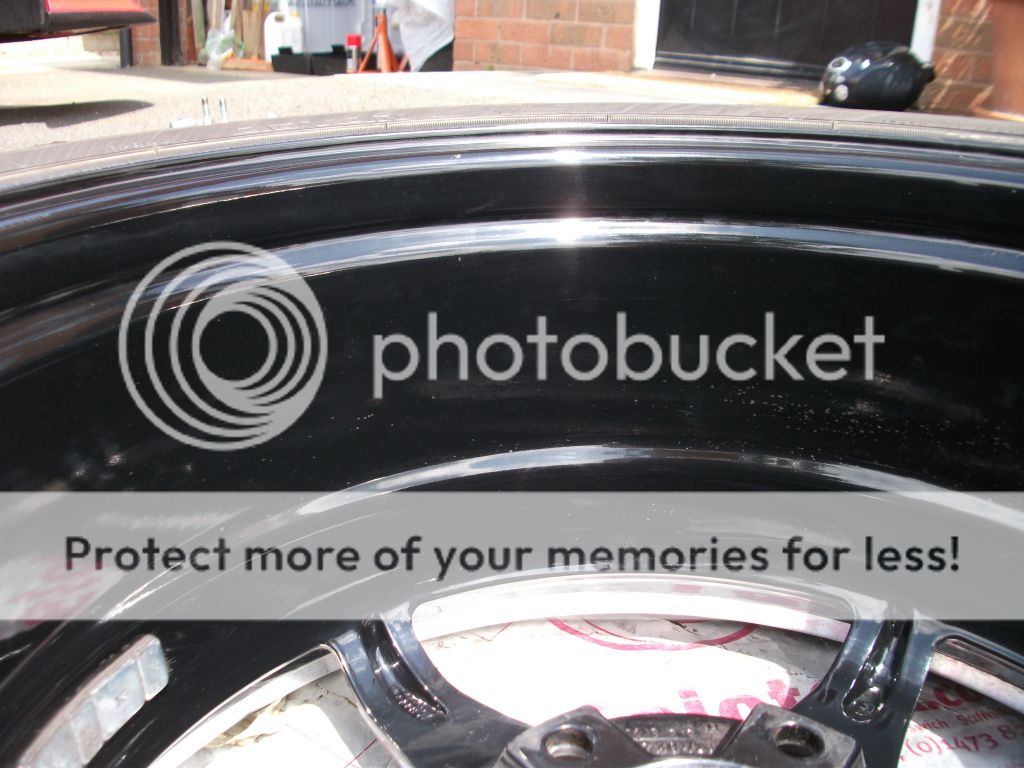
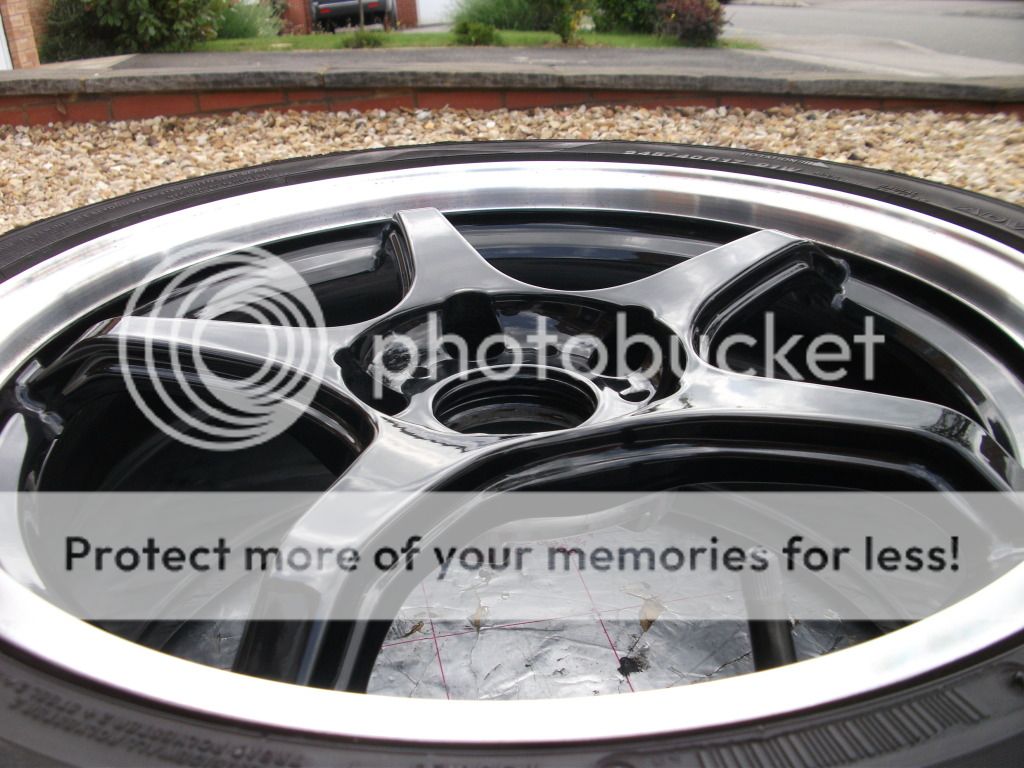
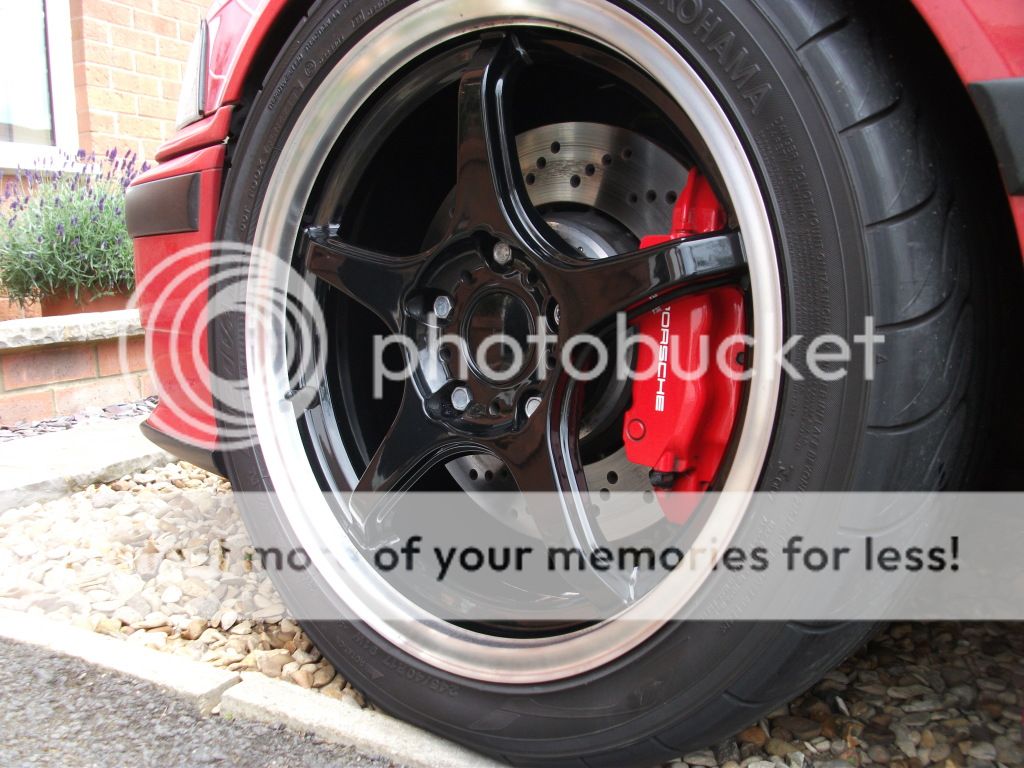
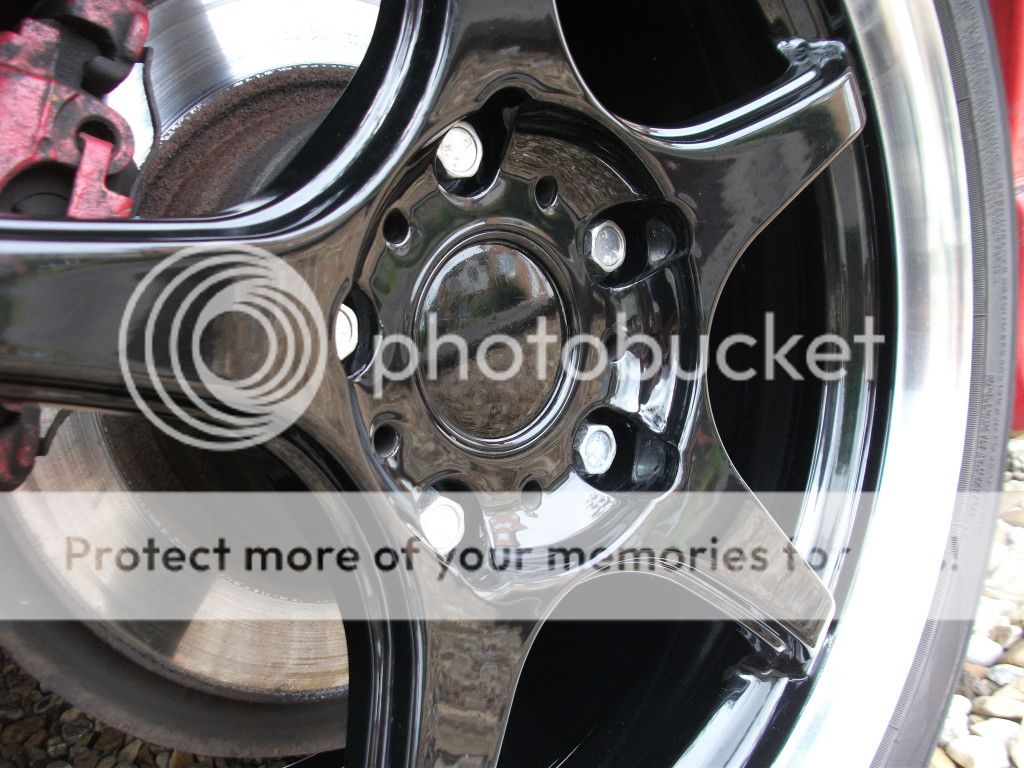
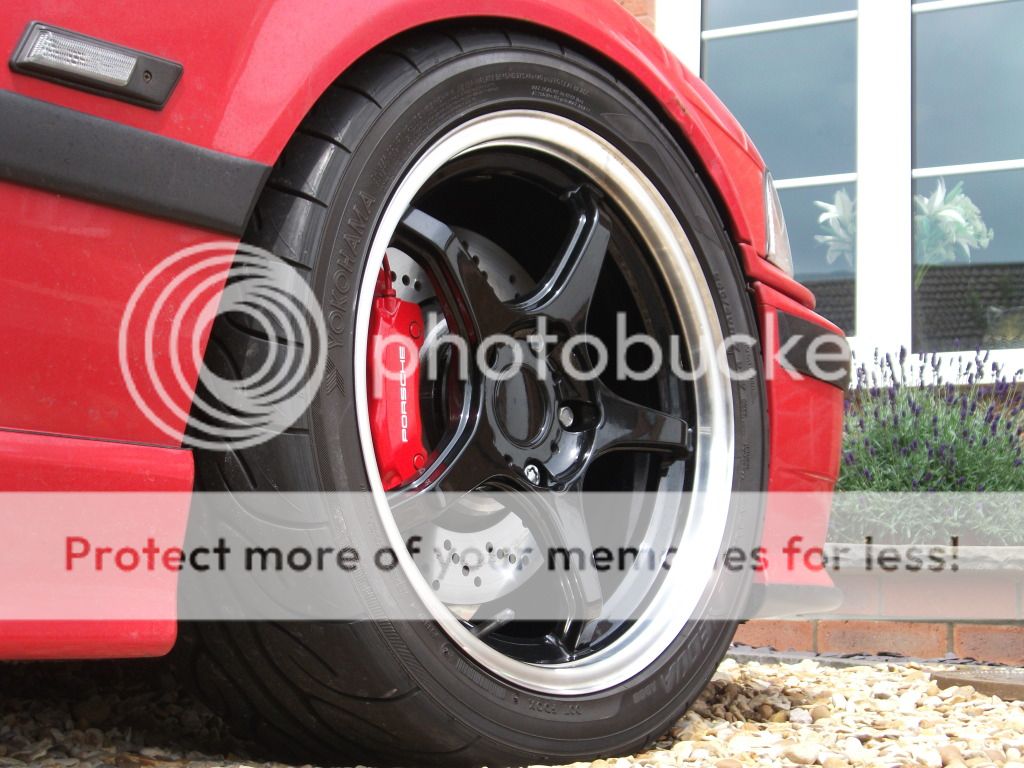
Today it's been nice and sunny here so it was a perfect opportunity to take my wheels off and give them a clean. I must confess I haven't done them since DC12 and they really needed it (as you can see!).

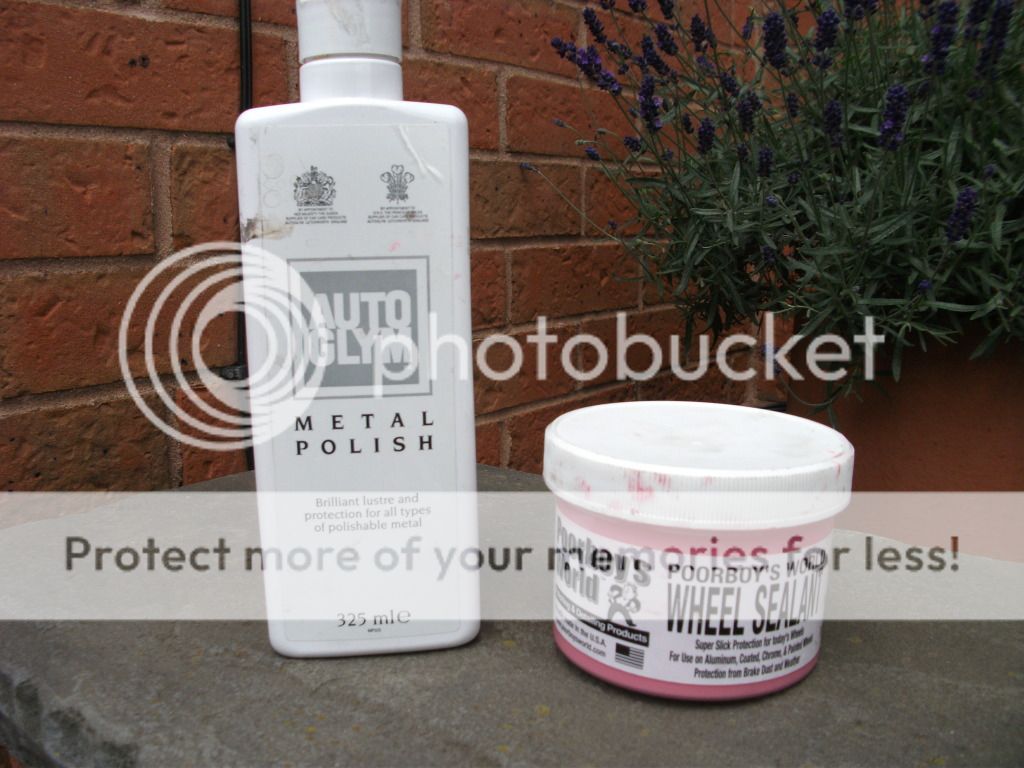
This is what I used.

249.jpg


Before.

240.jpg


241.jpg


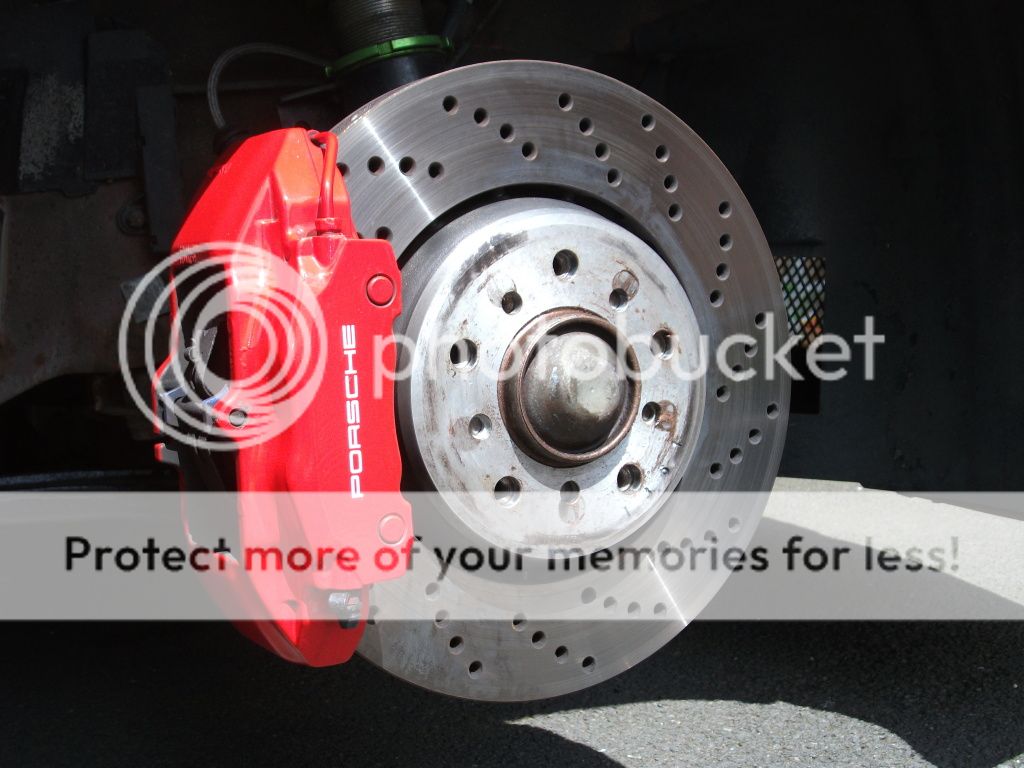
Also a perfect opportunity to clean the brakes and give the coilovers a lick of silicone.

242.jpg


243.jpg


Whilst the fronts were off I also checked to see what clearance I had with my winter wheels.

245.jpg


246.jpg


Not even 1mm! So I'll have to use a bigger spacer for winter. Probably a 15mm.

Here's the end result.

244.jpg


247.jpg


250.jpg


251.jpg


252.jpg


This doesn't really reflect how much time and effort was put into this, but definitely a job worth doing!

Thanks for looking!
 
oh my god.... Prince, that beamer gets hotter with every picture you take! One good looking car my friend. I do prefer these new rims to your older deep dish rims.
 
oh my god.... Prince, that beamer gets hotter with every picture you take! One good looking car my friend. I do prefer these new rims to your older deep dish rims.

Haha! Thanks mate. :D It's not the rims I prefer, it's the mahoosive brakes tucked behind them.

I'm the opposite. Iike deep dishes on beamers.

I like dish but the problem is you can't fit a proper BBK behind them, and to fit the dish you usually have to run stretched tyres.
 
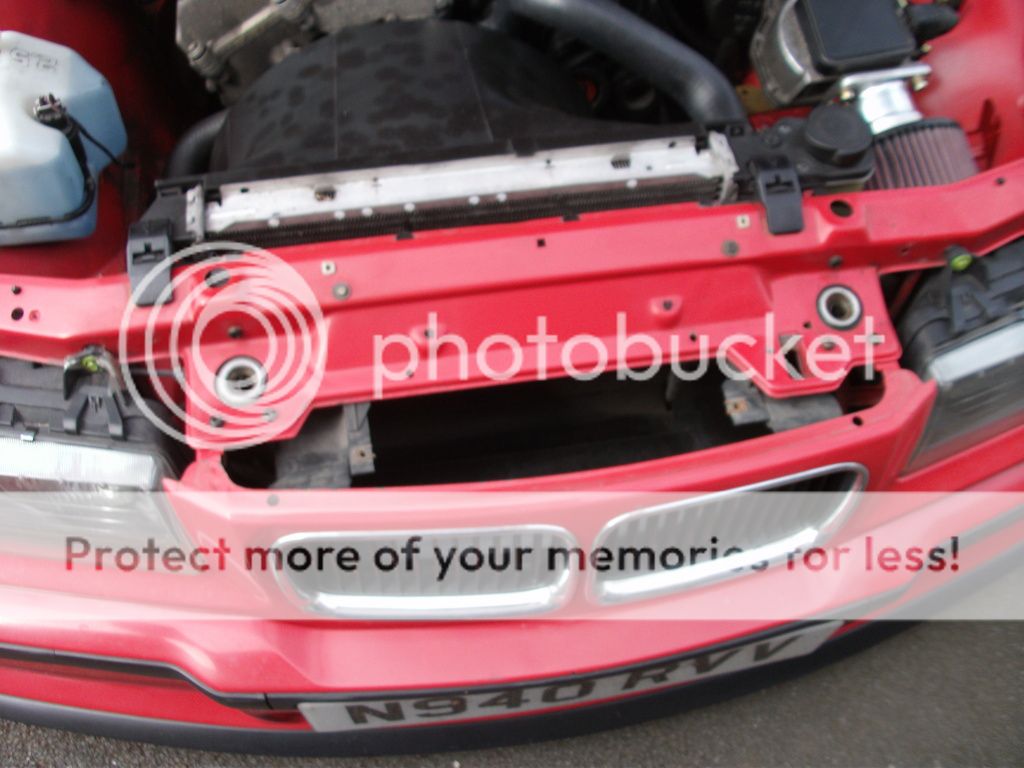
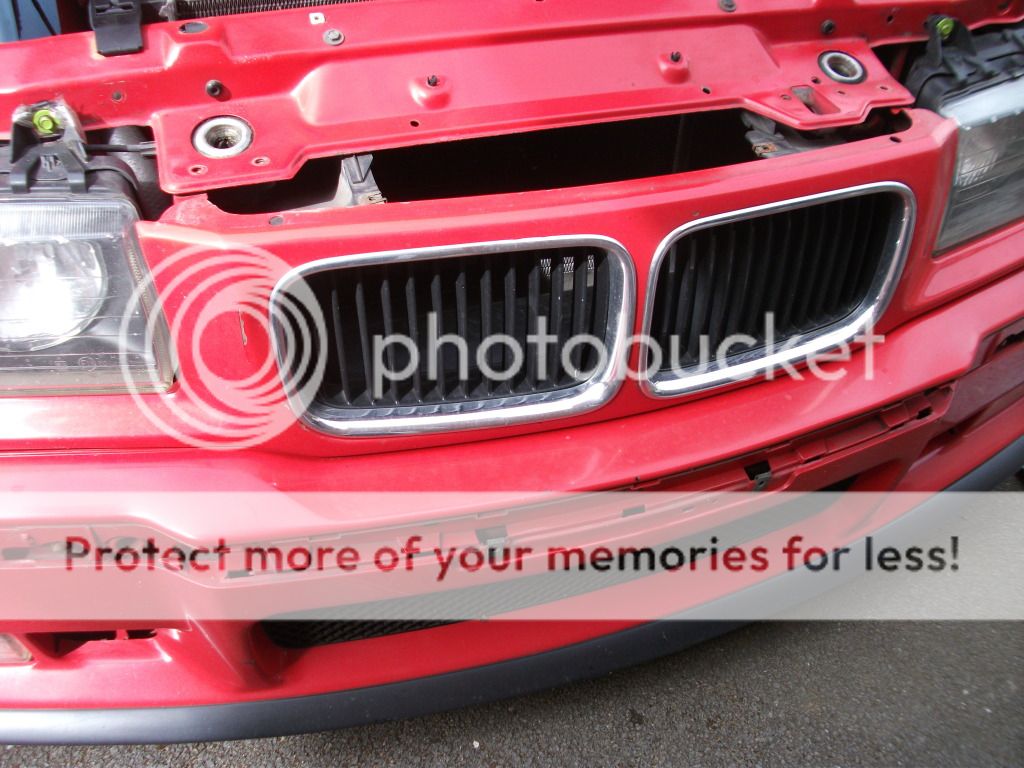
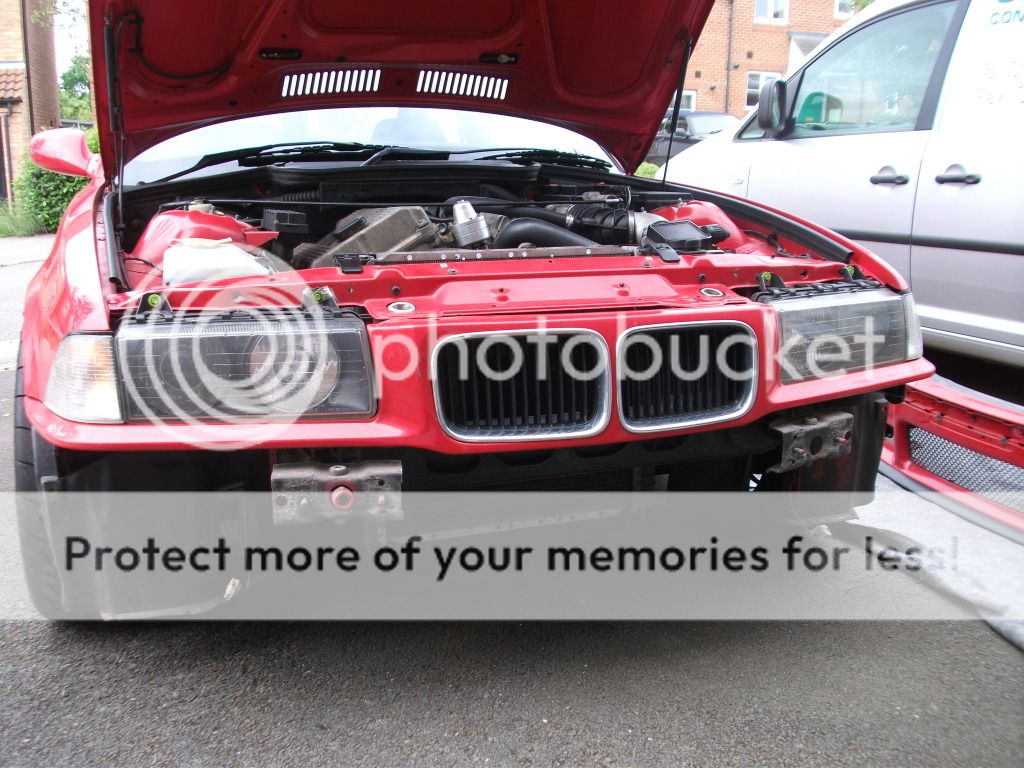
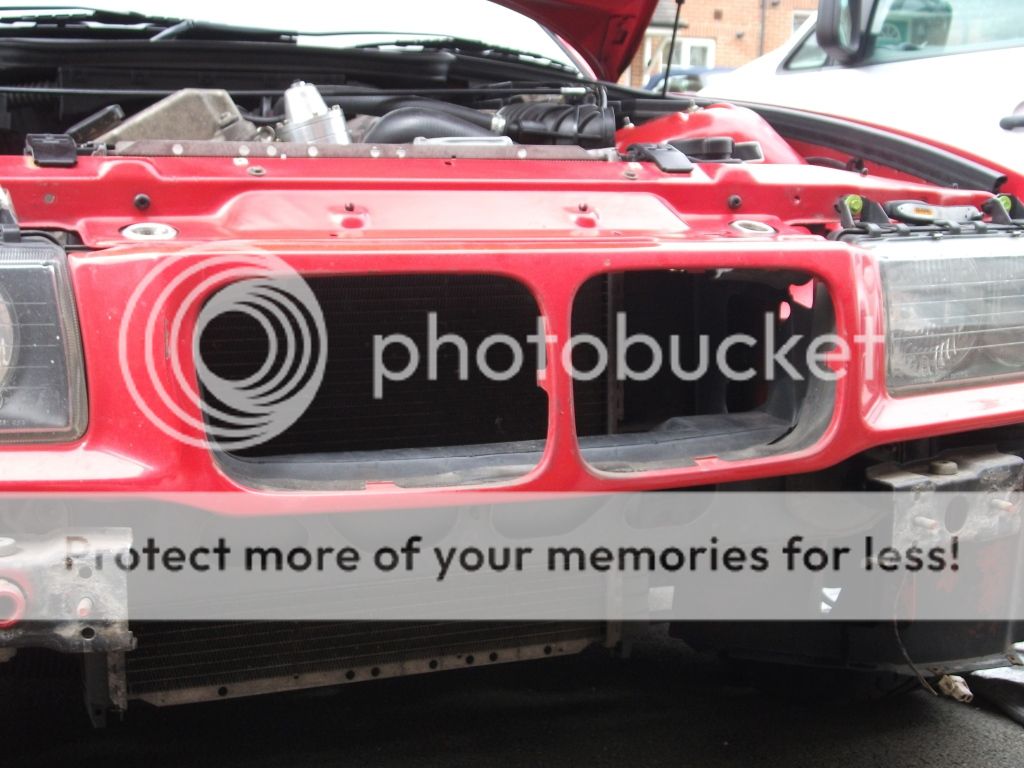
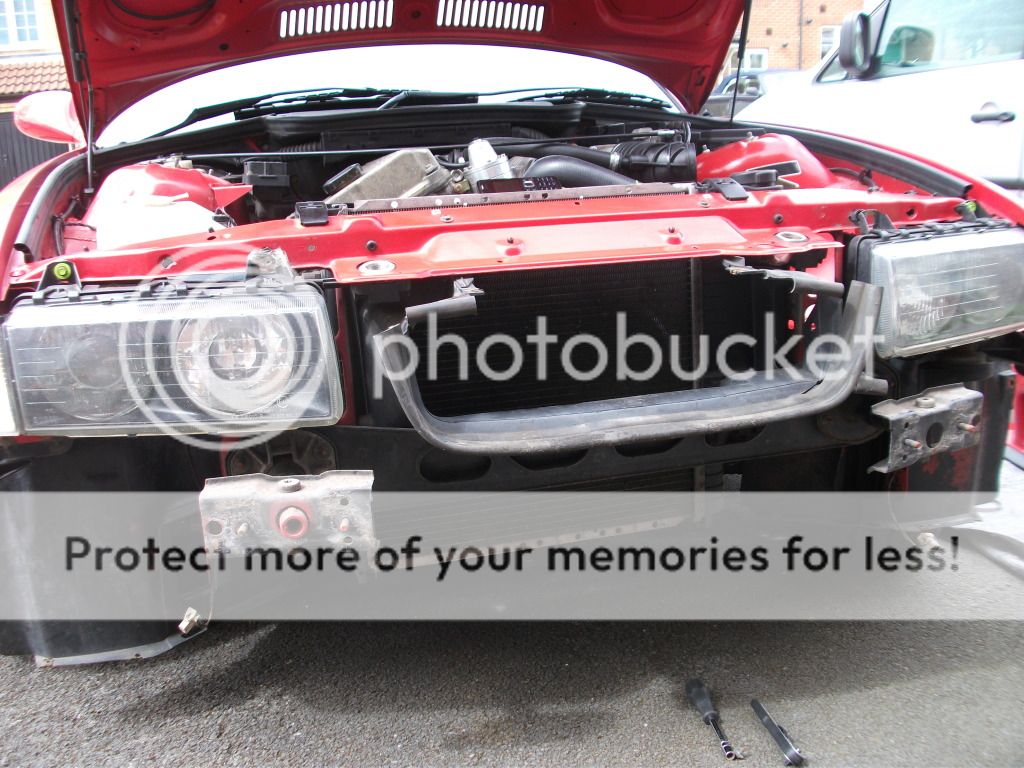
Another update today. I replaced the nose cone with a second hand one in hell rot. All I can say is what a #!#!#!#!#!#!#! of a job. Got there in the end though. If you want to know how to remove your nose cone then see the pictures below. Please bare in mind that I was trying to take the pictures quickly and I have never done this before so I just worked it out as I went along!

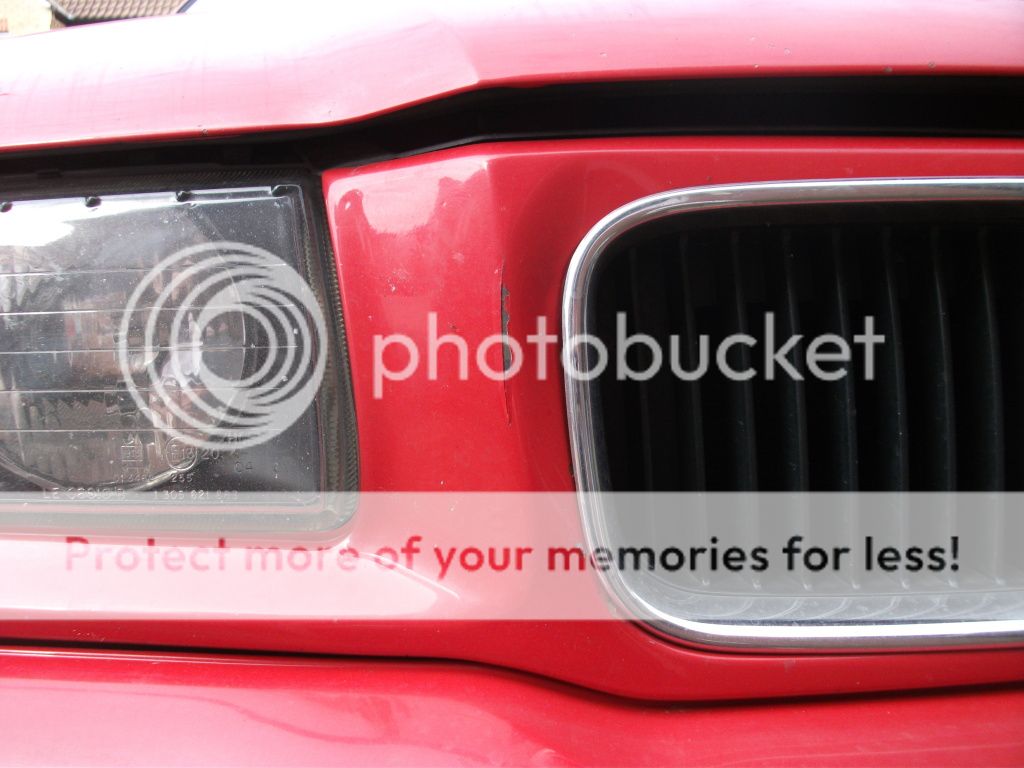
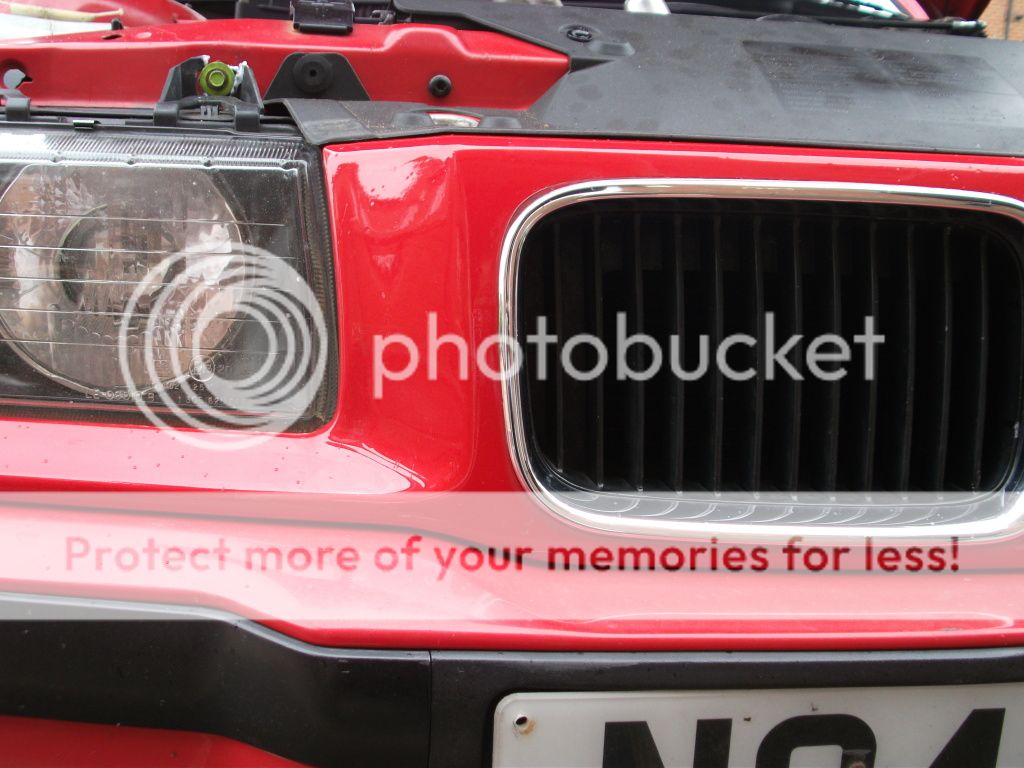
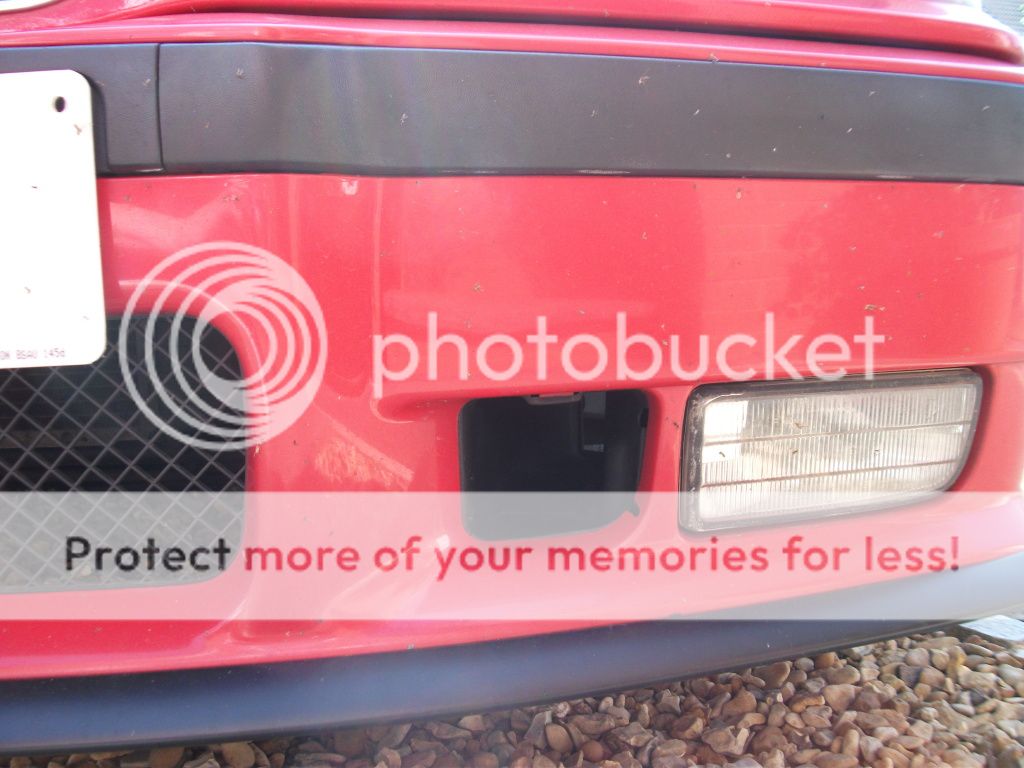
This little dent and scratch has bugged me a LONG time! It was the whole reason for swapping nose cones!

253.jpg


254.jpg


You'll have to remove this cover to gain access to a few of the bolts.

255.jpg


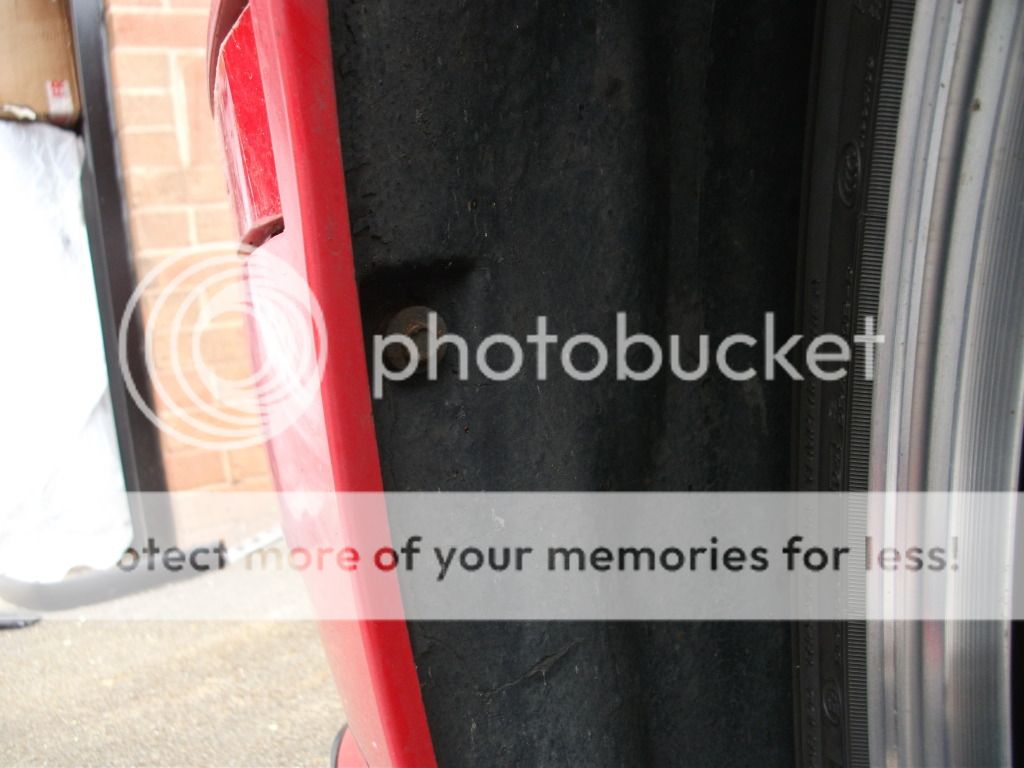
Of course the bumper has to come as well. 4 13mm bolts at the front behind the trim.

257.jpg


An 8mm bolt in either wheel arch.

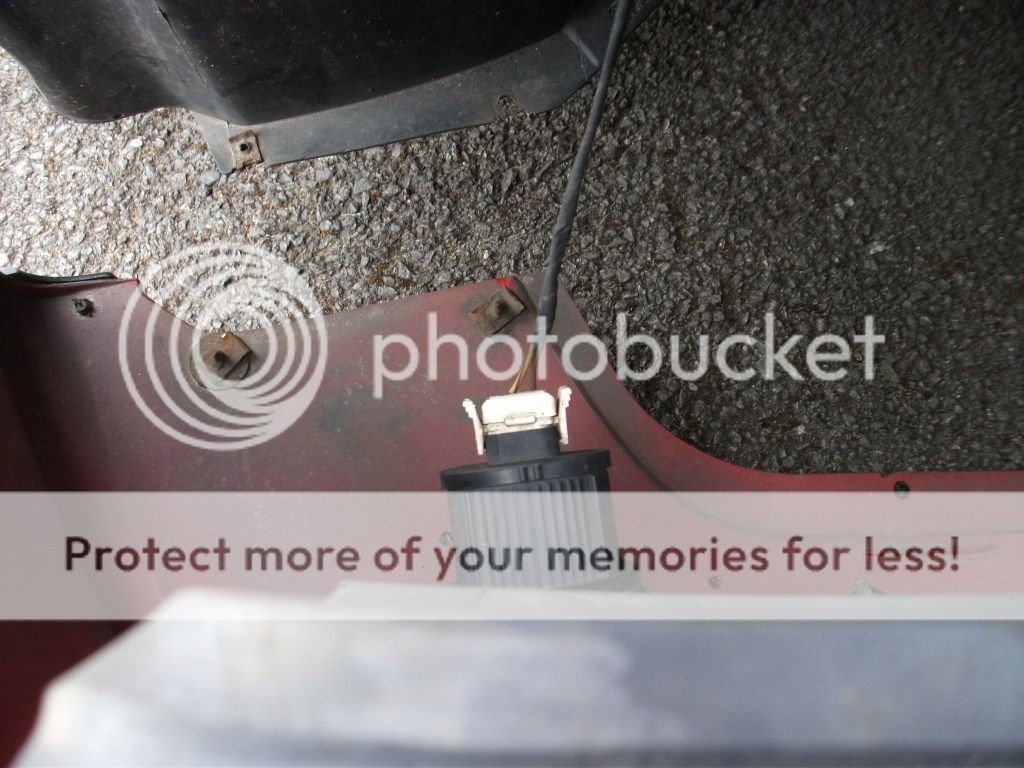
258.jpg


Unplug fogs if you have them as well.

259.jpg


If you have pork chops and brake ducts remove them, however I do not.

The bumper will now slide off. Make sure you have something to put it on whilst it is off the car.

260.jpg


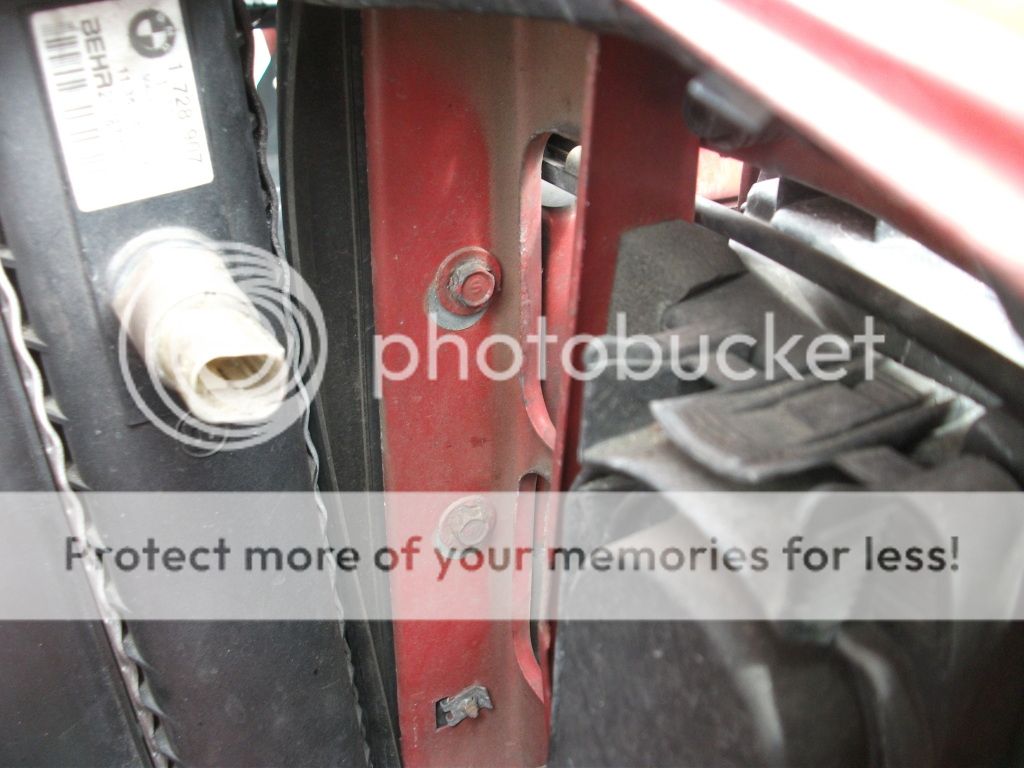
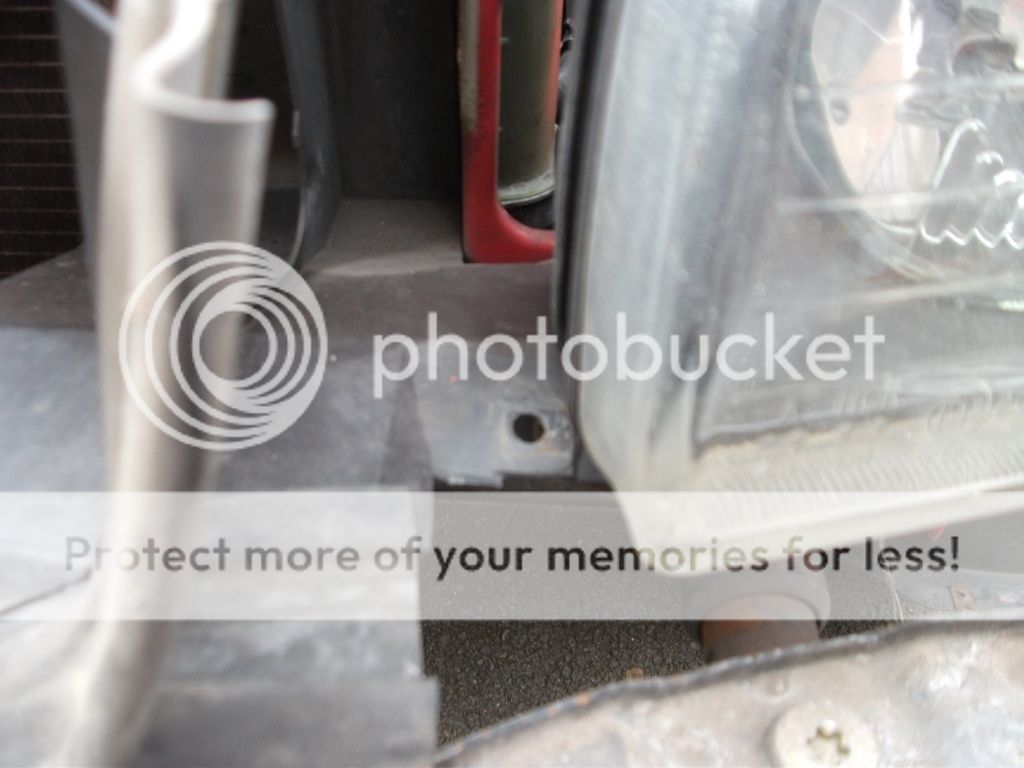
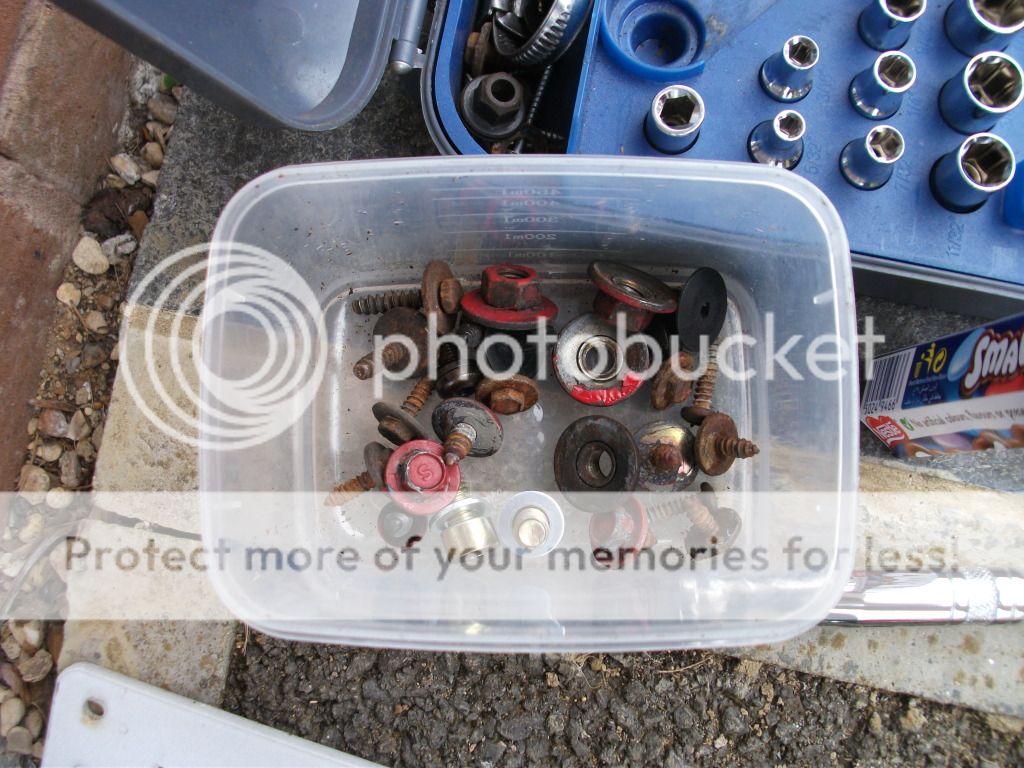
Now onto removing the nose cone. I removed these torx bolts first. T30 sizes iirc and two each side.

256.jpg


Then two 10mm bolts either side of the radiator. For the passenger side I found it so much easier to remove the intake.

261.jpg


262.jpg


An 8mm bolt next to the headlight on both sides.

263.jpg


264.jpg
 
Then the nose cone will just slide (by that I mean you have to wrestle it) out.

270.jpg


Then put it back together. I found it easiest to get the torx bolts in place first.

272.jpg


271.jpg


Much better! :D

Then a few cheeky pictures!

273.jpg


274.jpg


275.jpg


276.jpg


277.jpg


278.jpg


Comments welcome.
 
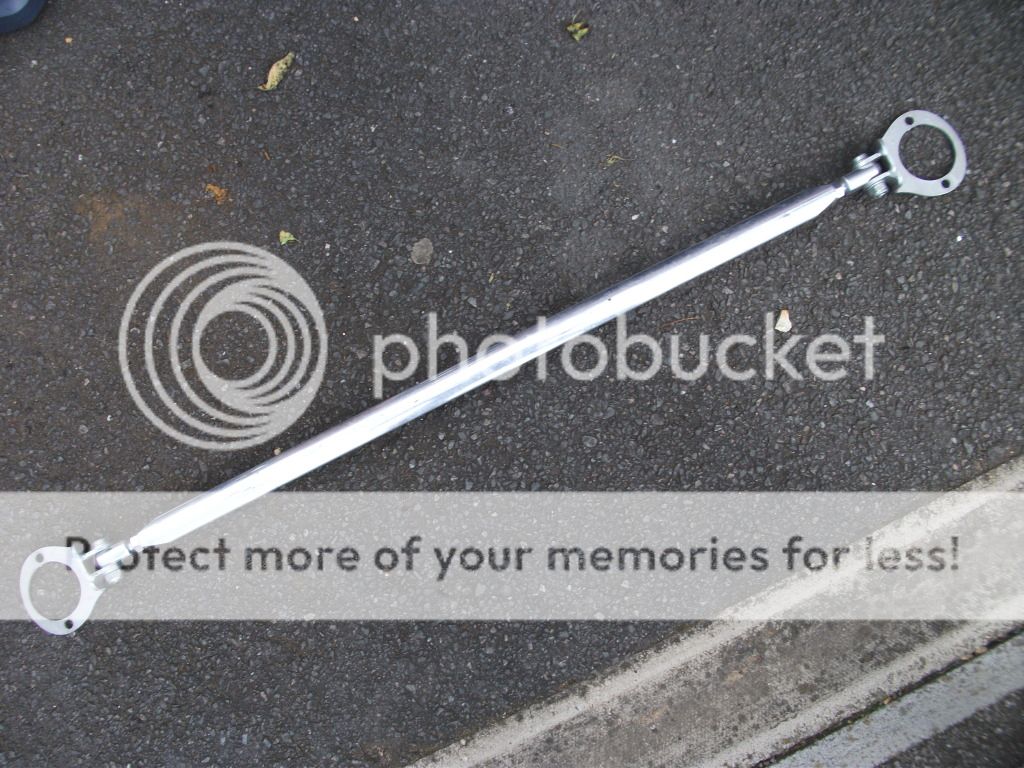
A nice little update! I picked up this beauty for the total of £35.

279.jpg


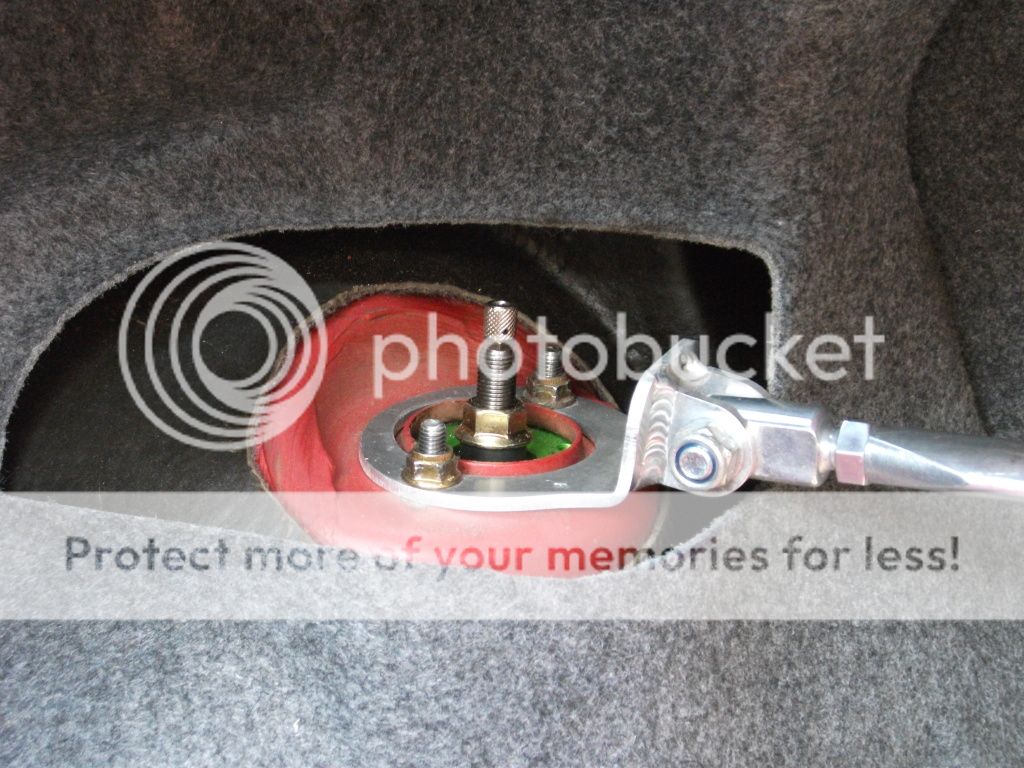
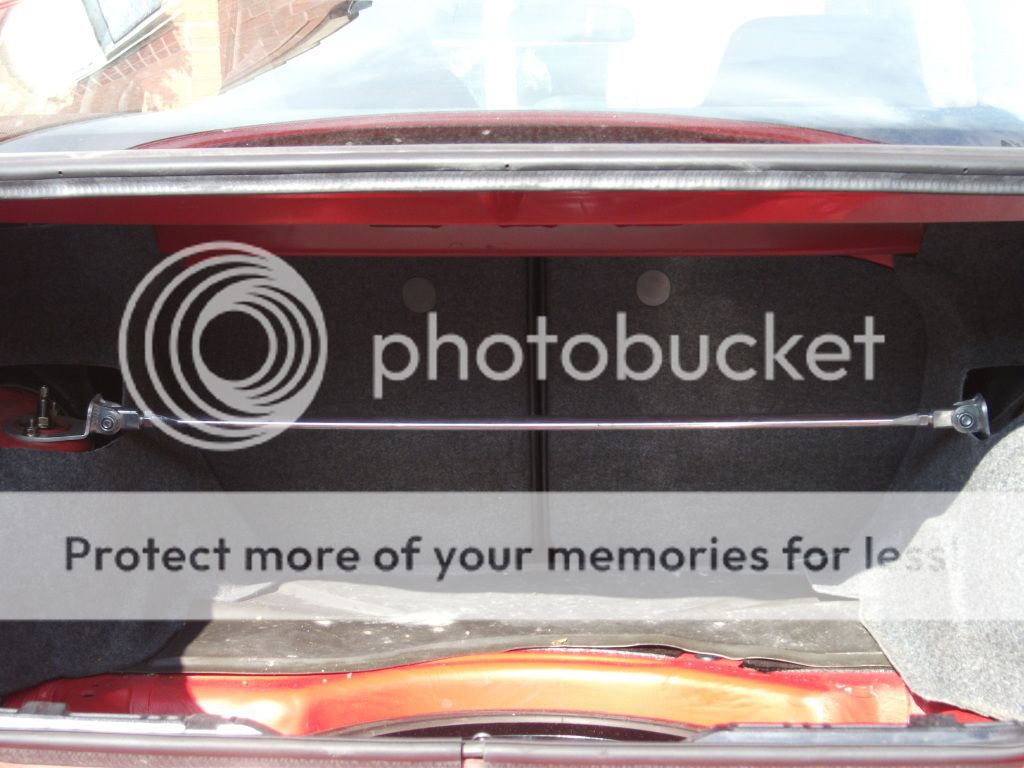
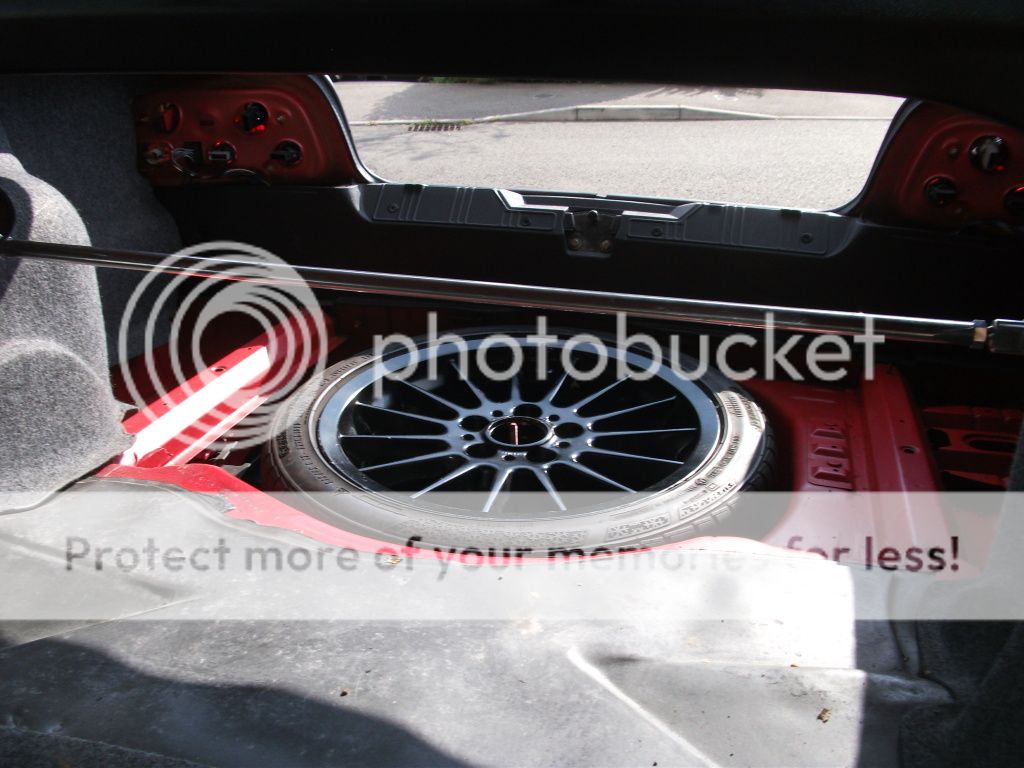
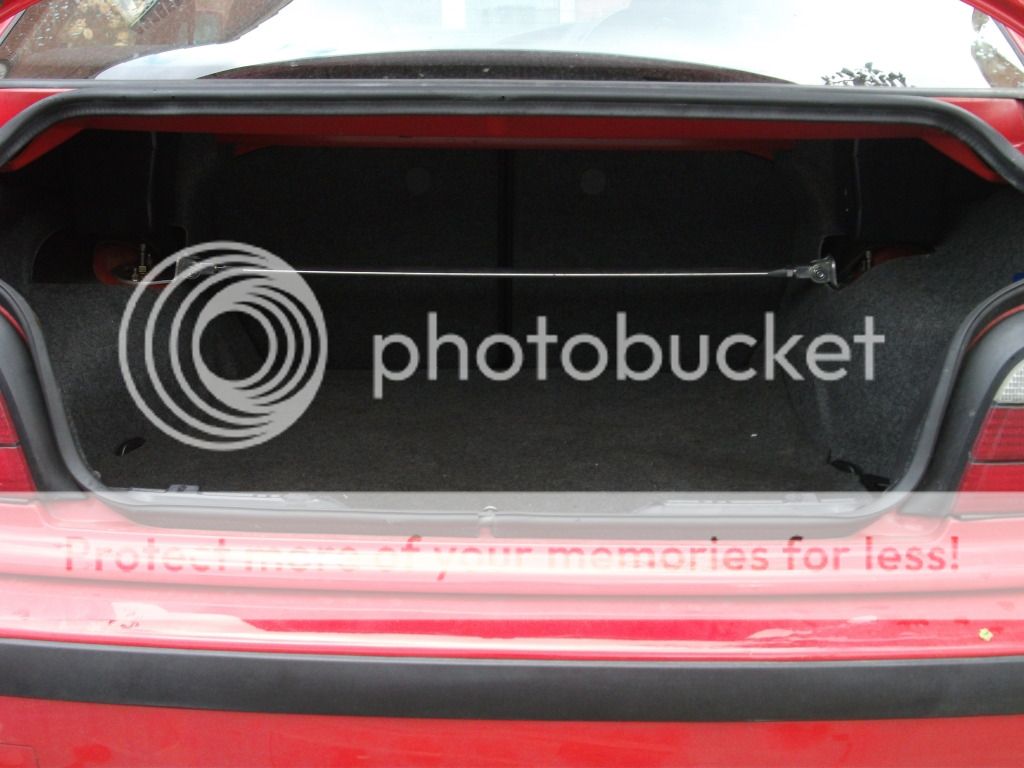
I'm not expecting handling miracles, or even a noticeable difference but it'll support the struts nicely and as far as placebos go, a strut brace is hard to beat! It also means I have some re-enforcement plates for sale ;).

So to fit the brace you need to remove the following...

All the boot trim and main piece of carpet (detailed earlier in this thread when I removed the rear bumper).

280.jpg


281.jpg


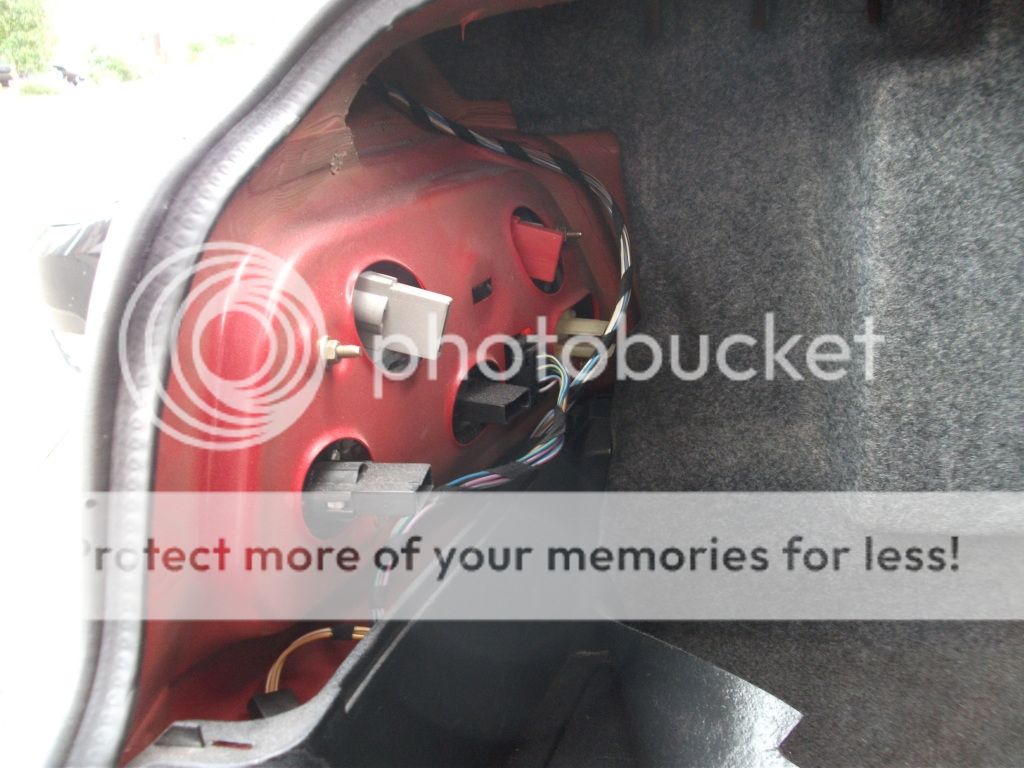
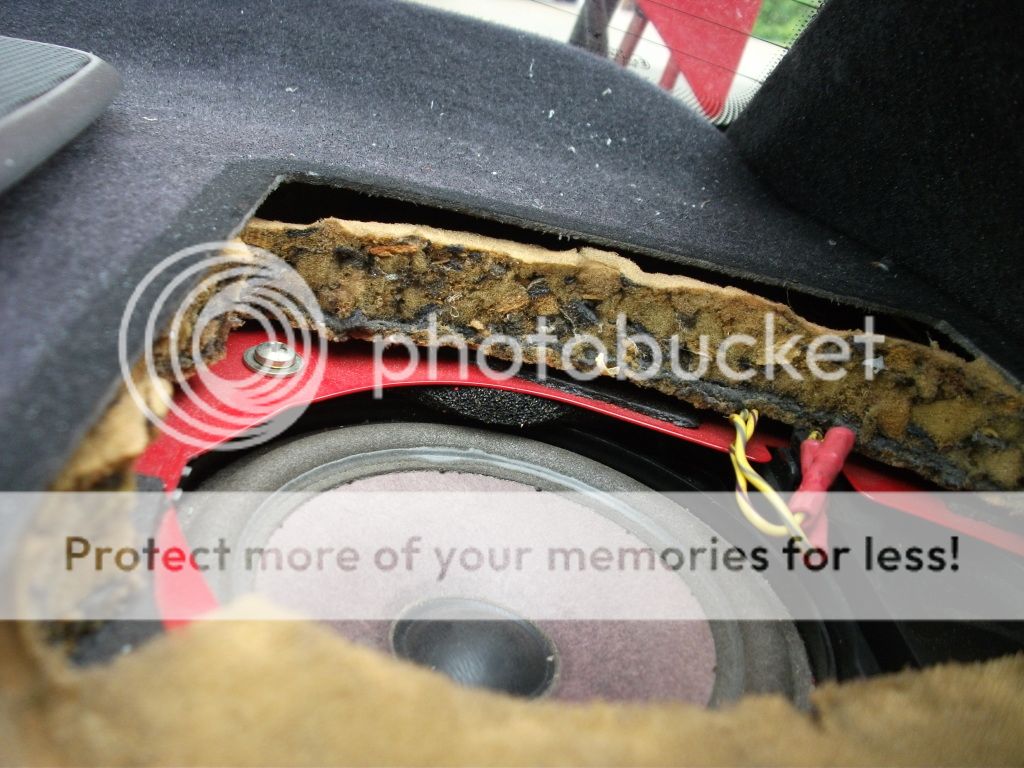
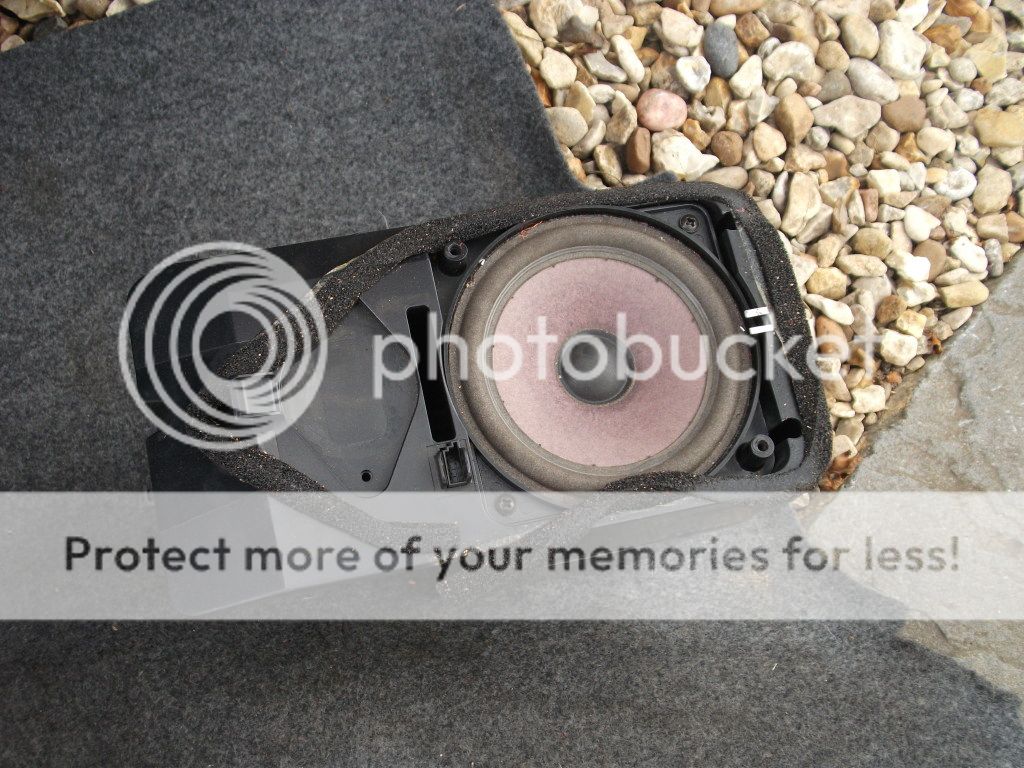
The rear speakers. Just pop the cover to reveal two screws.

282.jpg


283.jpg


284.jpg


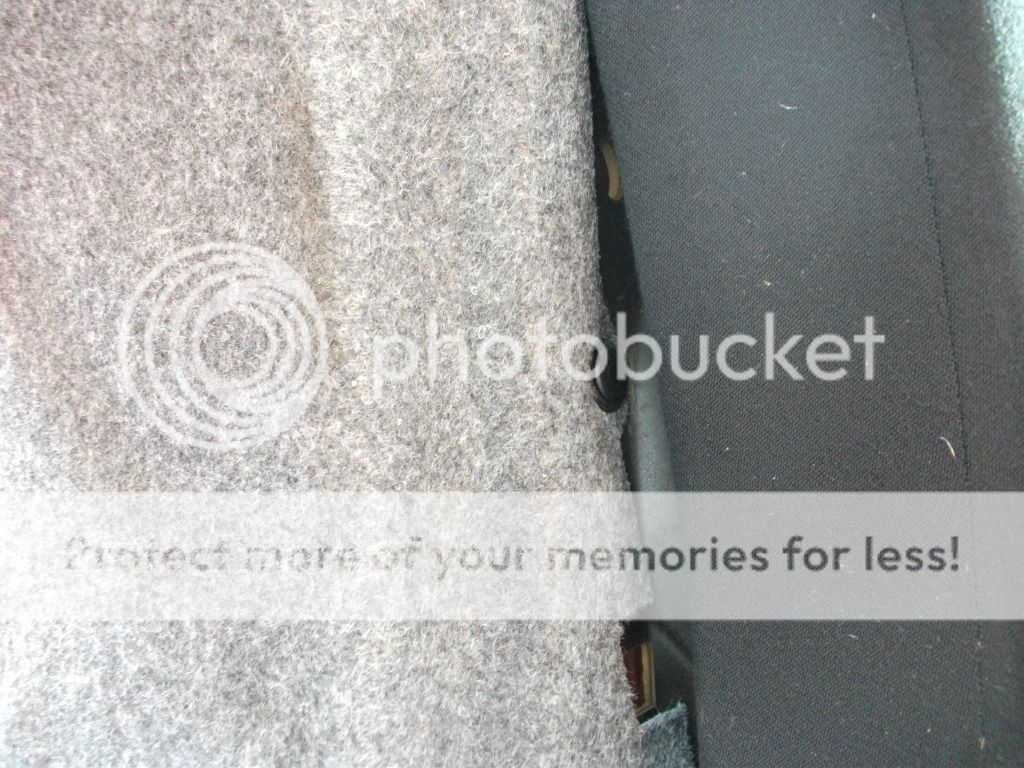
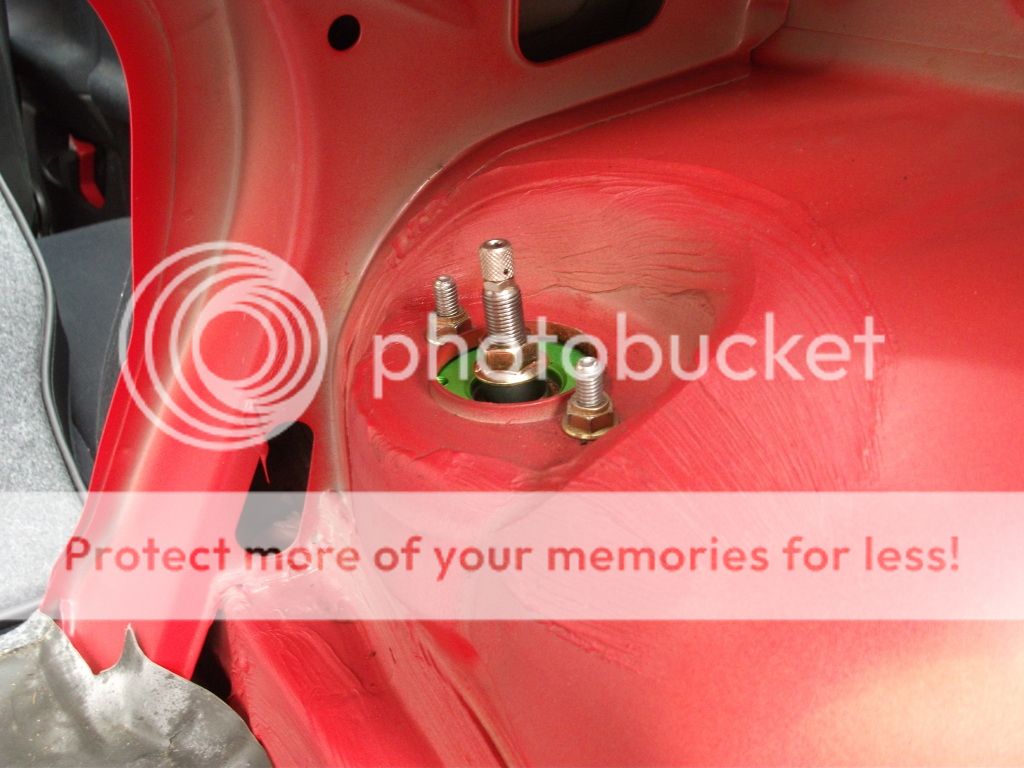
Don't forget to remove this. It's quite well hidden.

285.jpg


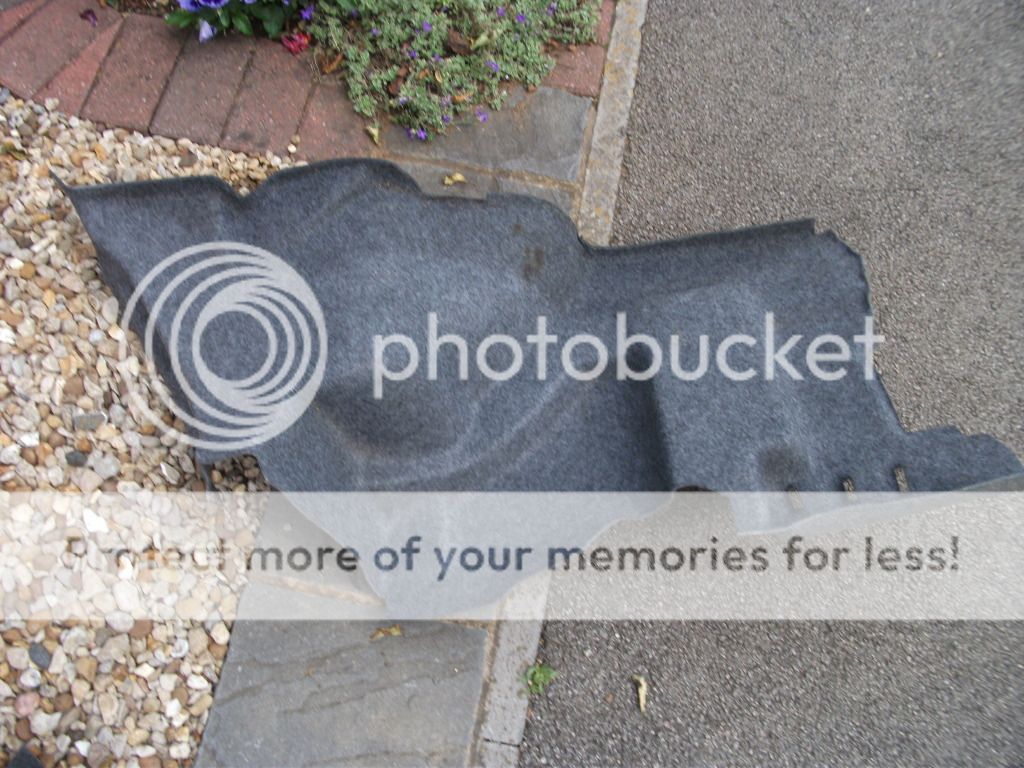
Then remove the carpet.

286.jpg


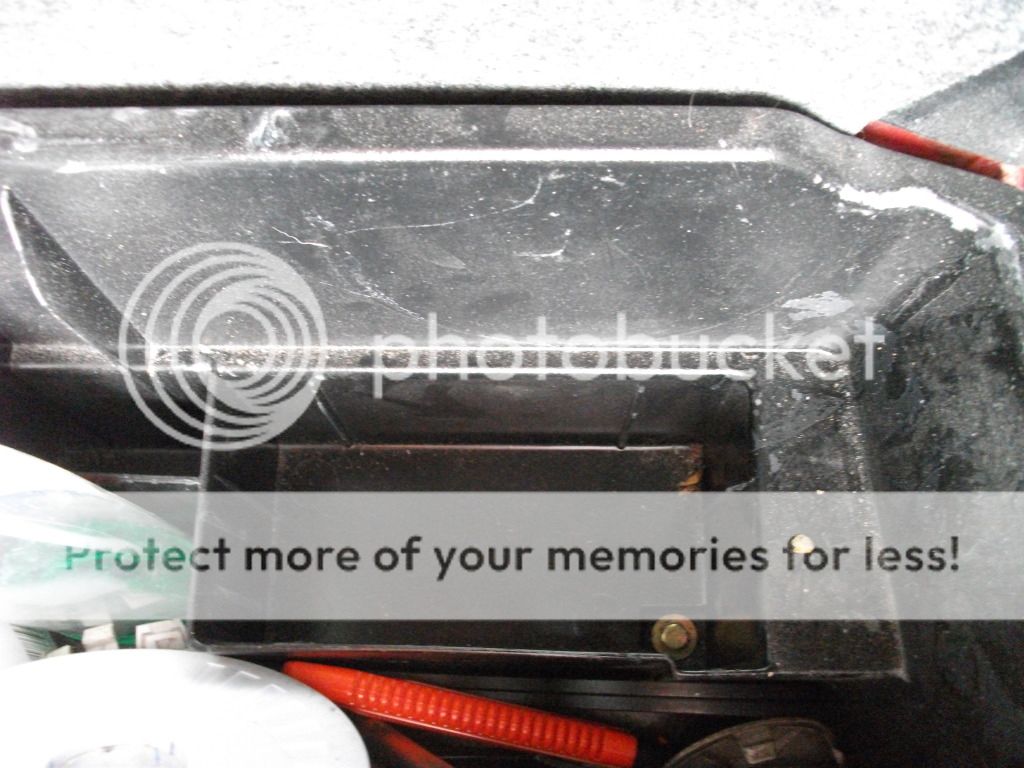
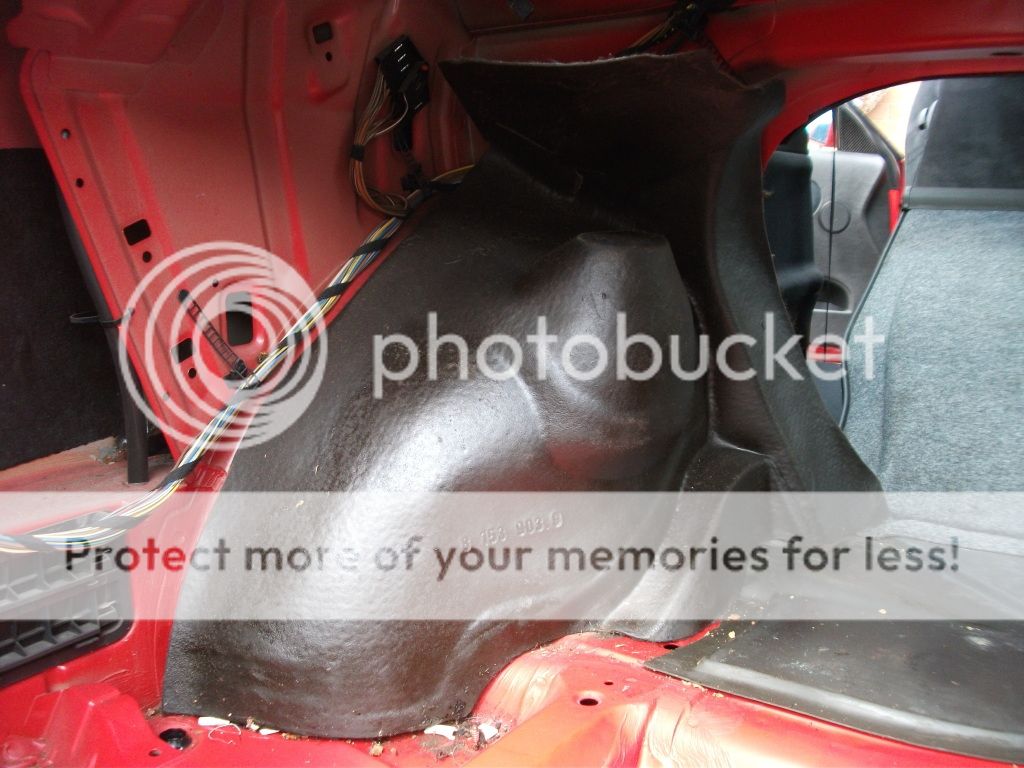
You'll be left with this.

287.jpg


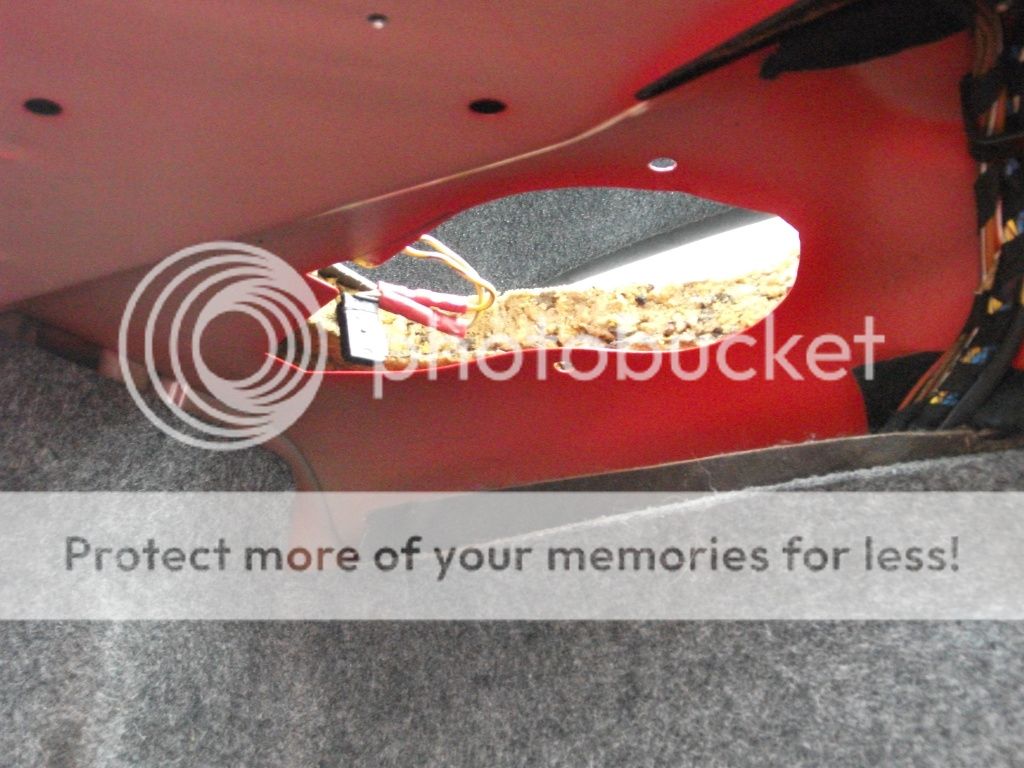
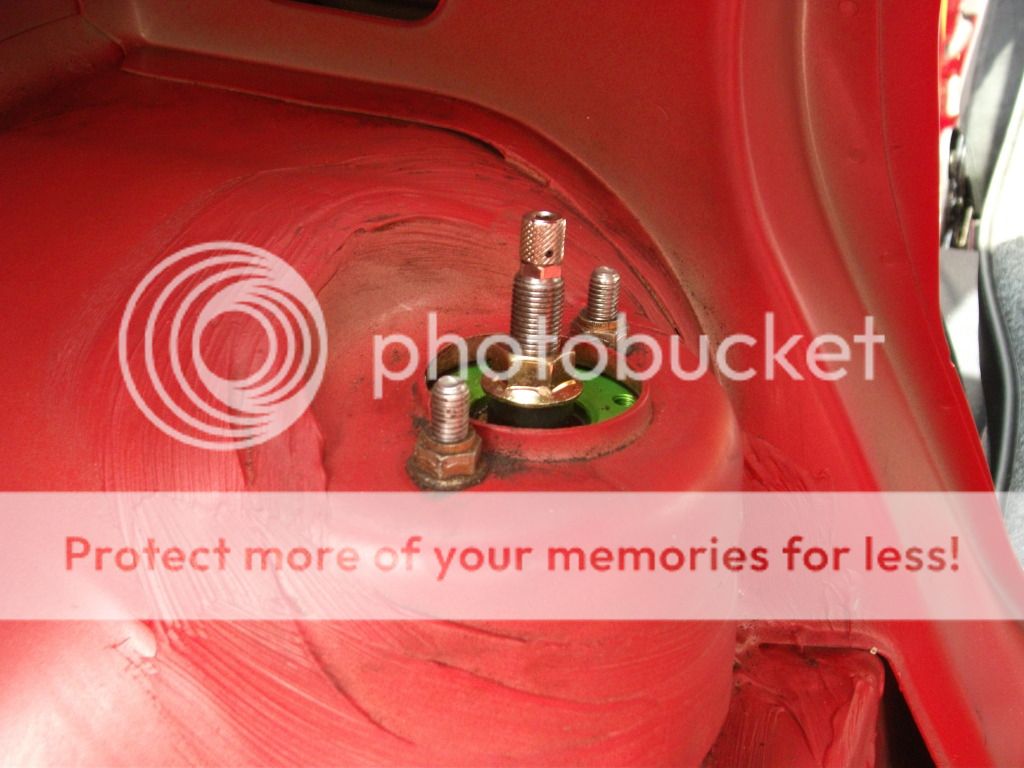
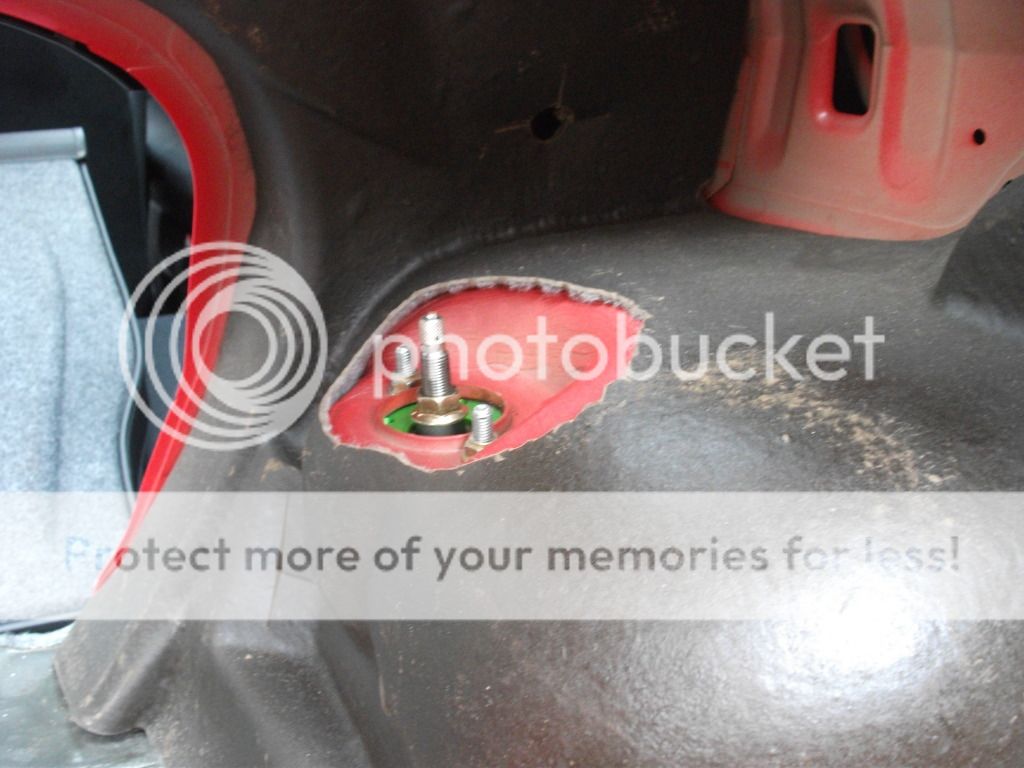
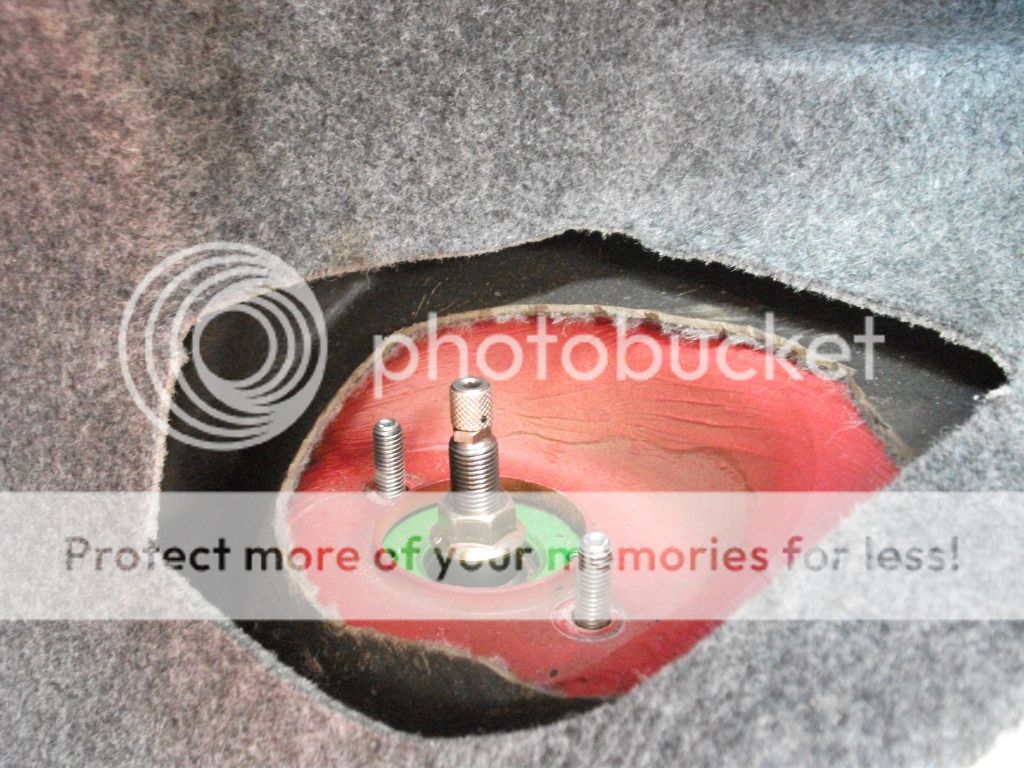
Which just slides off to reveal the top mount. You are faced with two 13mm bolts. They may require a bit of force to remove if they've been solid for 17 years. Luckily mine haven't so came off quite easily.

288.jpg


289.jpg
 
I wanted to retain the carpet so decided to go pikey and cut holes in the carpet. Not the best job, but it's all about the function and I'd rather play Guitar Hero than cut holes in carpet.

290.jpg


291.jpg


Slide the brace into place and tighten the bolts back up.

292.jpg


293.jpg


294.jpg


Then put the trim and carpet back into place and it's job done!

295.jpg


Not a difficult job at all, especially as everything is accessible, but it is more time consuming that I thought it would be. Comments welcome as usual guys.
 
Very nice that Prince, the strut brace looks surprisingly easy to fit and looks great in the back, sensibly priced as well; I never get bargains like that :sad2:
 
Very nice that Prince, the strut brace looks surprisingly easy to fit and looks great in the back, sensibly priced as well; I never get bargains like that :sad2:

Cheers buddy! I would never pay somebody to fit a strut brace. It's essentially just four bolts you have to undo then do back up, it's more of a case of getting to them at the back though!

I just keep me eye out for bits and bobs. The E36 can suffer from the rear top mounts 'popping out'. You can get re-enforcement plates (which I had but never fitted) but a strut brace looks a bit better and *might* give a small performance increase.
 
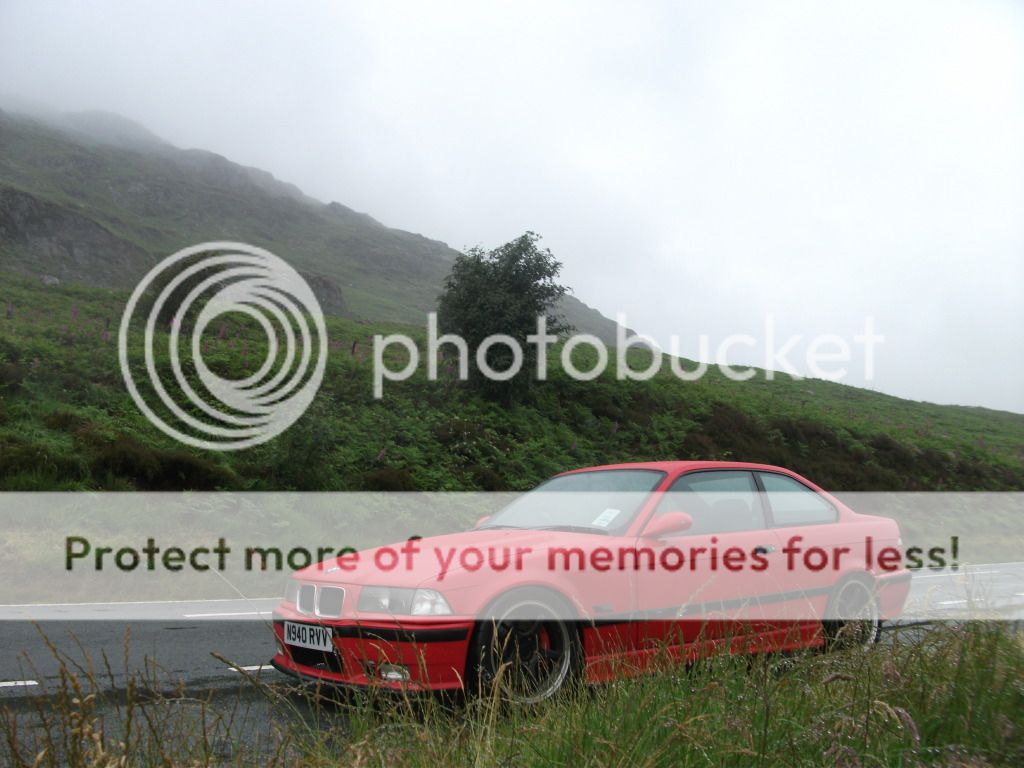
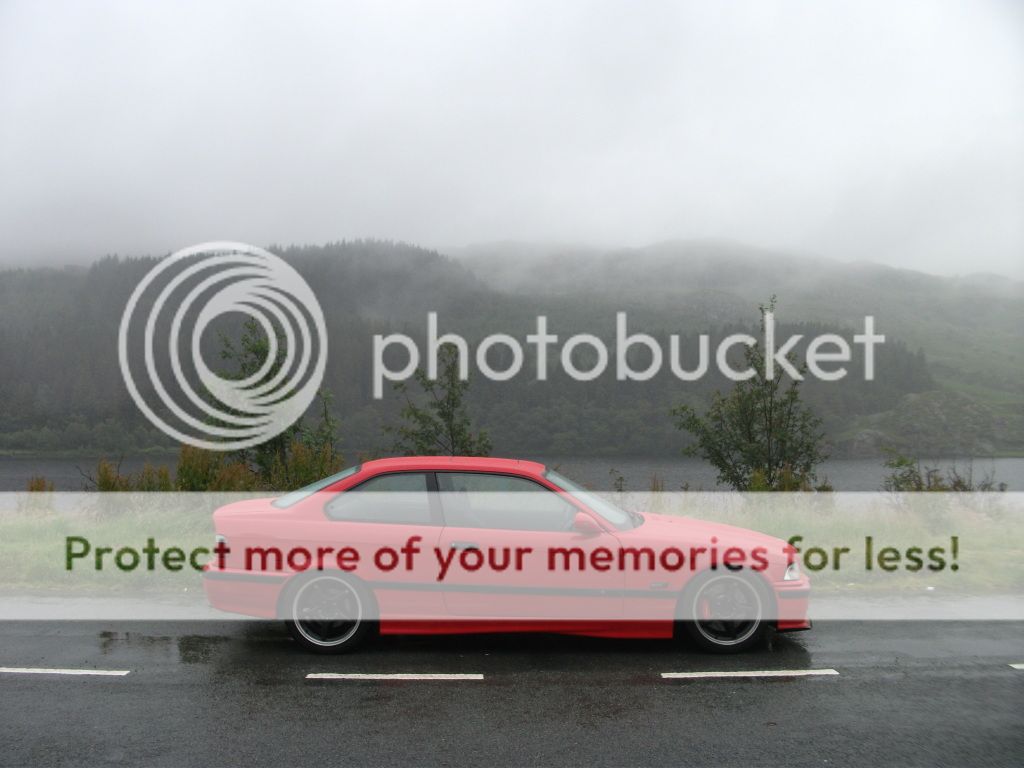
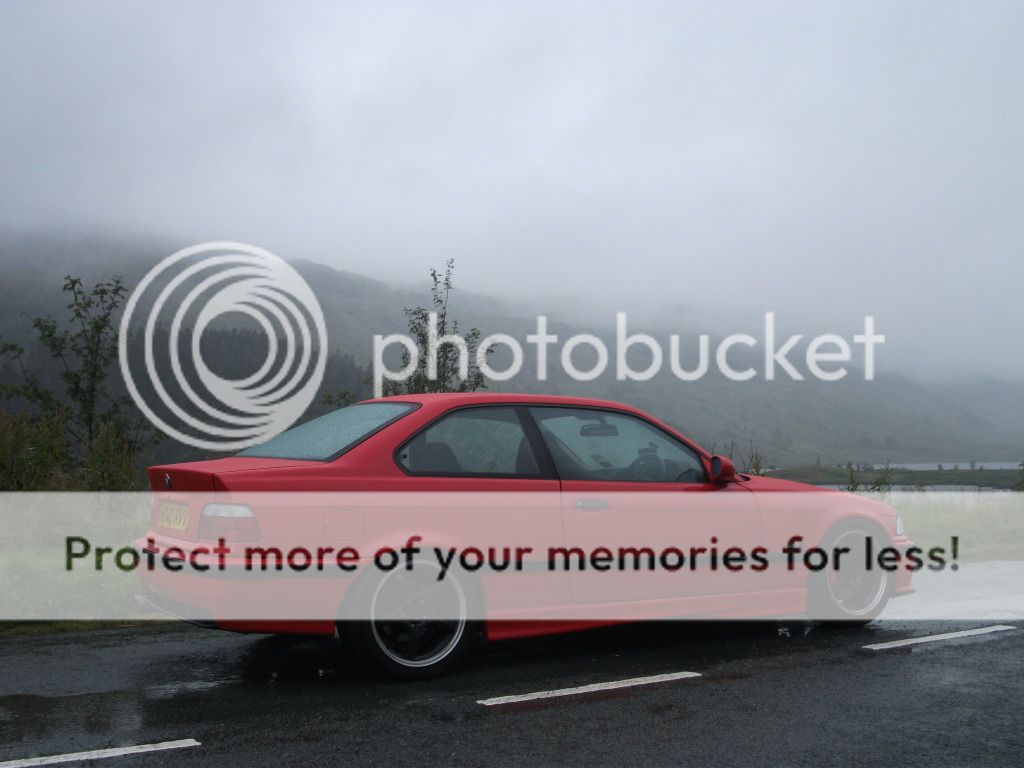
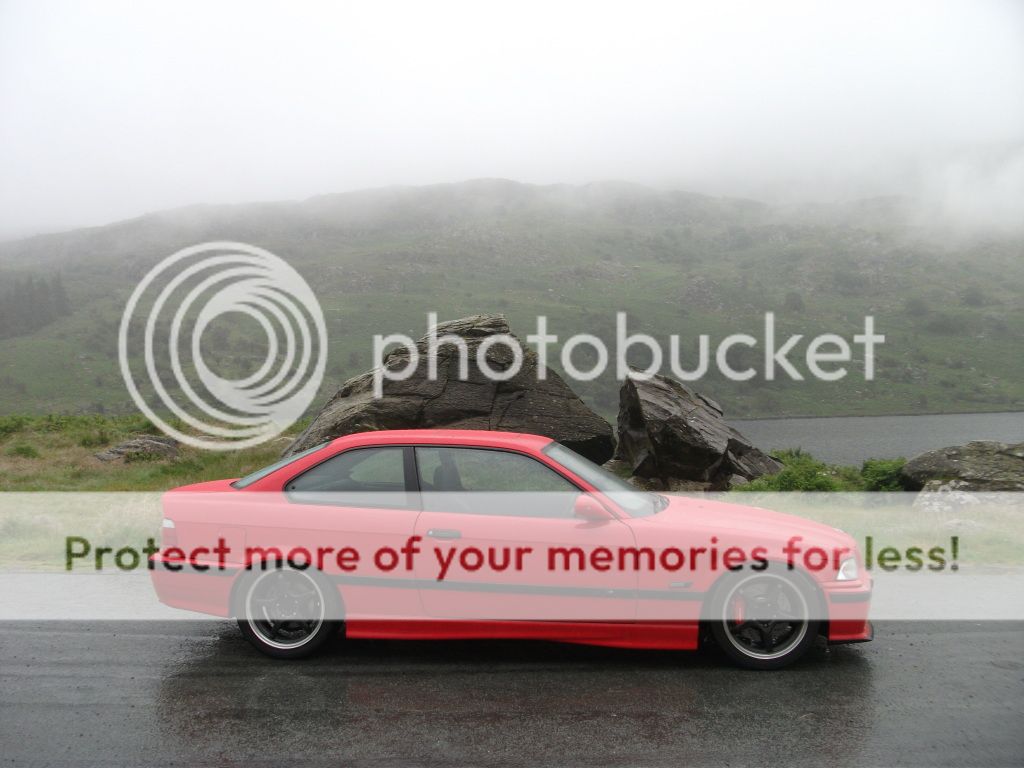
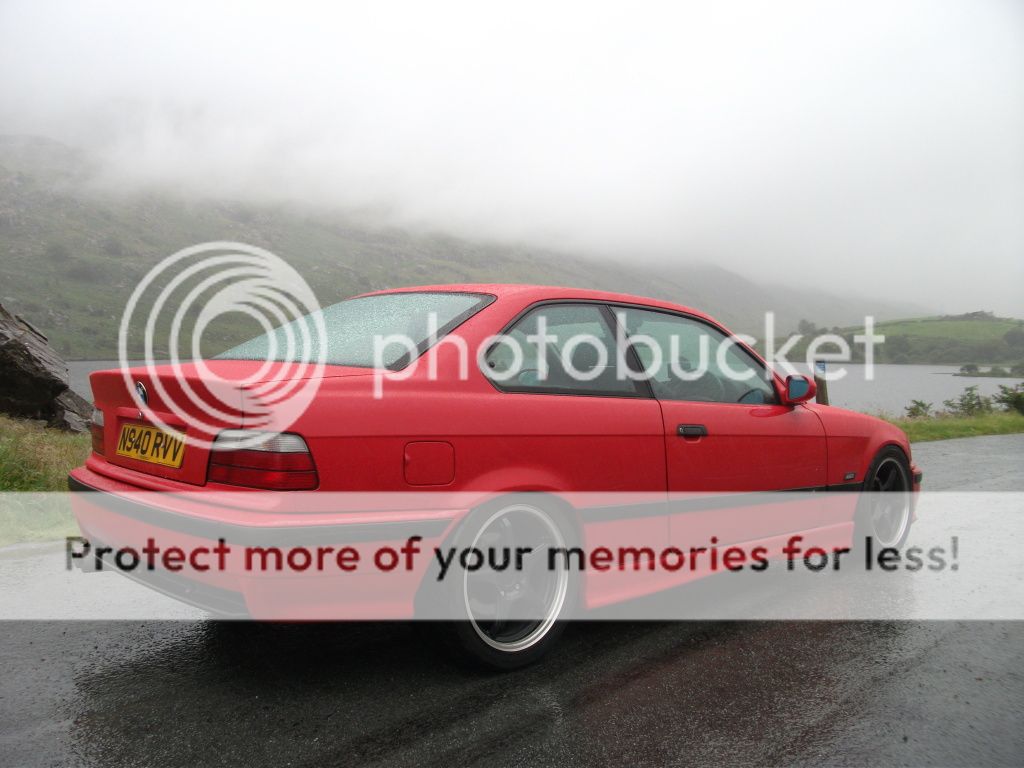
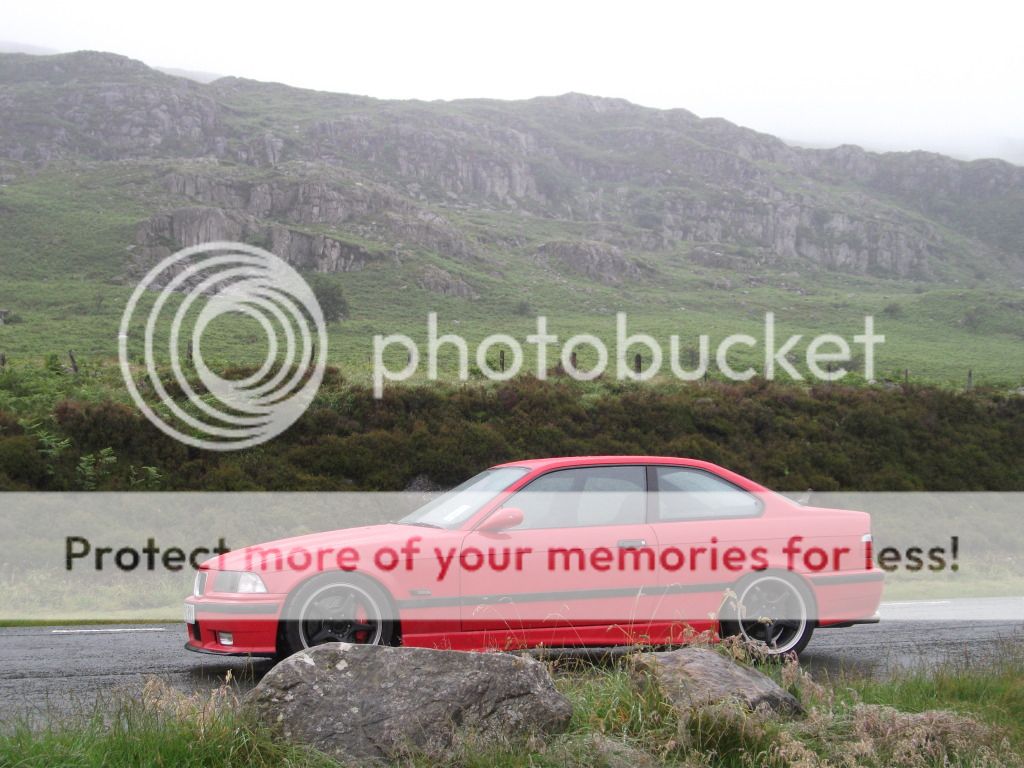
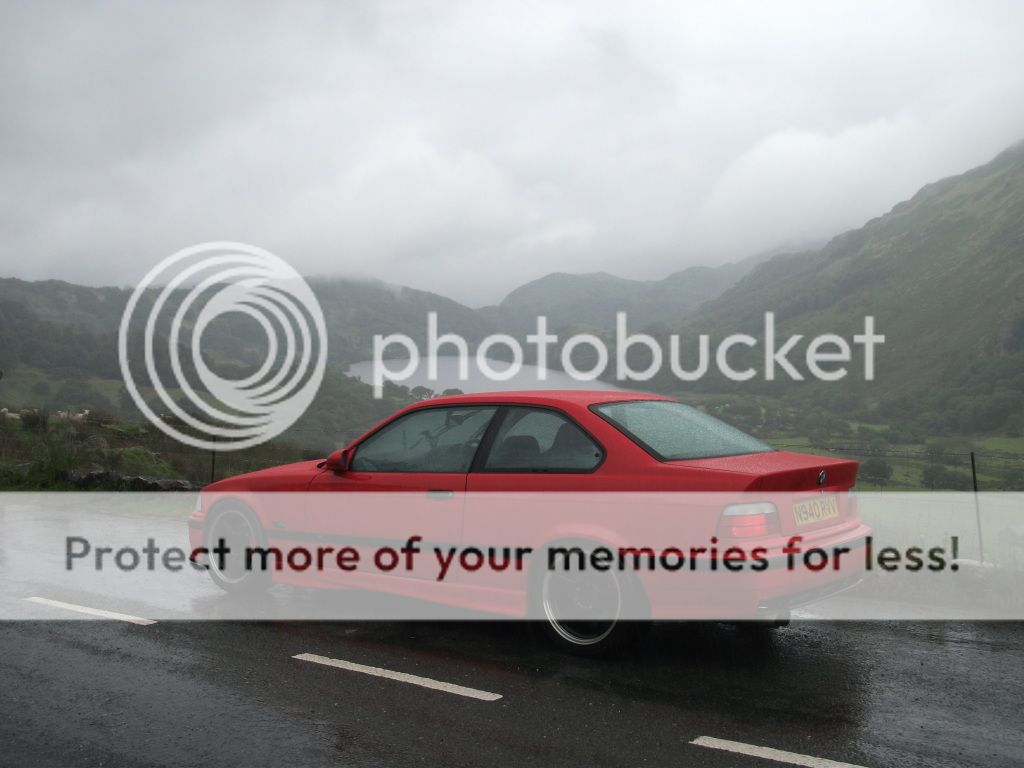
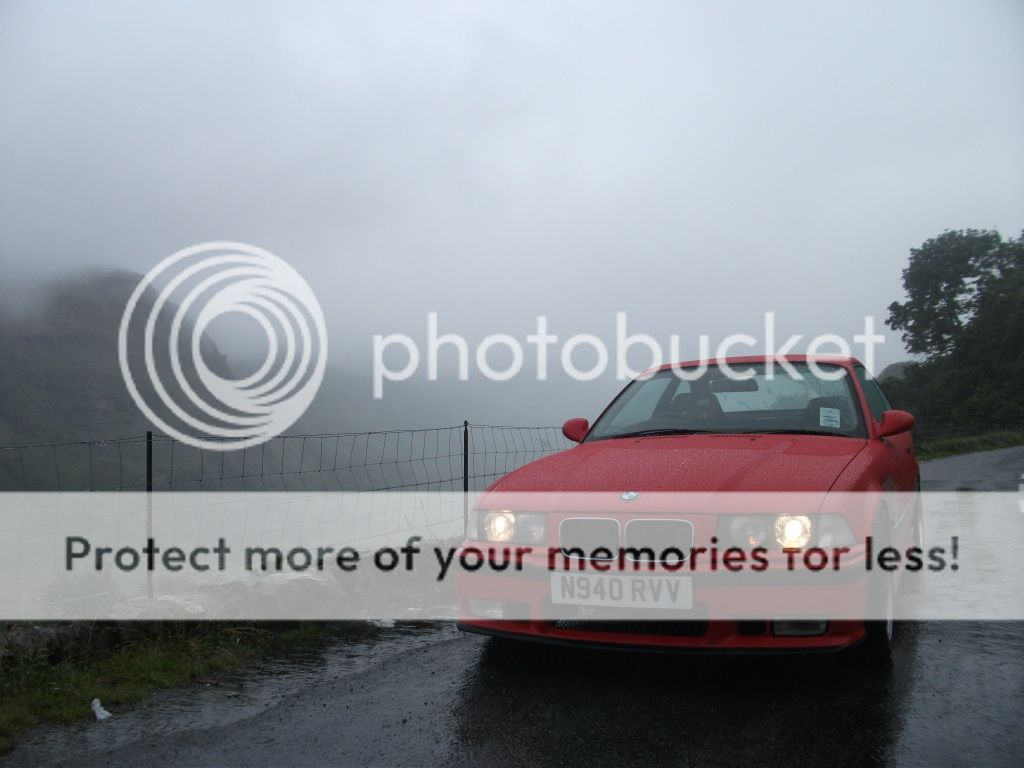
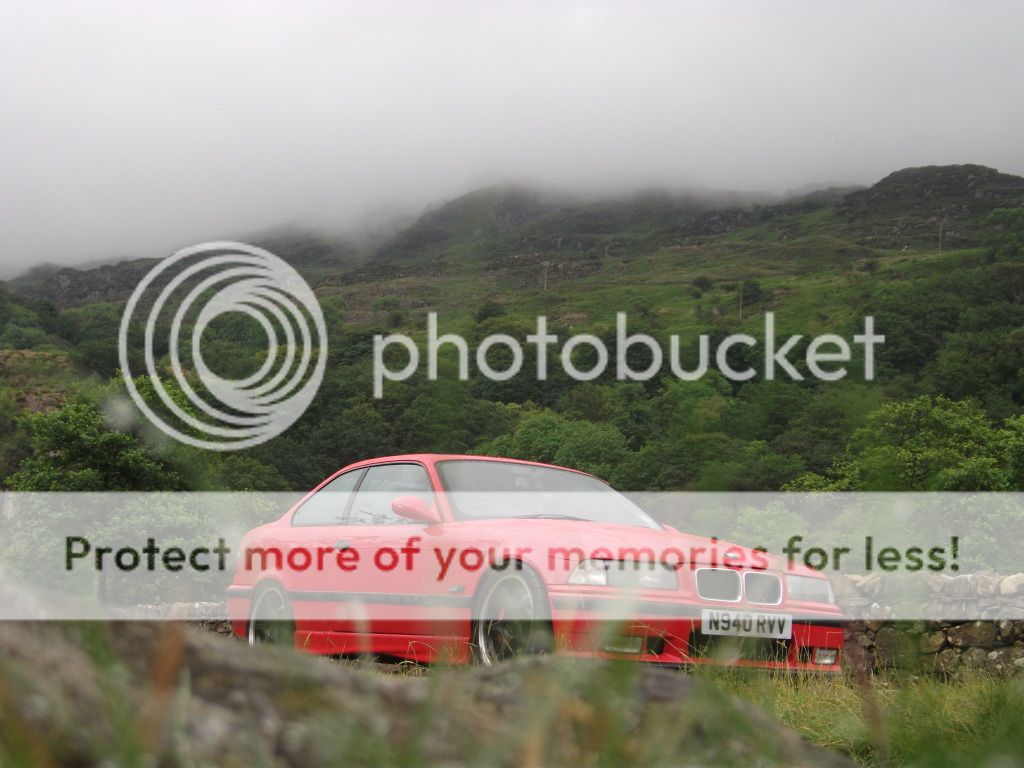
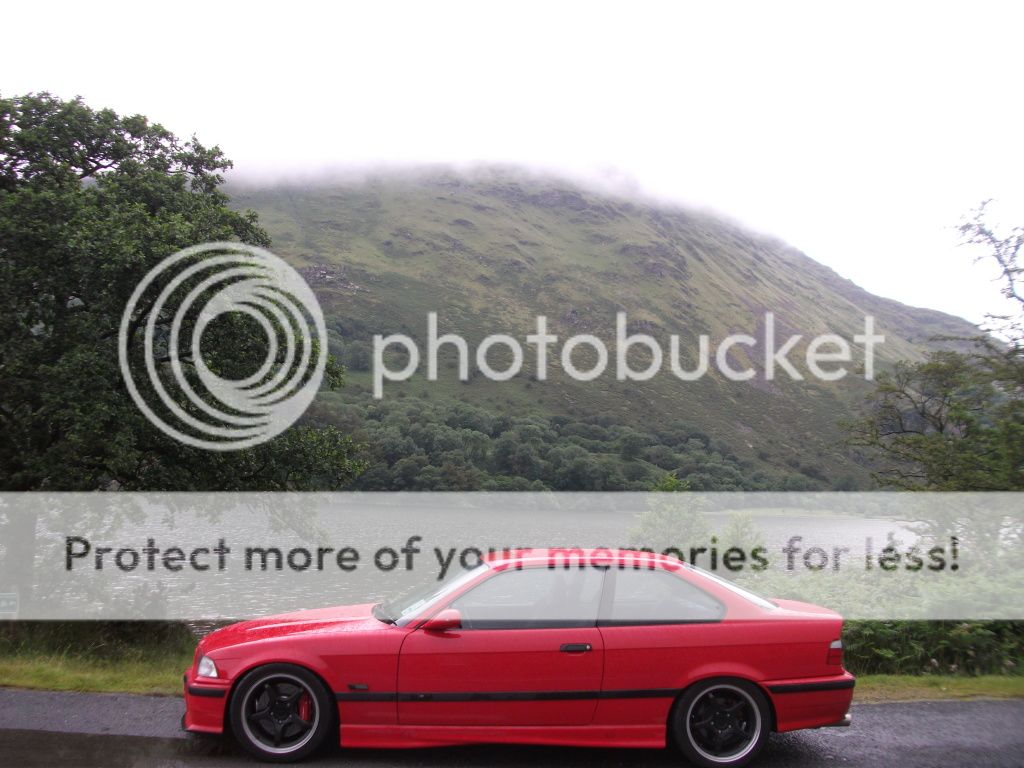
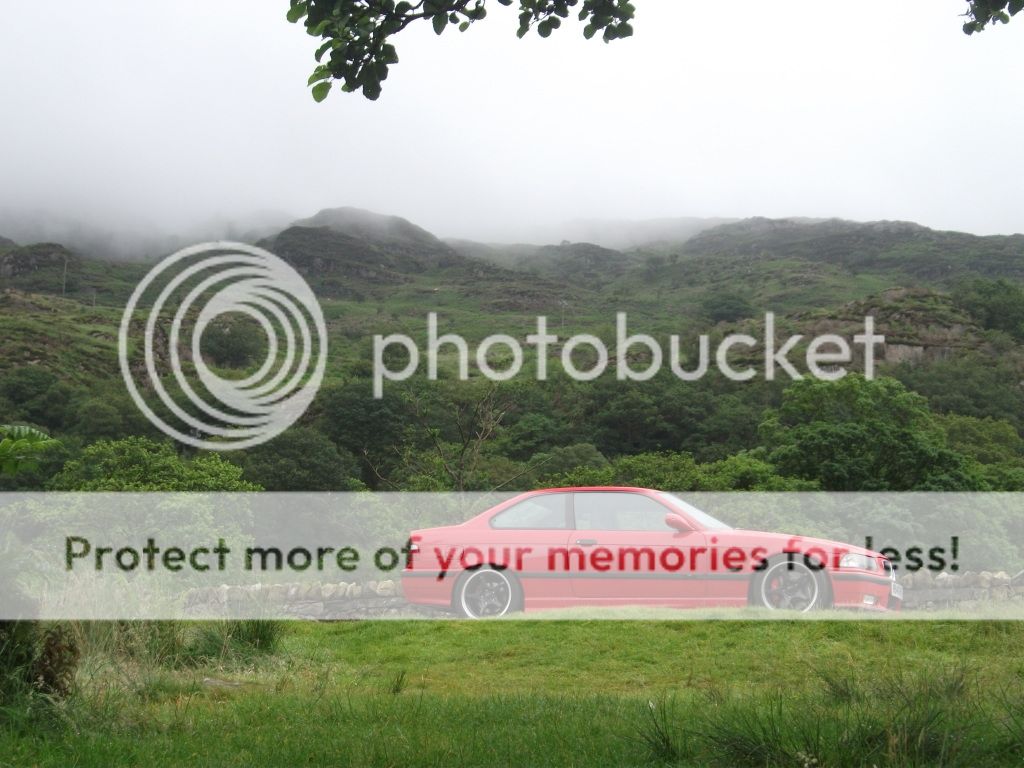
I came back from a break in Rhyl yesterday but me and the missus went to Snowdon as well before coming home. Despite it raining whilst we were in Snowdon the car handled absolutely fantastic. The wide tyres had so much grip it really gave me confidence in the car and it just stuck to the road. I will also say the rear brace made no noticeable difference (although I'm sure track cars would benefit). It really is a gorgeous part of the world and everyone should go if you get the chance. I couldn't resist getting some shots of the car as well so here you go...

A few in Rhyl.

296.jpg


297.jpg


298.jpg


299.jpg


300.jpg
 
Stanced! Nice pics bro, in particular the 5th one down of the Snowden lot is a cracker. I would crop a fair bit of the road out at the bottom of the picture and see how it looks ;)
 
Stanced! Nice pics bro, in particular the 5th one down of the Snowden lot is a cracker. I would crop a fair bit of the road out at the bottom of the picture and see how it looks ;)

Cheers mate! It's not supposed to be stanced, just a side effect of making it functional I suppose! All the pictures are as I took them. It was lashing it down when I took a fair few of them otherwise I would have taken my time.
 
Last edited:
Small Update.

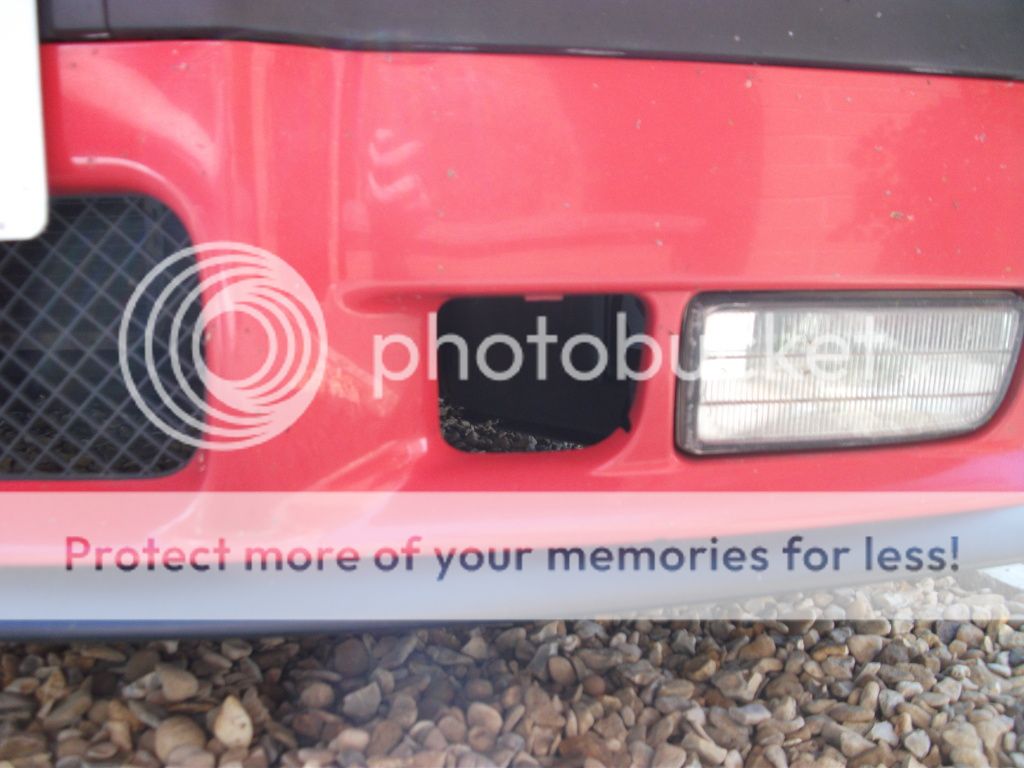
Due to be rather skint atm I've decided to tidy up a few little areas that have been bugging me. One of these things being that I had no brake ducts. So I picked up a set and fitted them today. No guide needed for this one. They only fit one way.

Before.

315.jpg


After.

316.jpg


My mini to-do list is of things currently bugging me: -
- Fit replacement driver's side wing.
- Rear brakes need fitting.
- Pork chops and under tray.
- Rear diffuser as mine was melted by the stupid back box that used to be on the car.

Major plans include: -
- Medium case LSD. Rebuilt to either a 3.45 ratio (same as 318is) or something slightly higher (for more acceleration).
- AFR and boost gauges.
- A lot of carbon fibre additions.
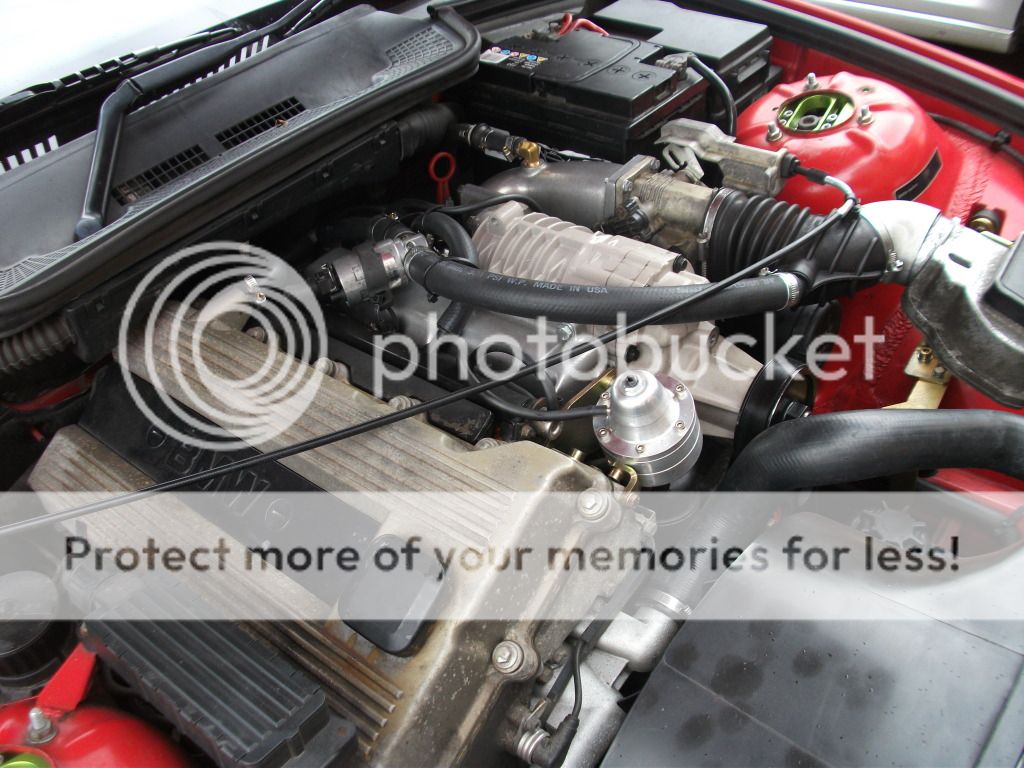
- More power from the 'charger. Thinking along the lines of bigger injectors, more aggressive cams, improved intake, smaller pulley, meth/water injection and a custom map. This would also mean the standard clutch won't be able to handle the power so that'll need upgrading. This is all very dependant on funds though.
- The interior also needs some work. My right side speakers have stopped working and I would like the door cards and gaitors re-trimmed to match the Recaros. I quite like the over priced Storm goodies as well.

Of course there will many little bits and bobs inbetween but I thought as some of you guys might have some input on the above plans it might be useful to discuss them. Any advice is appreciated.
 
Nice looking Bimmer! It's always funny how previous owners will do mods like "eyelids" on the headlights and expect YOU to pay a premium because they spent good money on them.
Nice color!
 
Small Update.

Due to be rather skint atm I've decided to tidy up a few little areas that have been bugging me. One of these things being that I had no brake ducts. So I picked up a set and fitted them today. No guide needed for this one. They only fit one way.

Before.

315.jpg


After.

316.jpg


My mini to-do list is of things currently bugging me: -
- Fit replacement driver's side wing.
- Rear brakes need fitting.
- Pork chops and under tray.
- Rear diffuser as mine was melted by the stupid back box that used to be on the car.

Major plans include: -
- Medium case LSD. Rebuilt to either a 3.45 ratio (same as 318is) or something slightly higher (for more acceleration).
- AFR and boost gauges.
- A lot of carbon fibre additions.
- More power from the 'charger. Thinking along the lines of bigger injectors, more aggressive cams, improved intake, smaller pulley, meth/water injection and a custom map. This would also mean the standard clutch won't be able to handle the power so that'll need upgrading. This is all very dependant on funds though.
- The interior also needs some work. My right side speakers have stopped working and I would like the door cards and gaitors re-trimmed to match the Recaros. I quite like the over priced Storm goodies as well.

Of course there will many little bits and bobs inbetween but I thought as some of you guys might have some input on the above plans it might be useful to discuss them. Any advice is appreciated.

The brake duct addition is great, I love simple parts bin mods. :D

Looks like your going to be busy for quite a while! I'd get the tunes sorted first got have music in the car for the summer! :D
 
Similar threads

Similar threads


Please watch this on my YouTube channel & Subscribe.


Back
Top