Hi all,
I bought this car quite a while ago. Originally I got the car as my Civic was involved in an accident and I needed something to get me from A to B, but wanted something that would hold it's value. I travelled to Peterborough one very snowy evening to check the car and it was fine (mechanically) so I lowered the seller to £1200 and drove it away that night. After owning the BMW for a while I decided to keep it instead of the Civic.
I've quietly started my project over the last month or so and decided to share it with everyone on here. It's not the most powerful car in the world but right now it fits the bill perfectly.
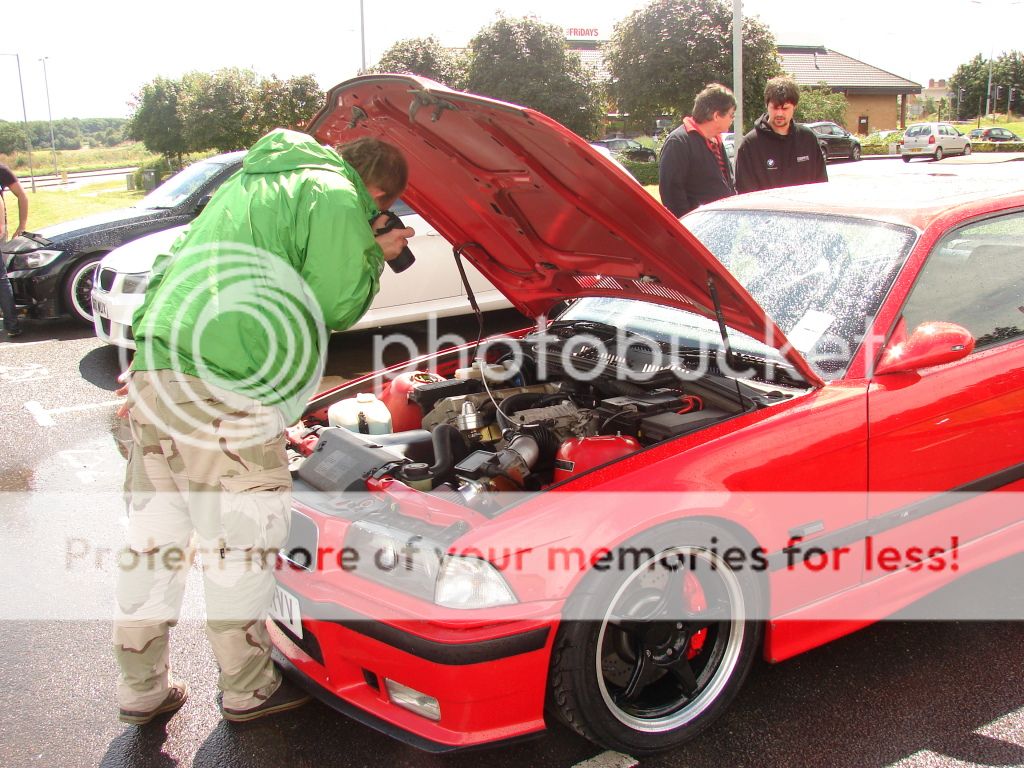
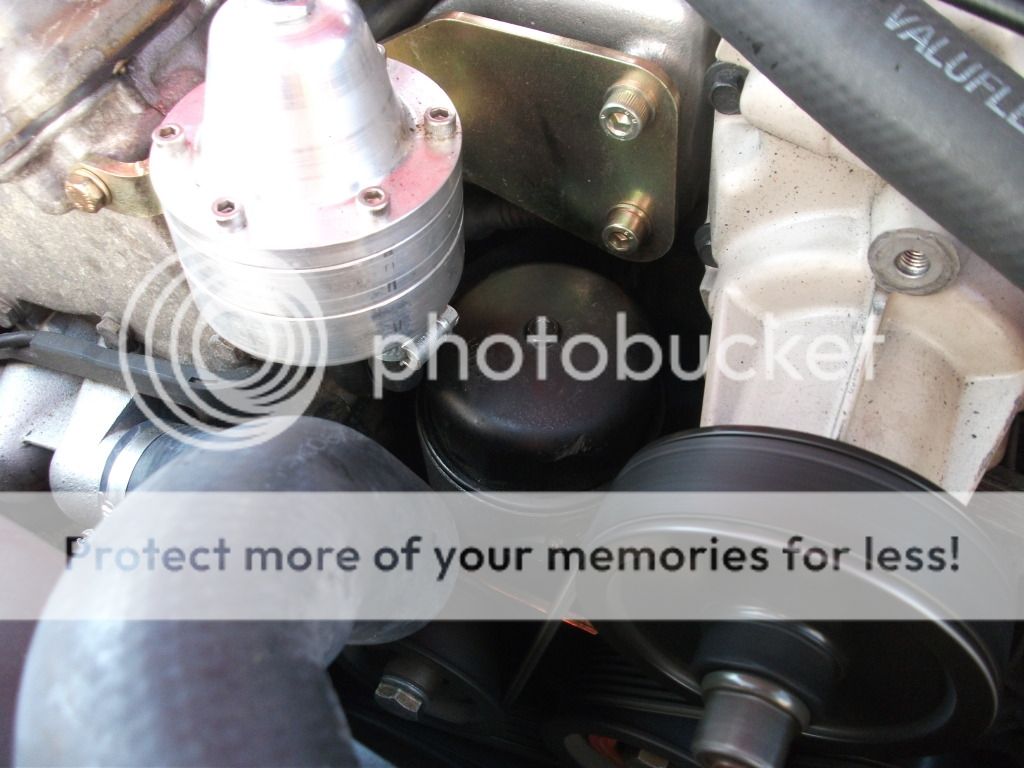
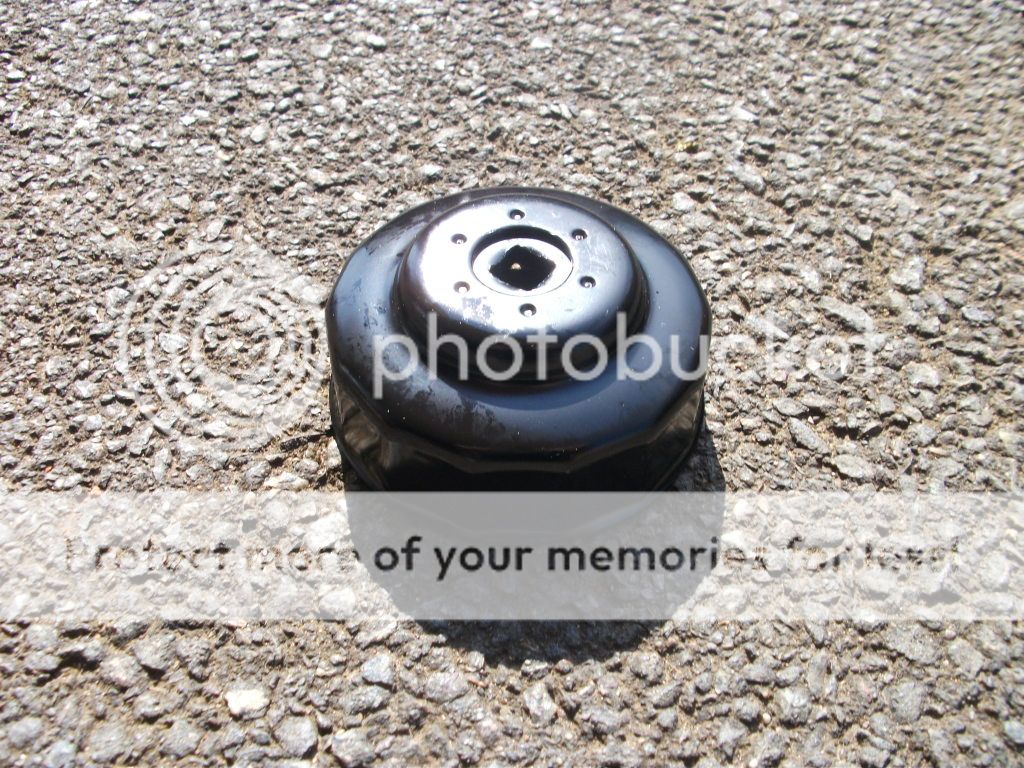
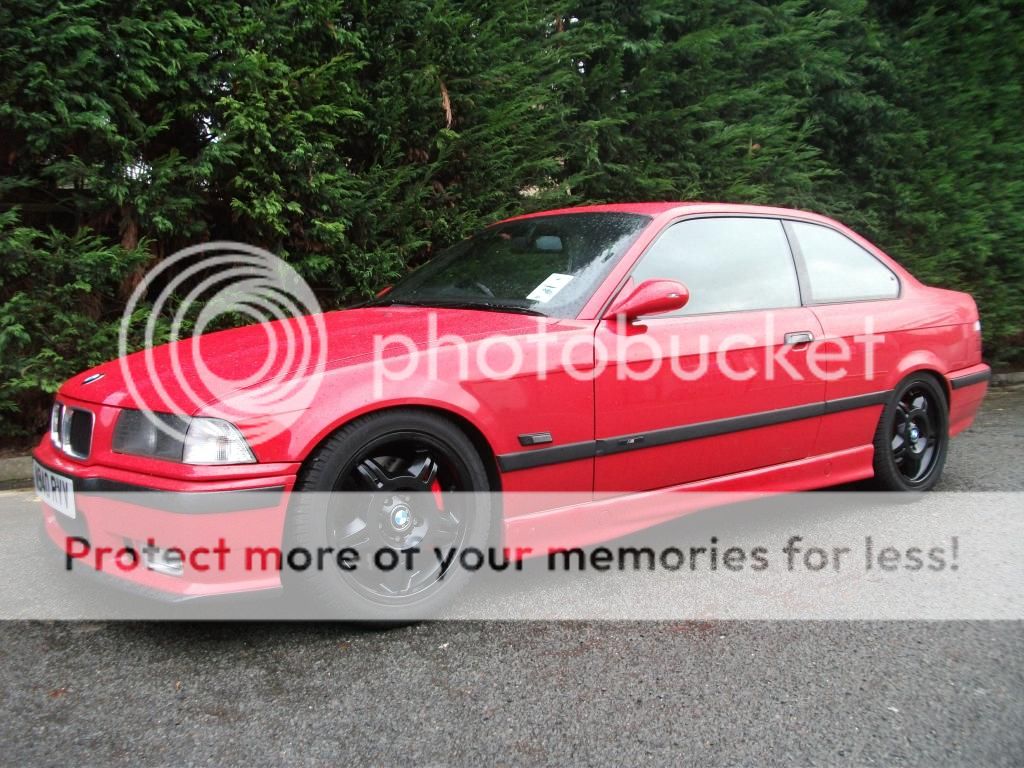
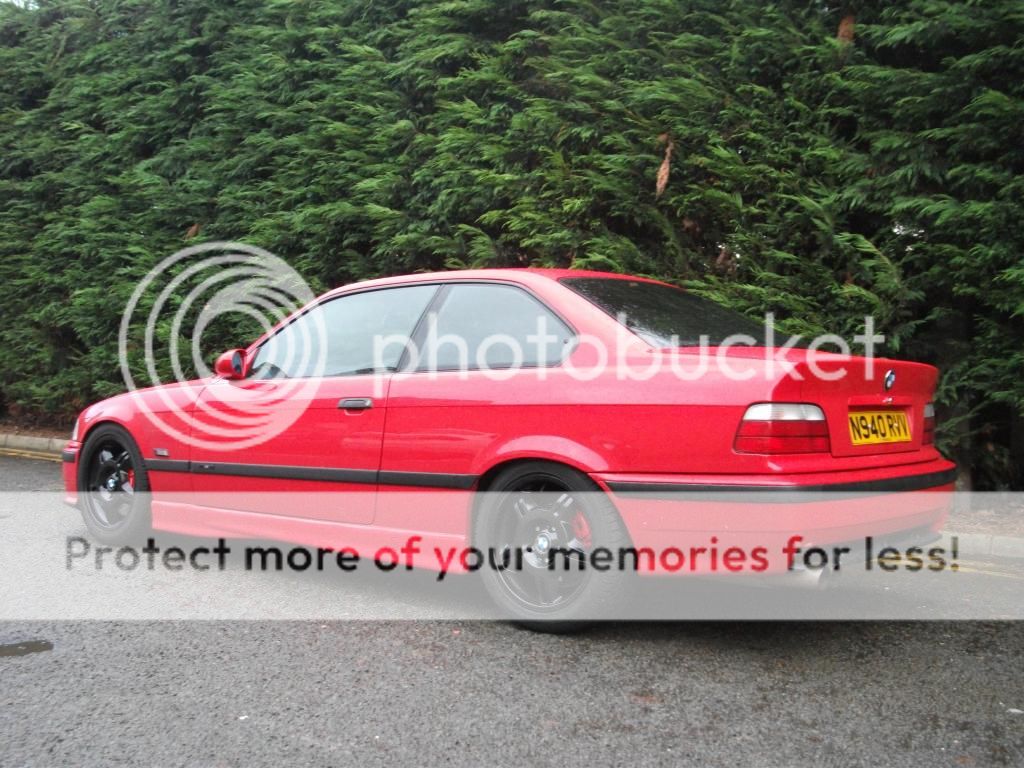
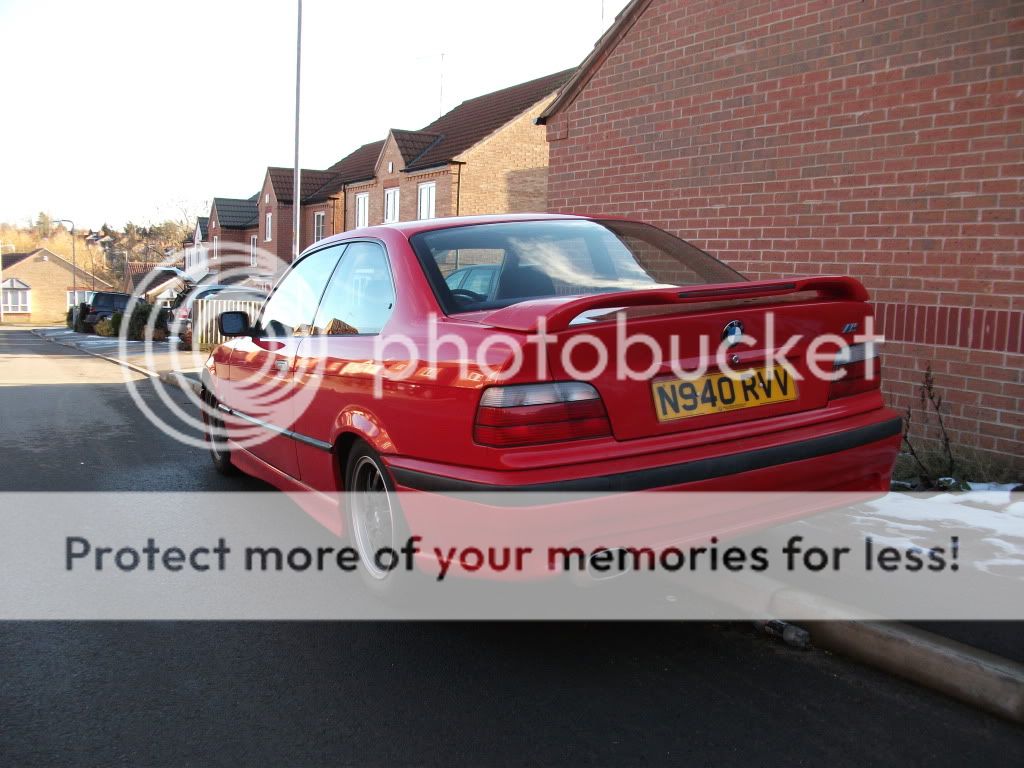
The previous owner's work wasn't the best so I have to correct scratches, rust and the awful back box. I've already had to replace a blown manifold (common problem on the M42 lump) and replace the clutch thanks to the release bearing. He did have some taste though as M3 rear lights have already been installed and the car has lowering springs (which will do for now). The car also had the full tool kit, torch, warning triangle and first aid kit.
My plans are:
Cosmetics
- M3 Body Kit
- AC Schnitzer Mirrors
- MTEC Mouldings
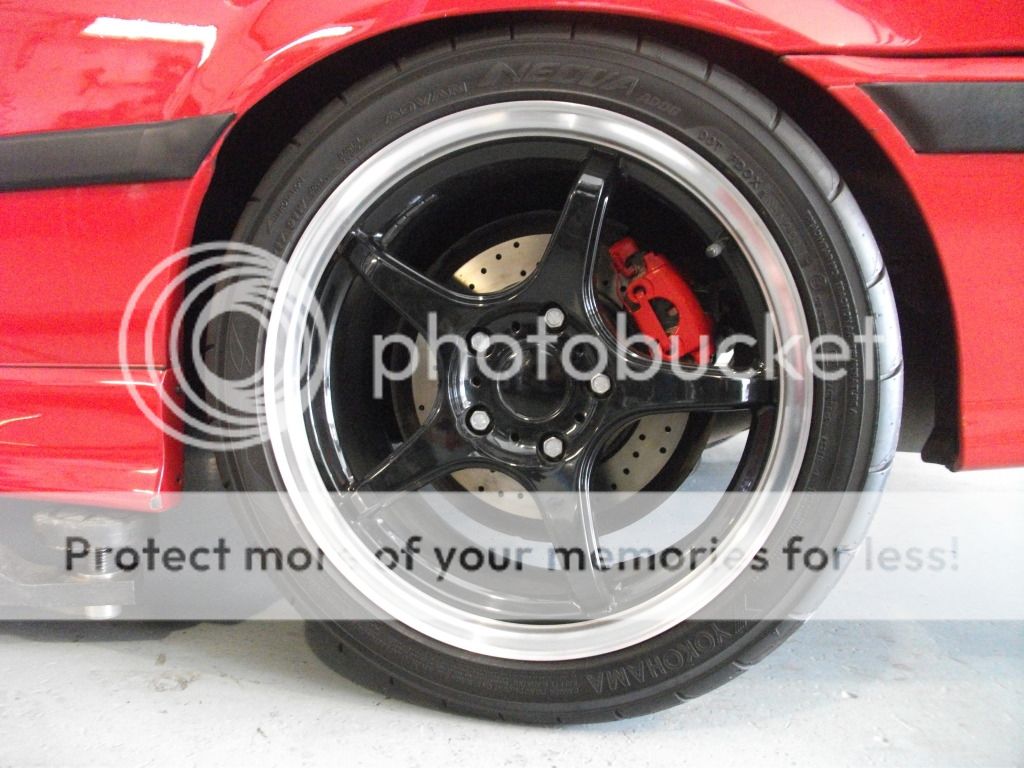
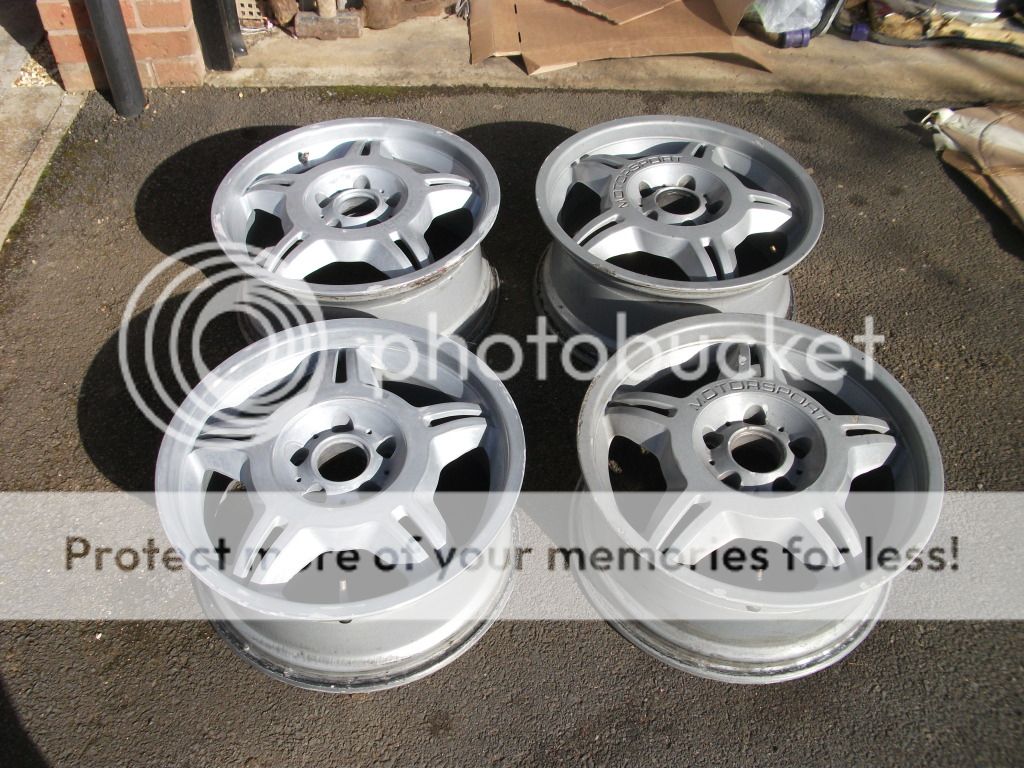
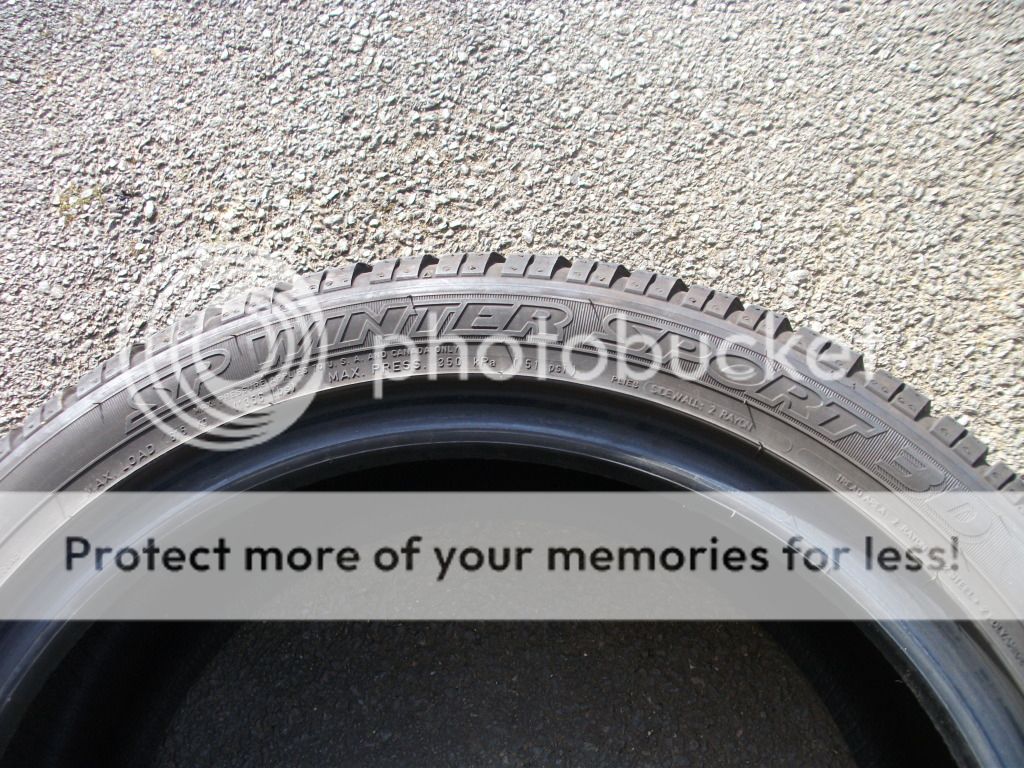
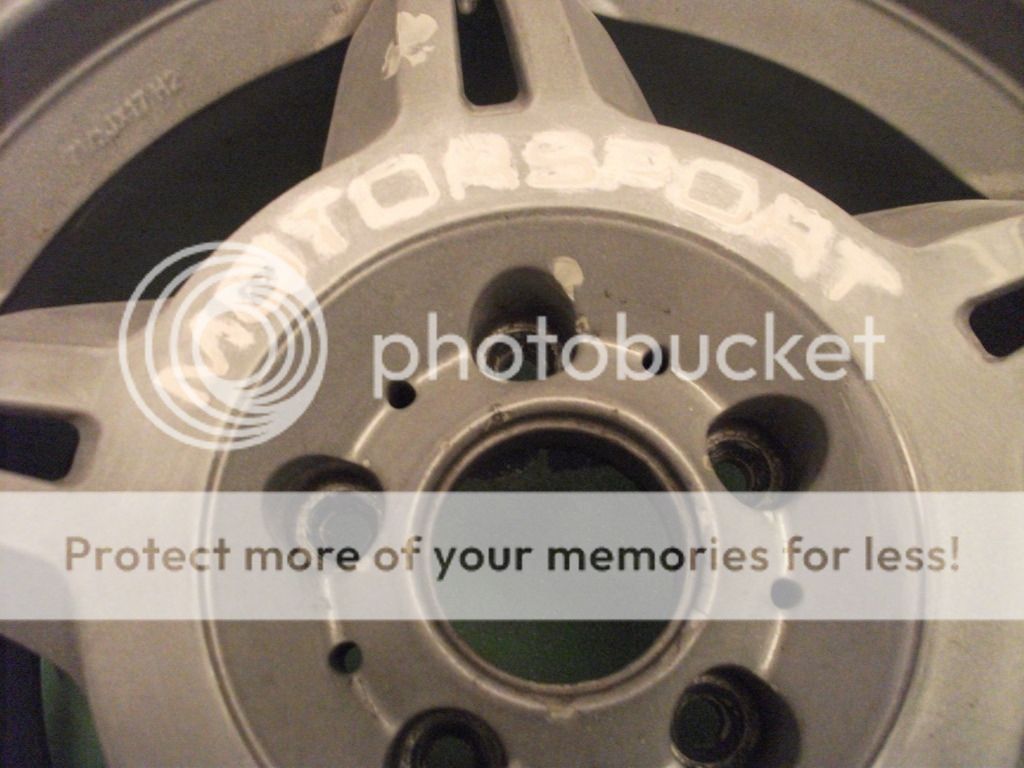
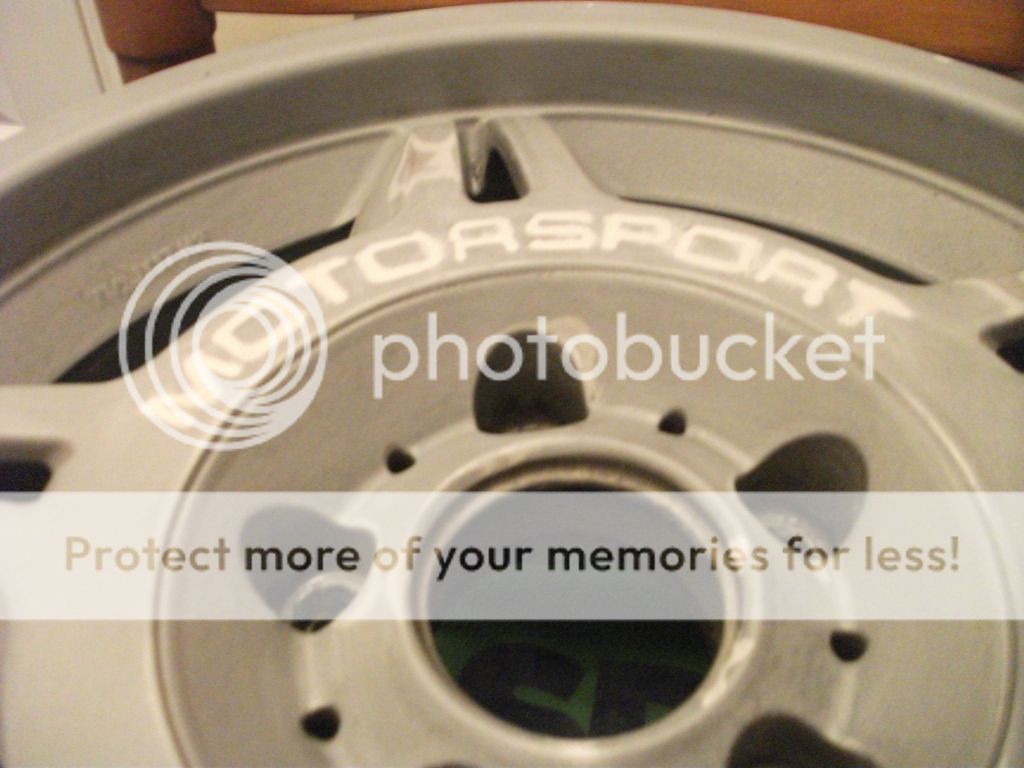
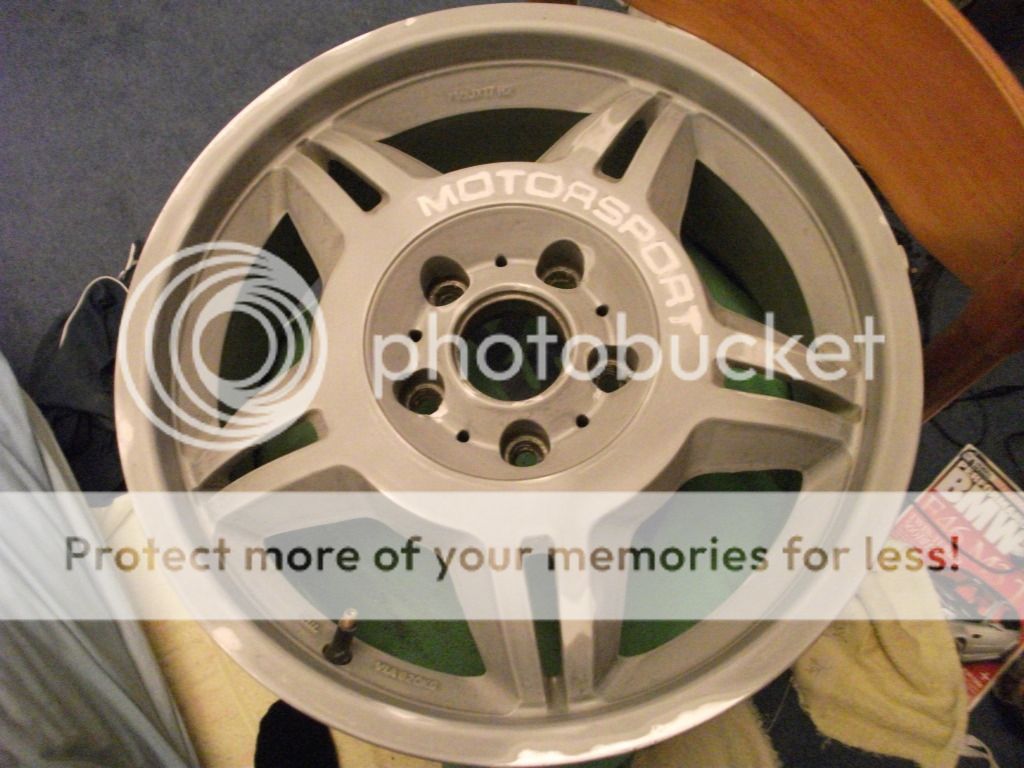
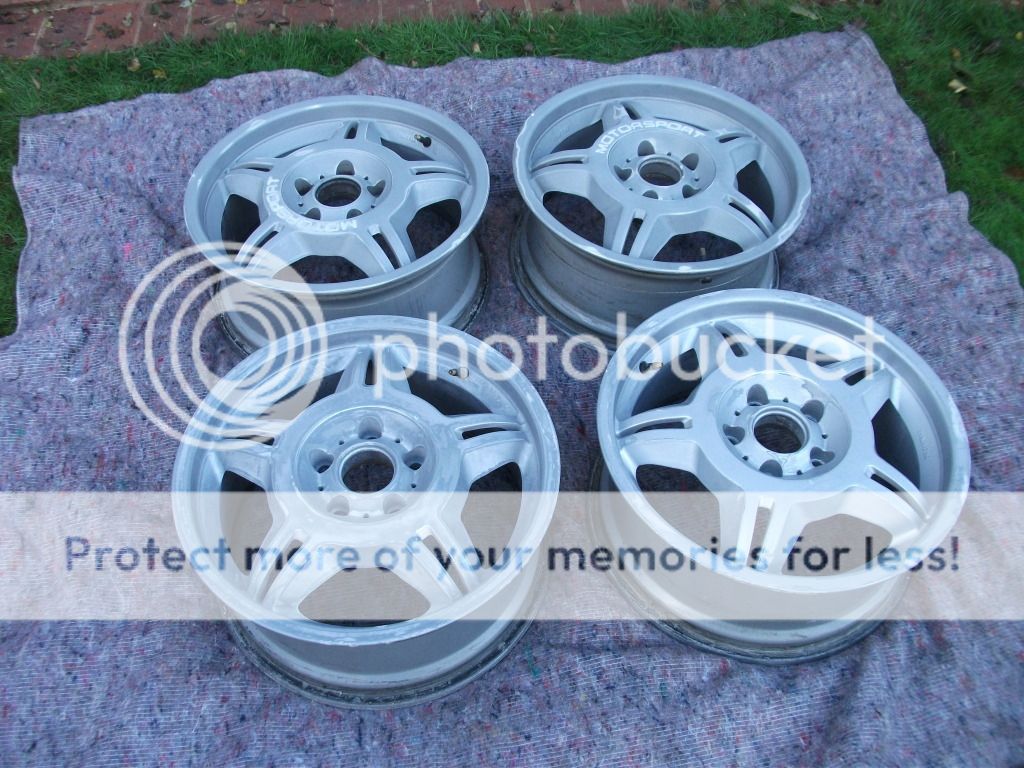
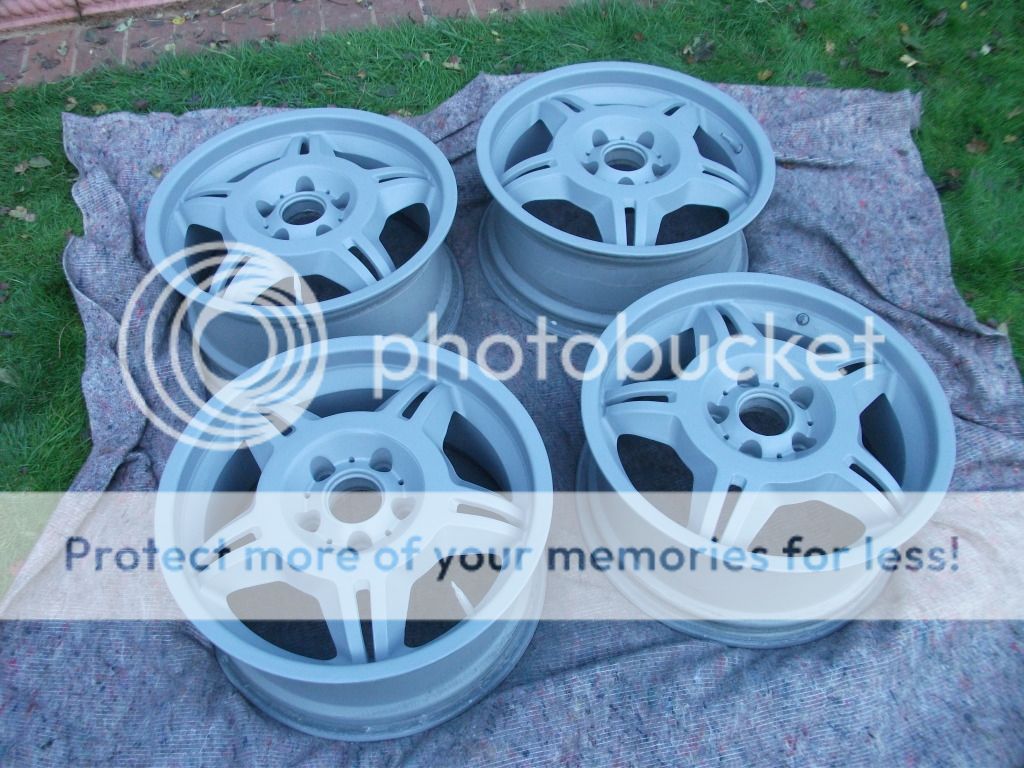
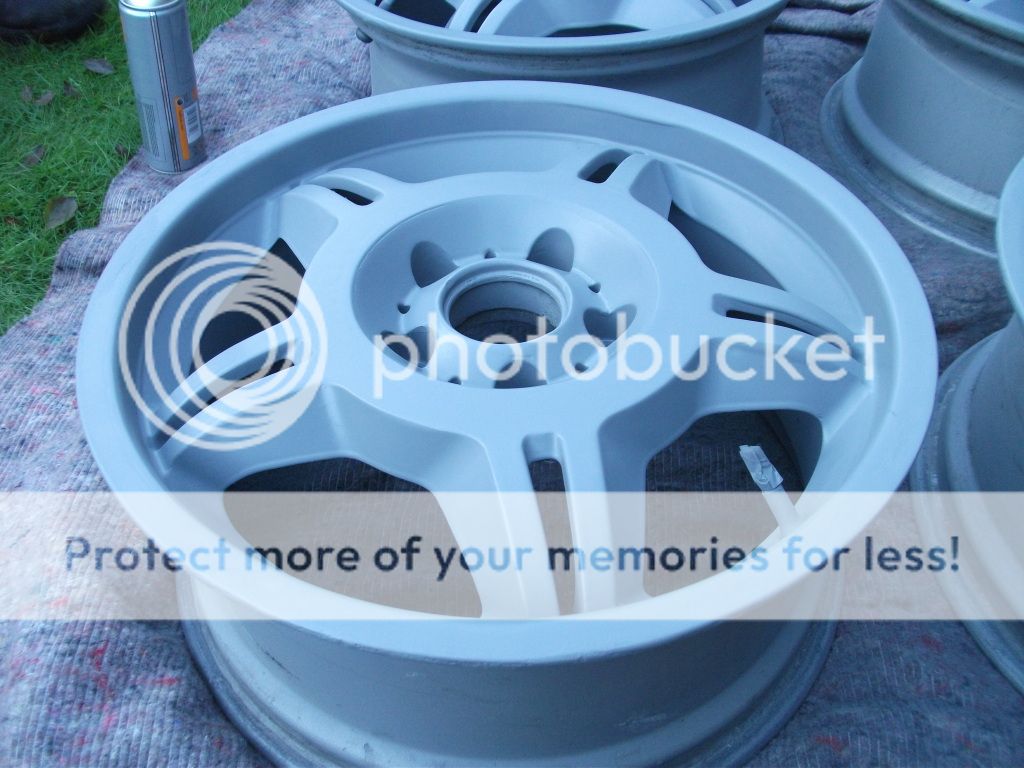
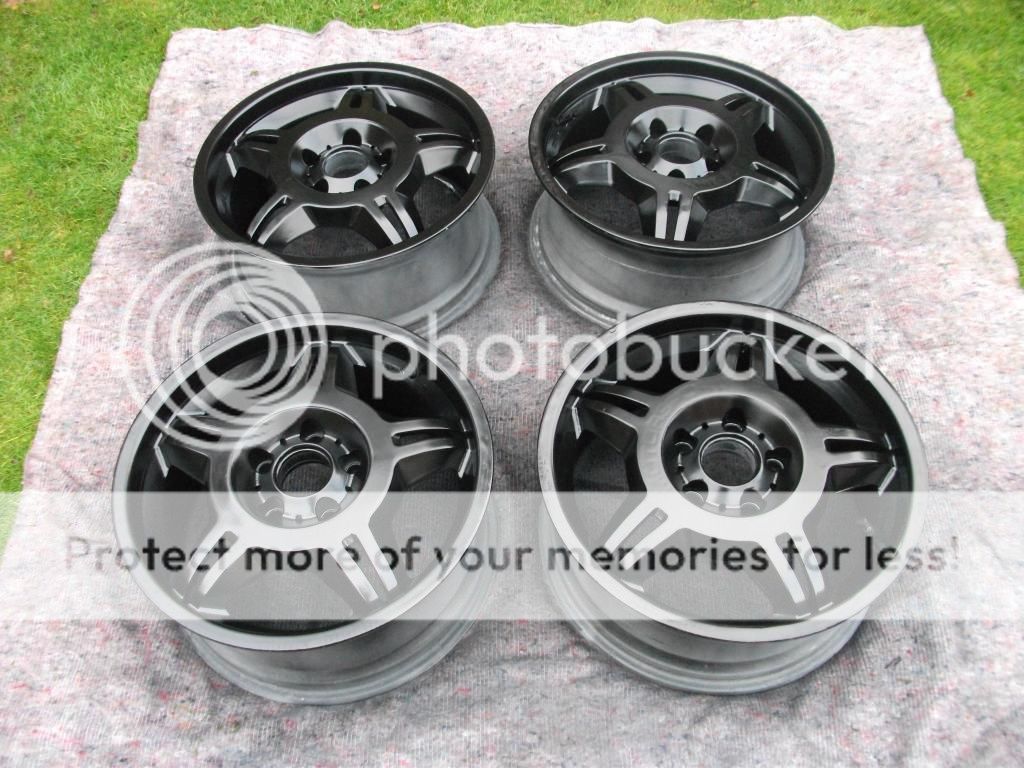
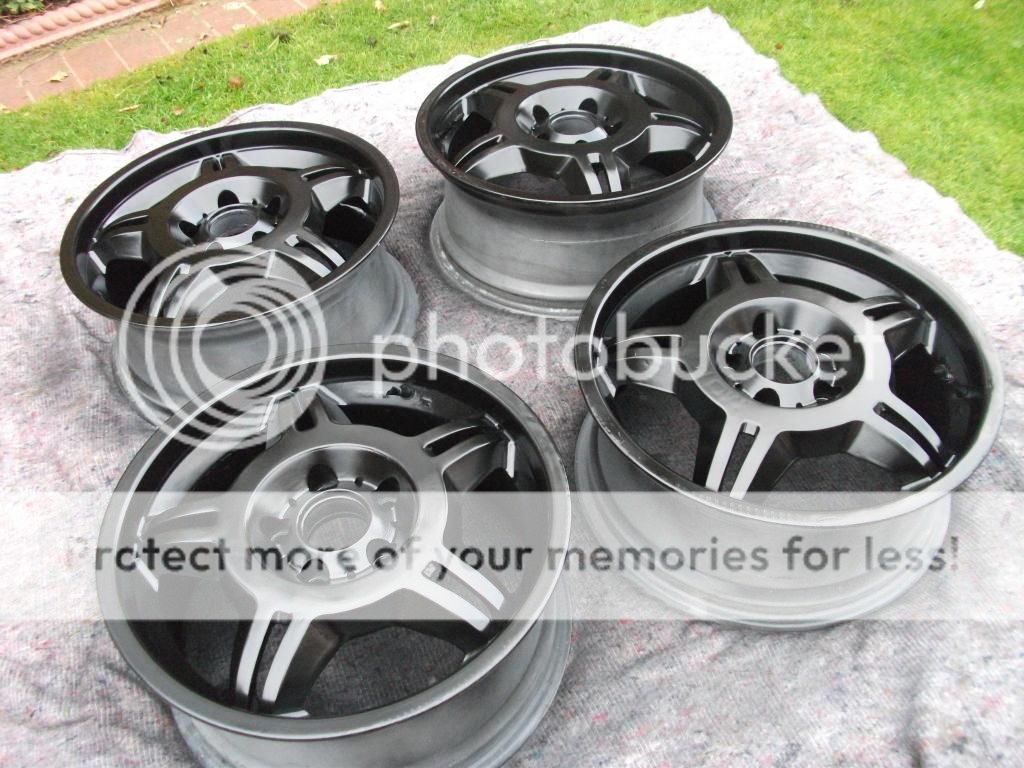
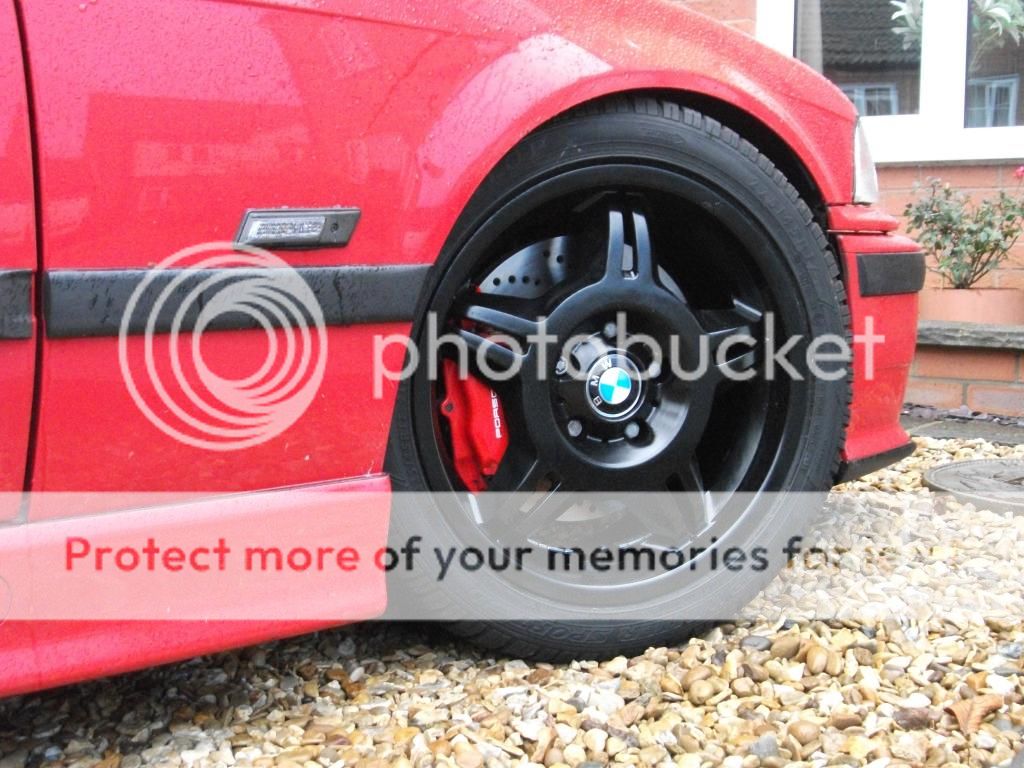
- BBS Style 5s (Summer Use)
- Smoothed Boot
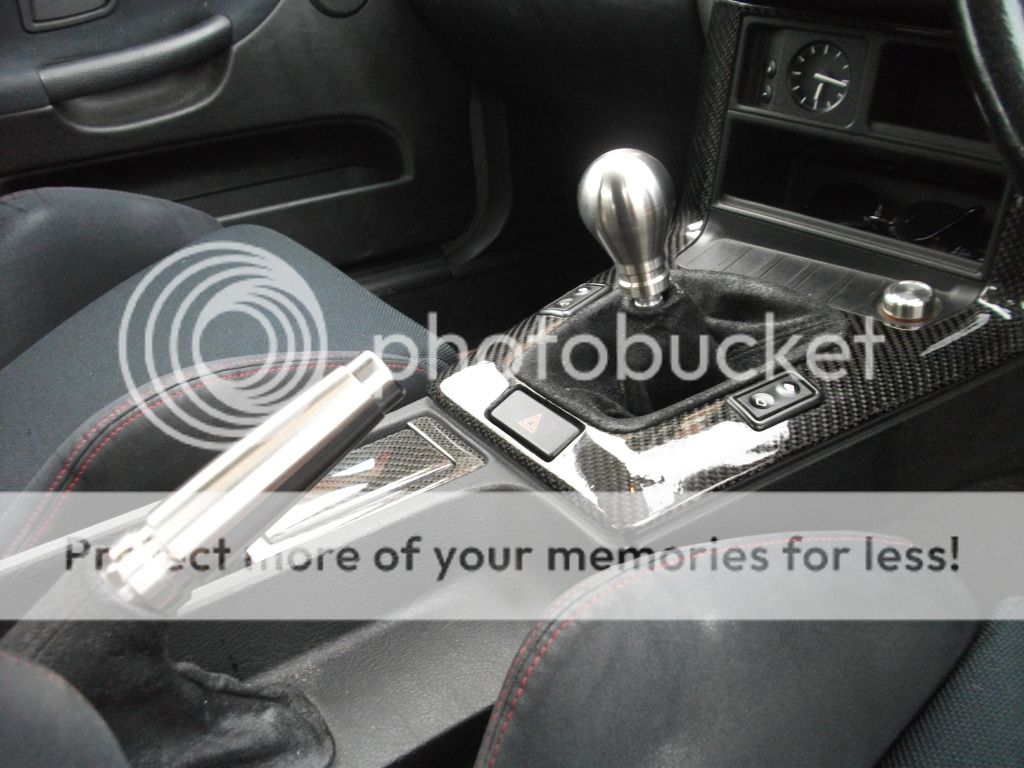
- Lashings Of Carbon Fibre
Suspension
- HSD Coilovers (Fully Adjustable)
- X Brace
- Eibach Anti-Roll Bars
- Powerflex Purple Poly Bushes
- Front Upper Strut Brace
- Rear Upper Strut Brace
Power (Aiming for 160bhp+)
- Scorpion Exhaust
- Simota Carbon Fibre Induction Kit
- Big Bore Throttle Bodies
- Remap
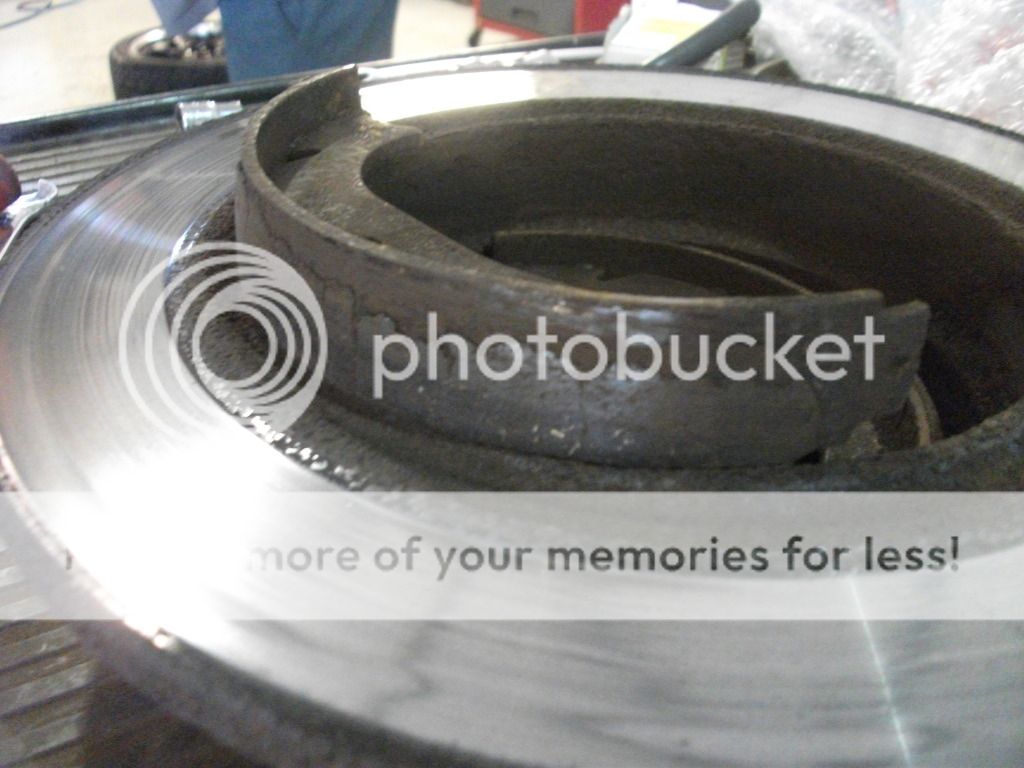
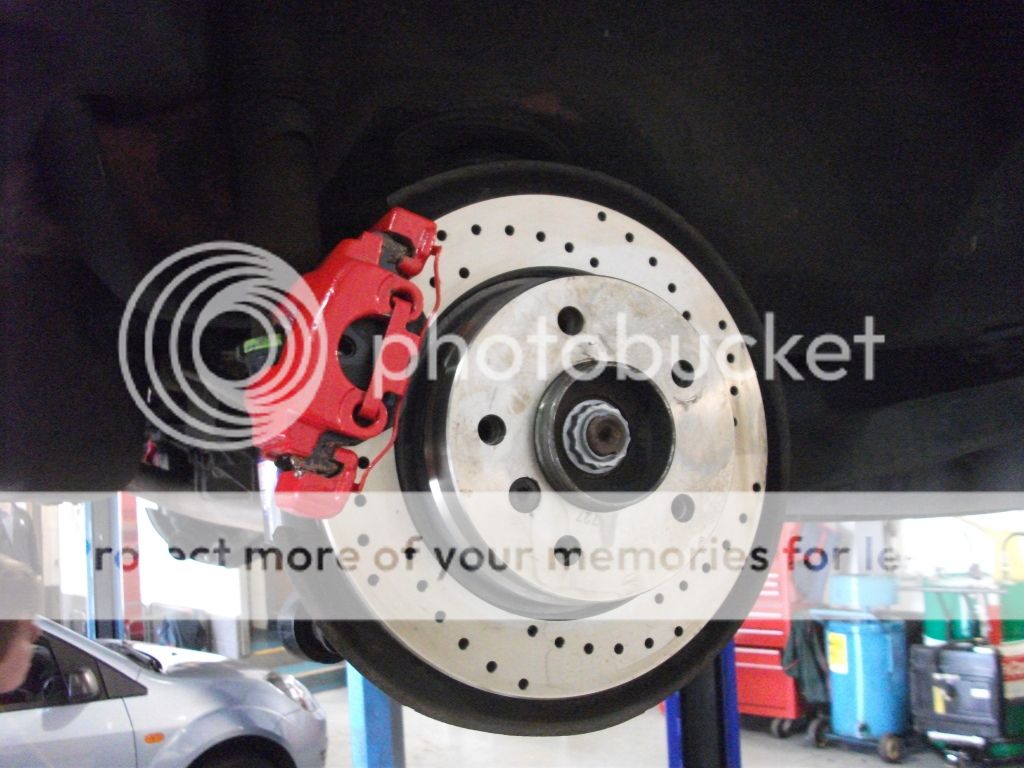
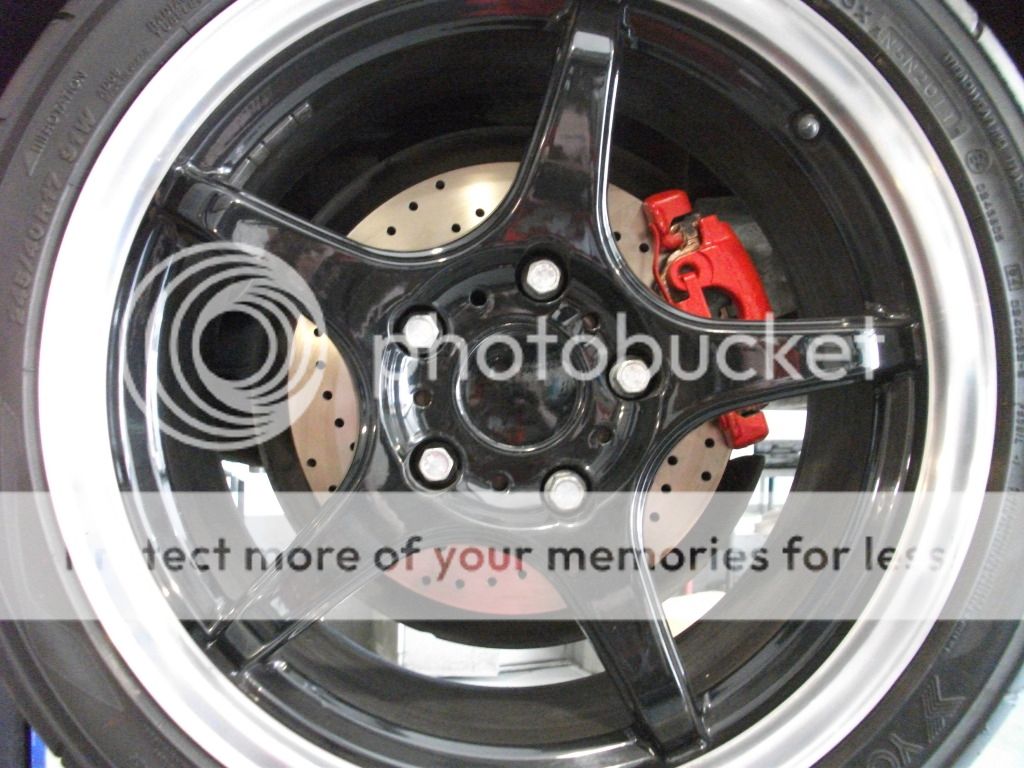
Brakes
- Either a 330i conversion or an M3 conversion
Interior
- Honda Integra DC2 Type R Recaros
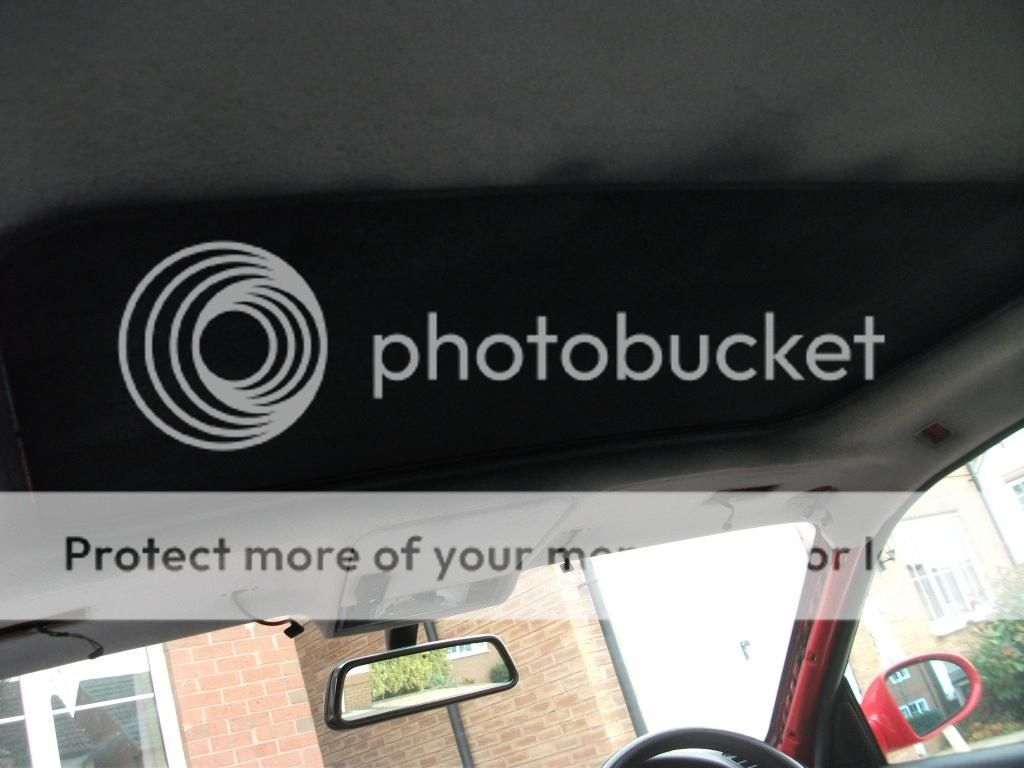
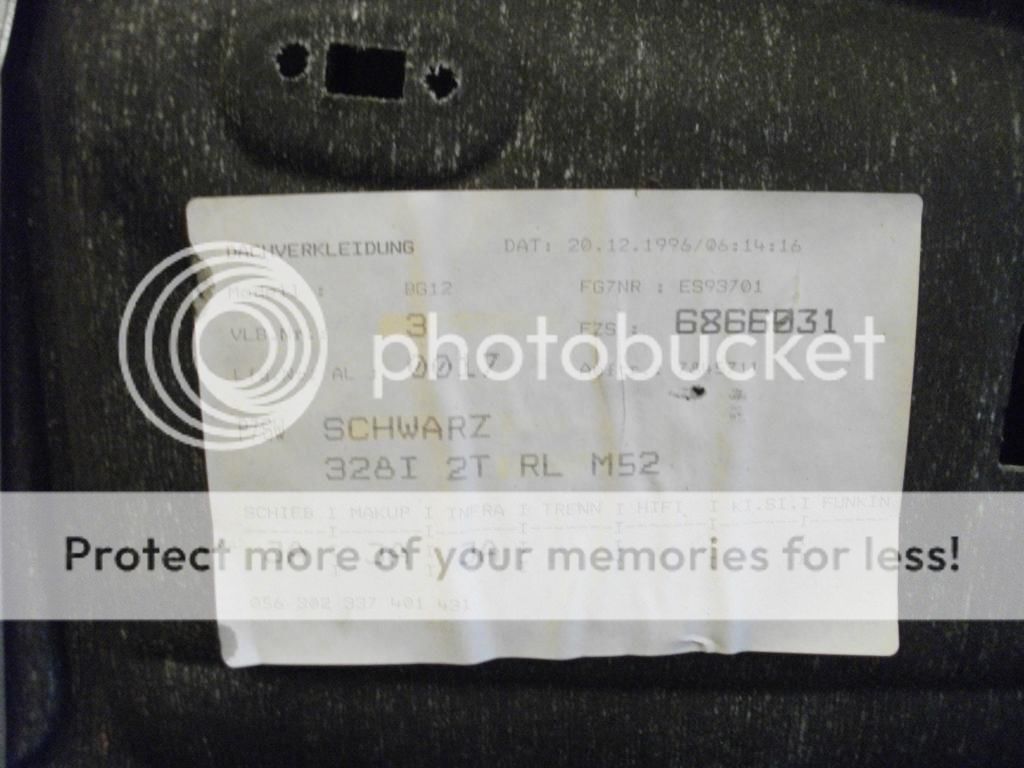
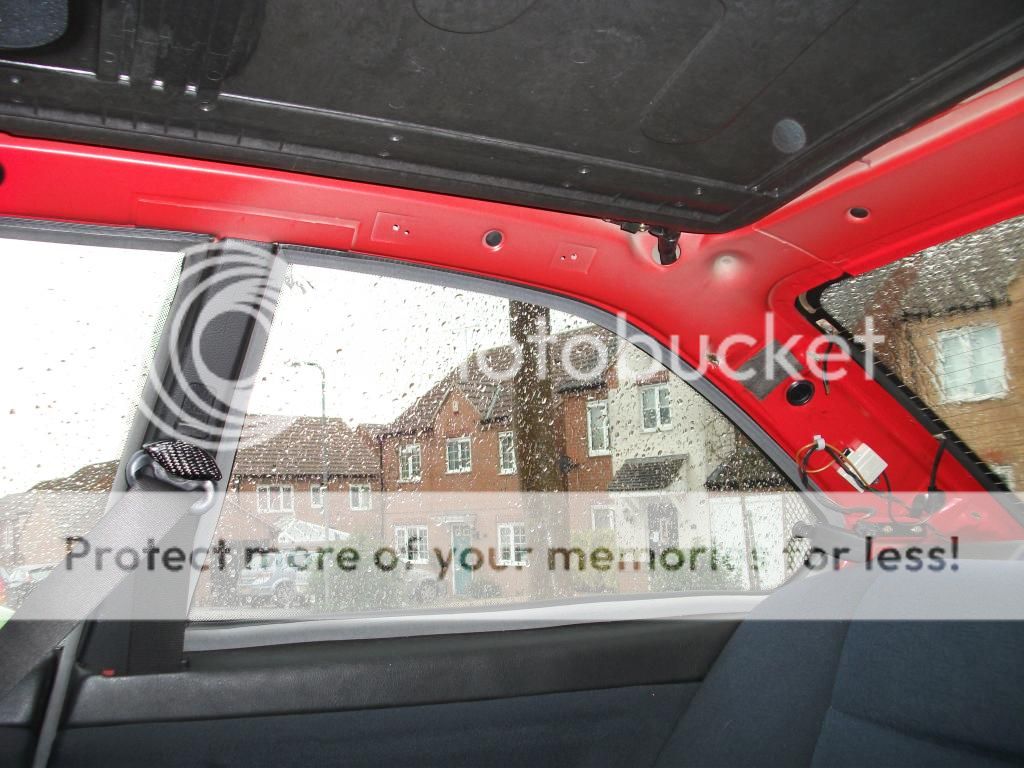
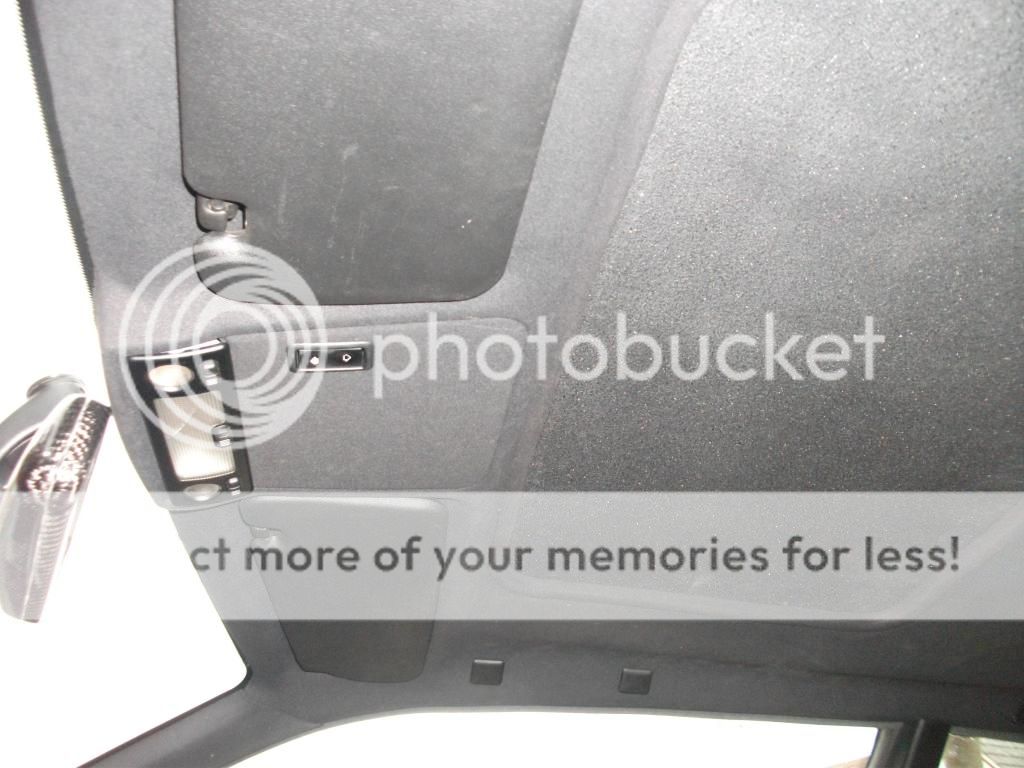
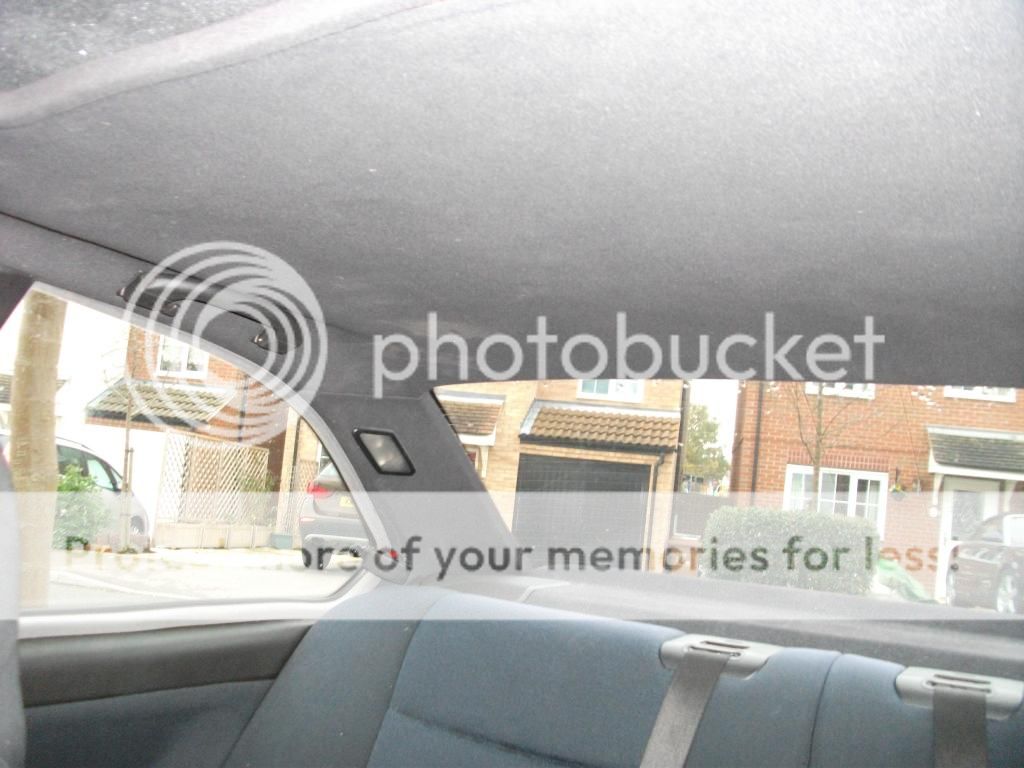
- Sport Headlining Conversion
In the future I will look into the possibility of a turbo or an engine conversion.
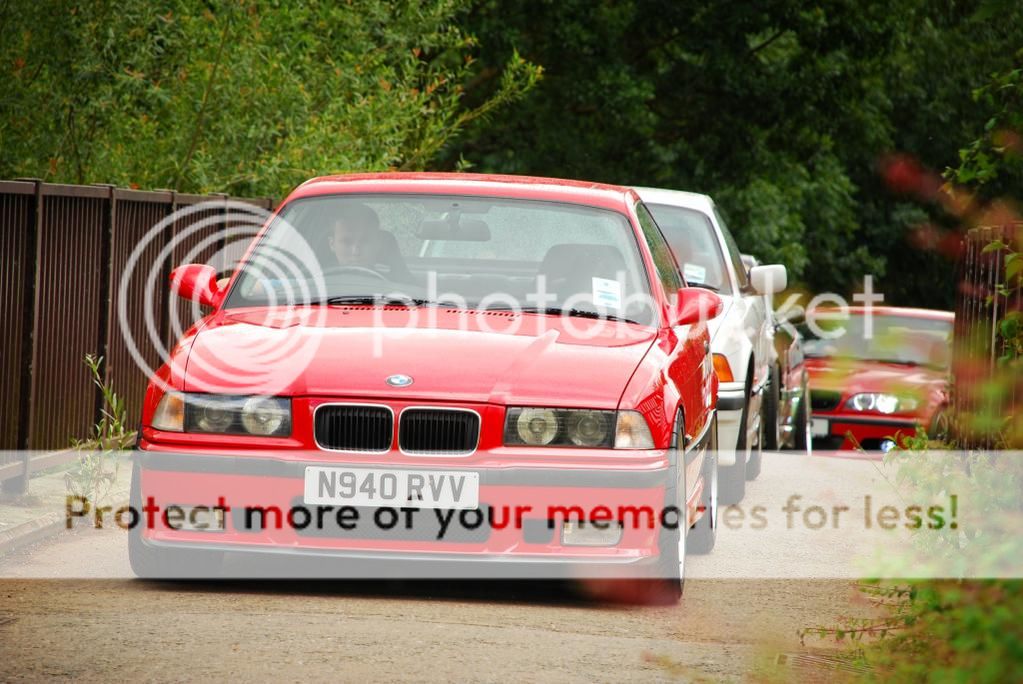
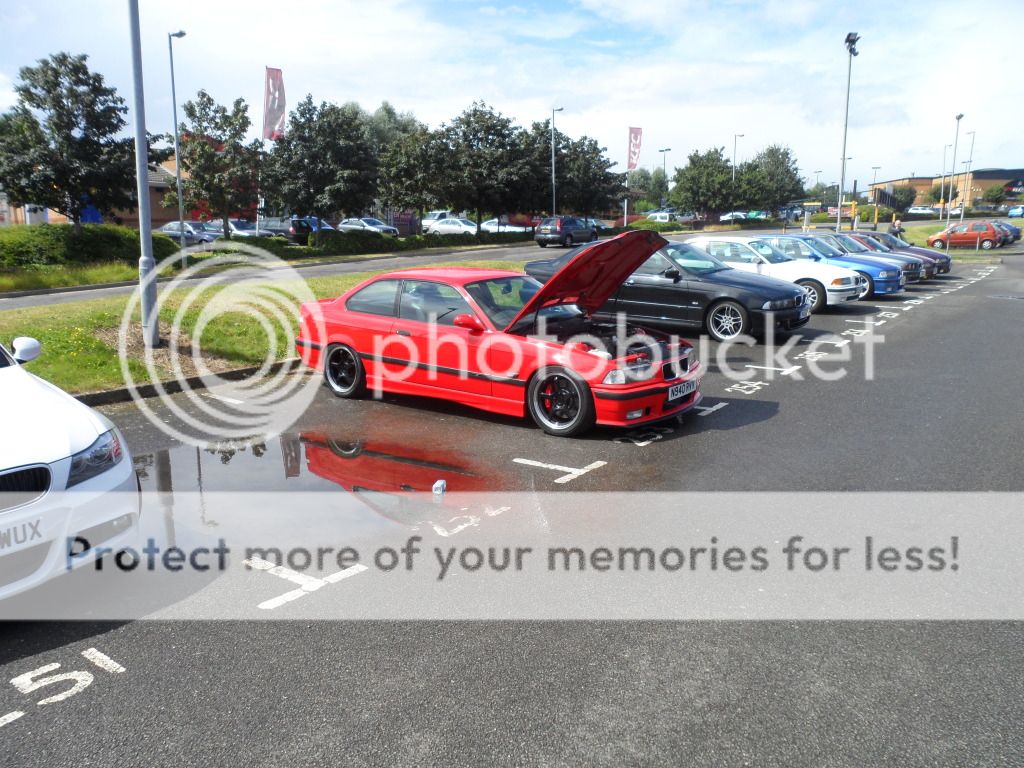
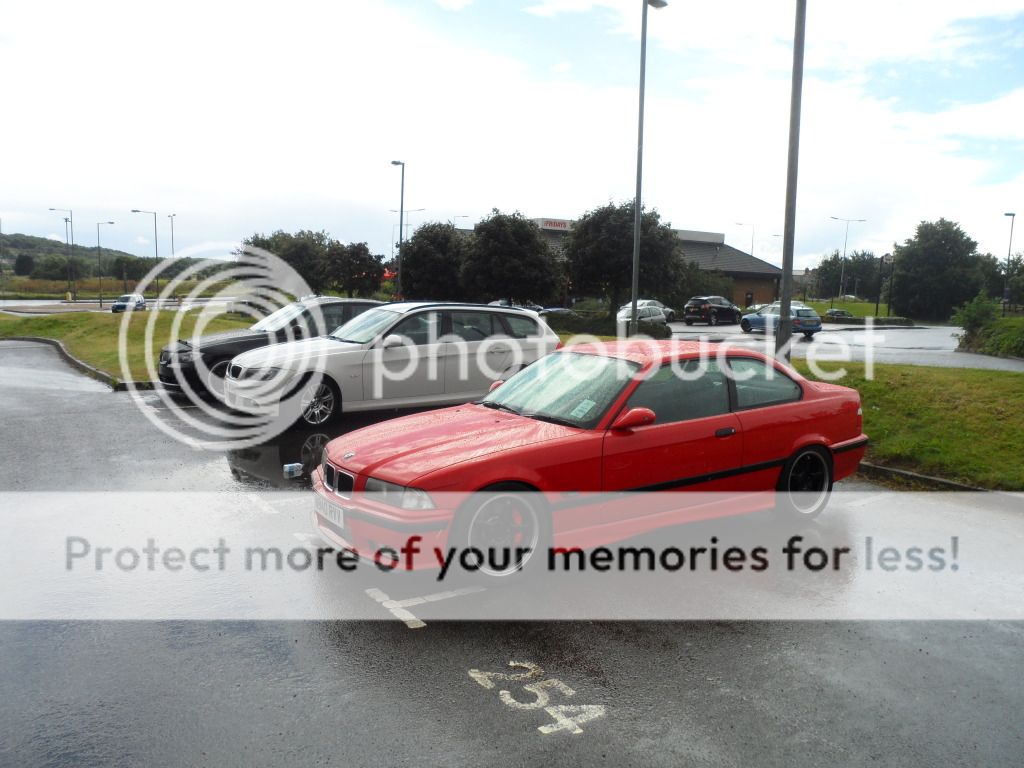
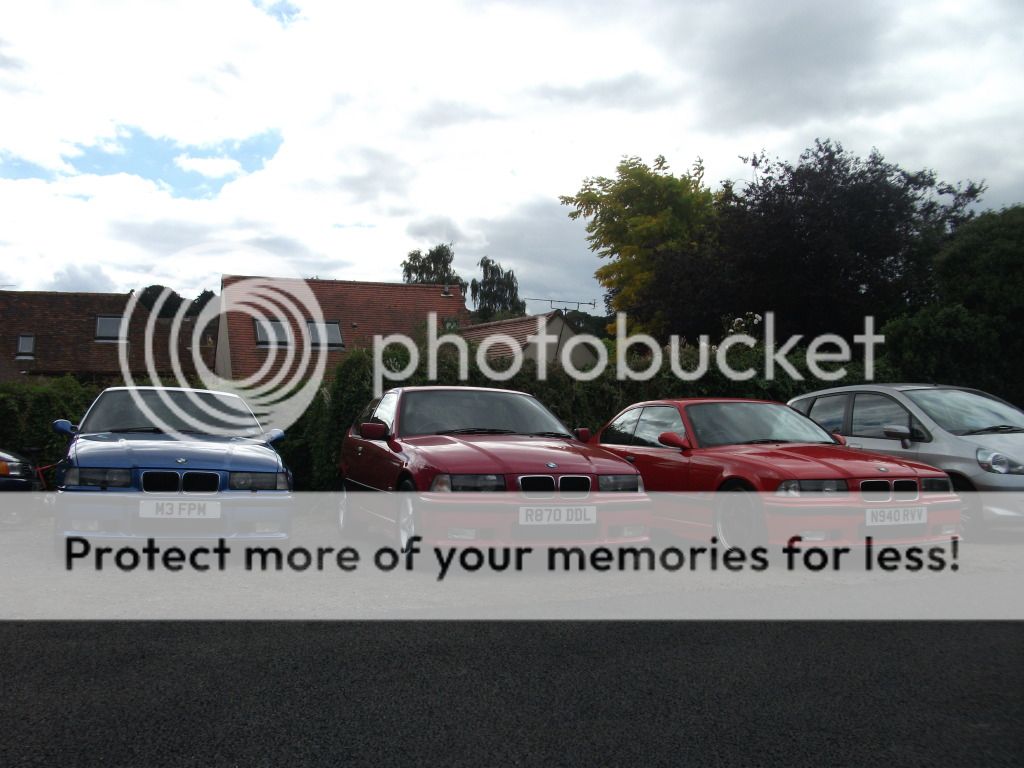
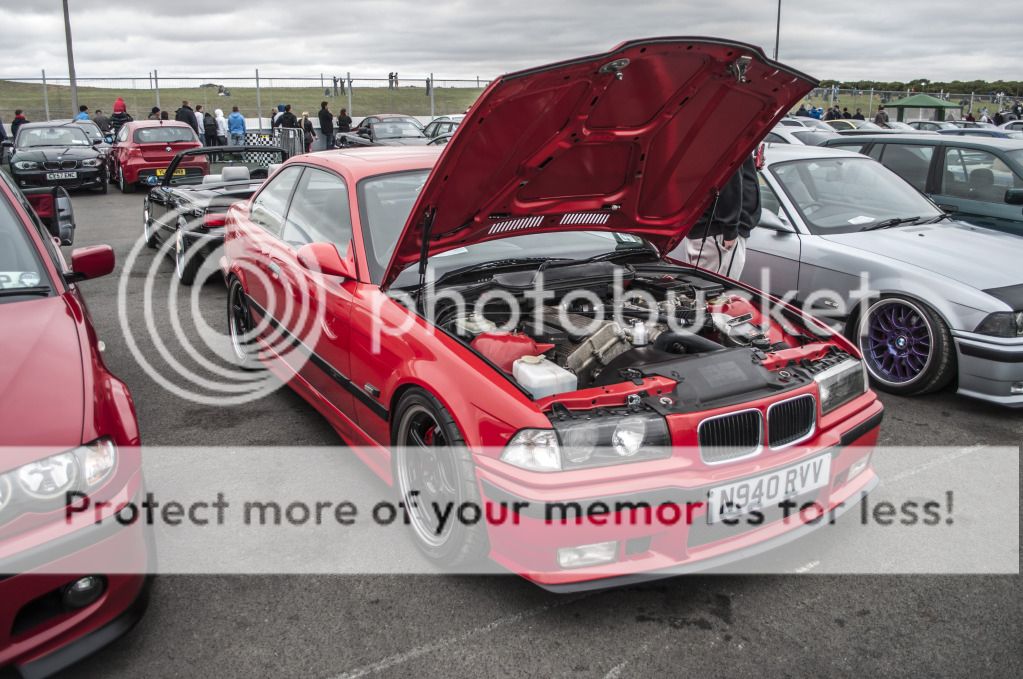
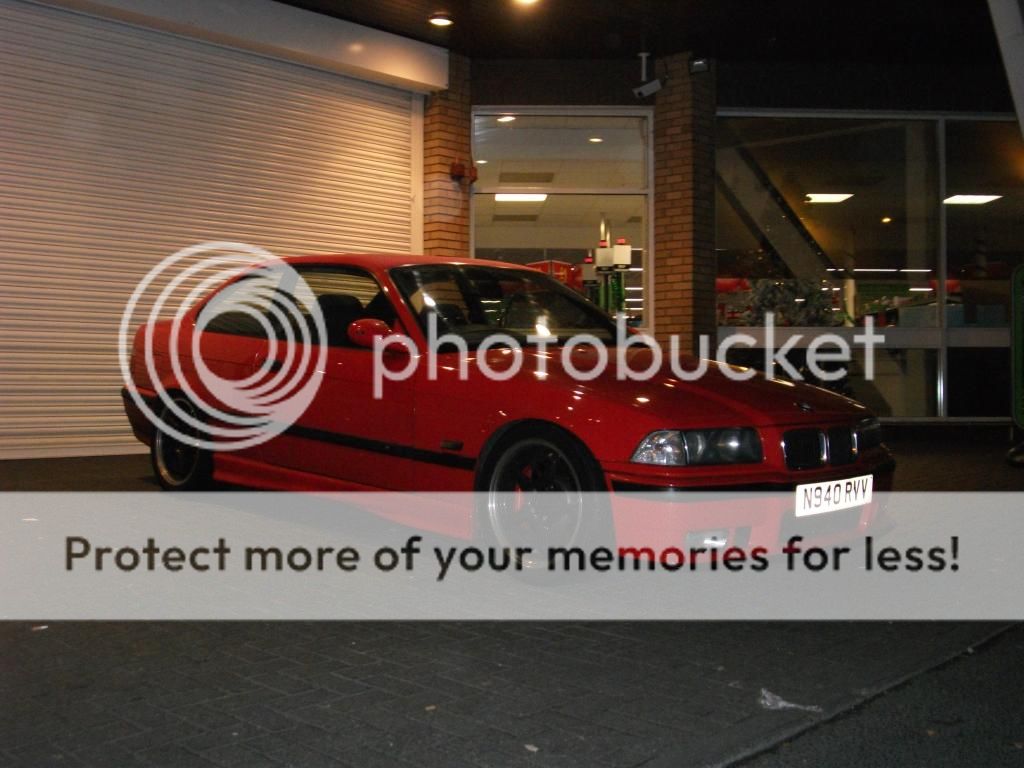
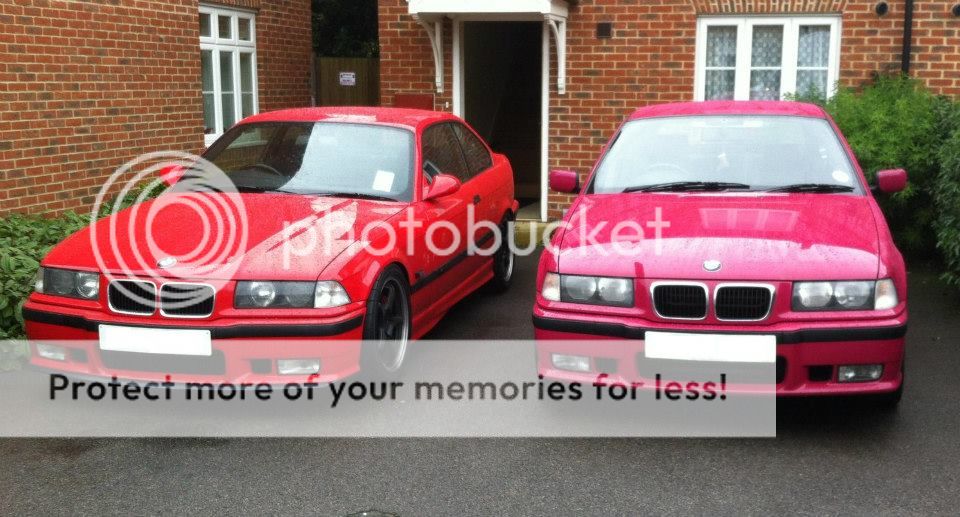
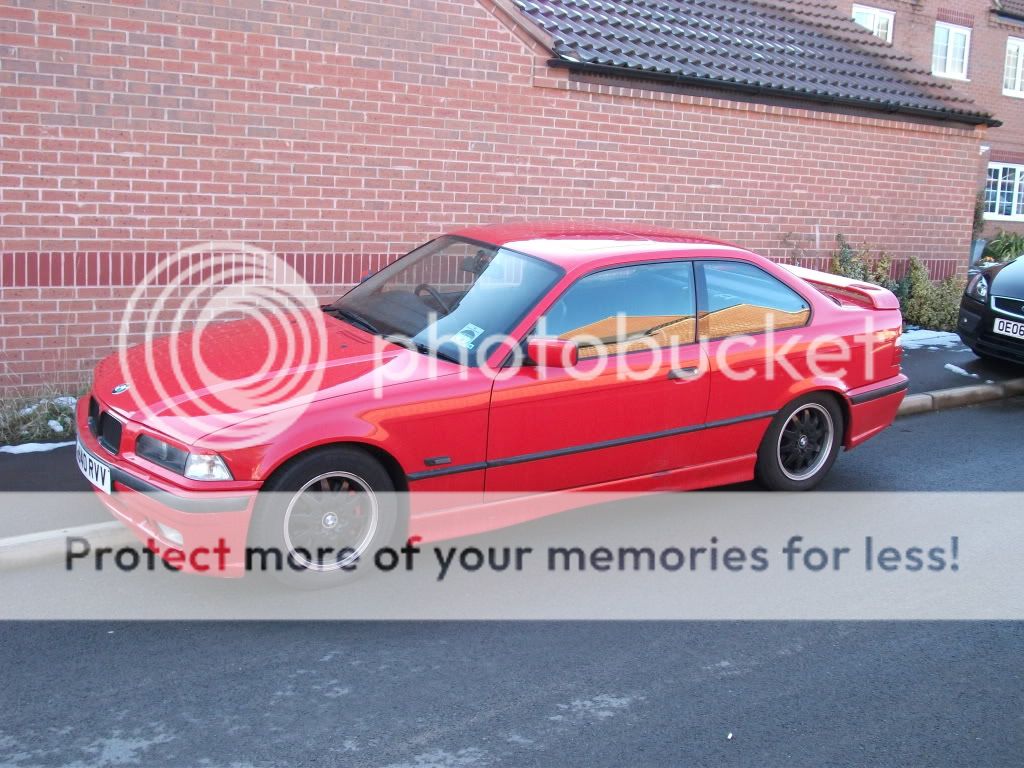
This is how it looked when I bought it:
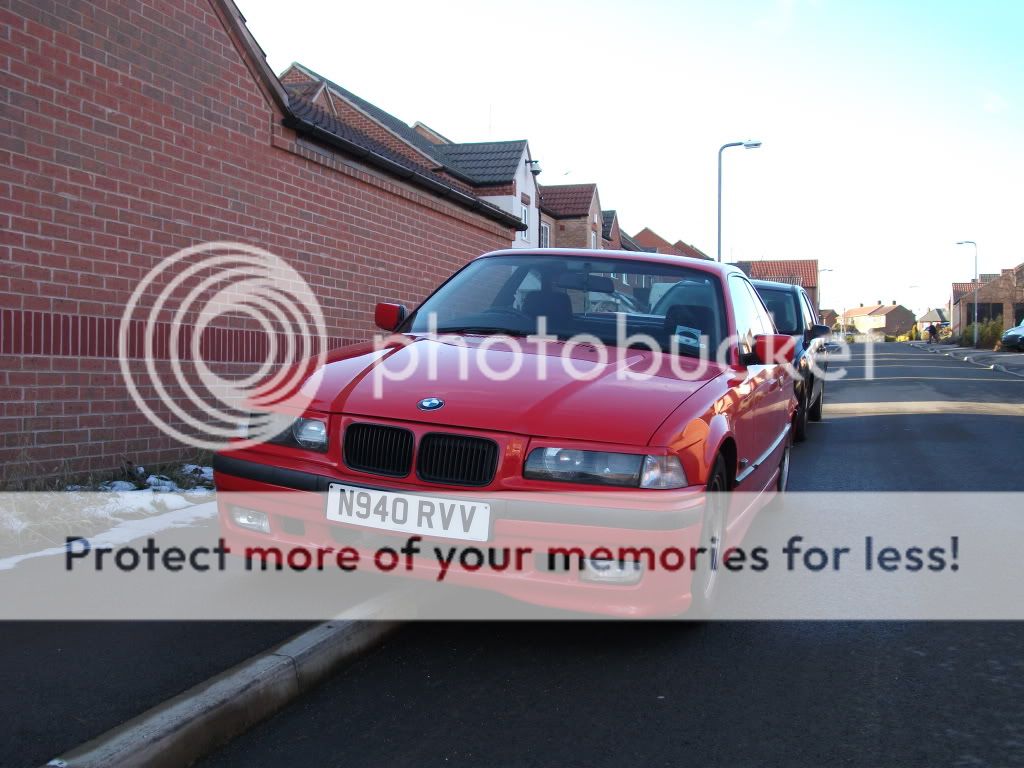
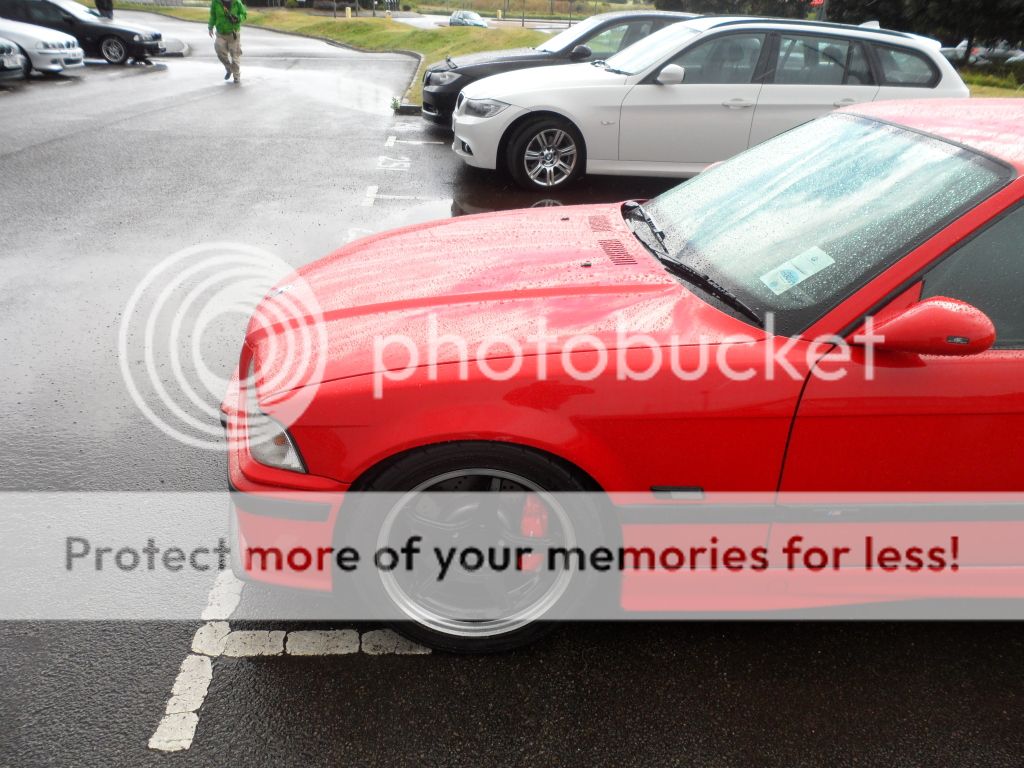
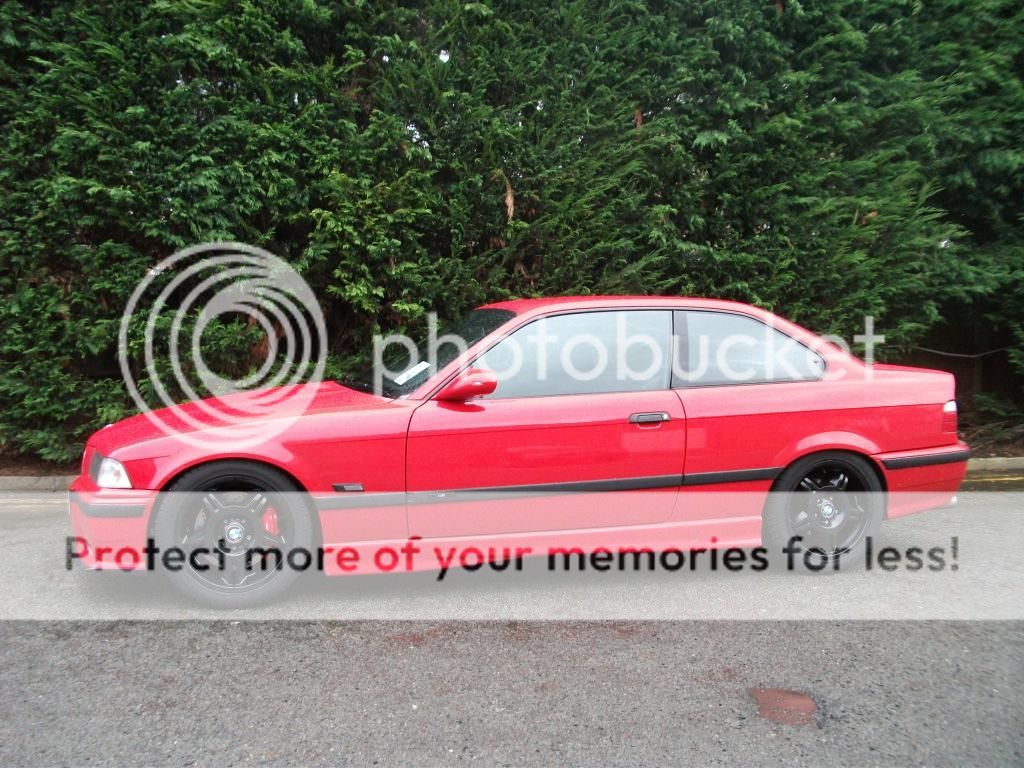
Obviously those awful eye brows had to come off, and that terrible M badge had to be removed.
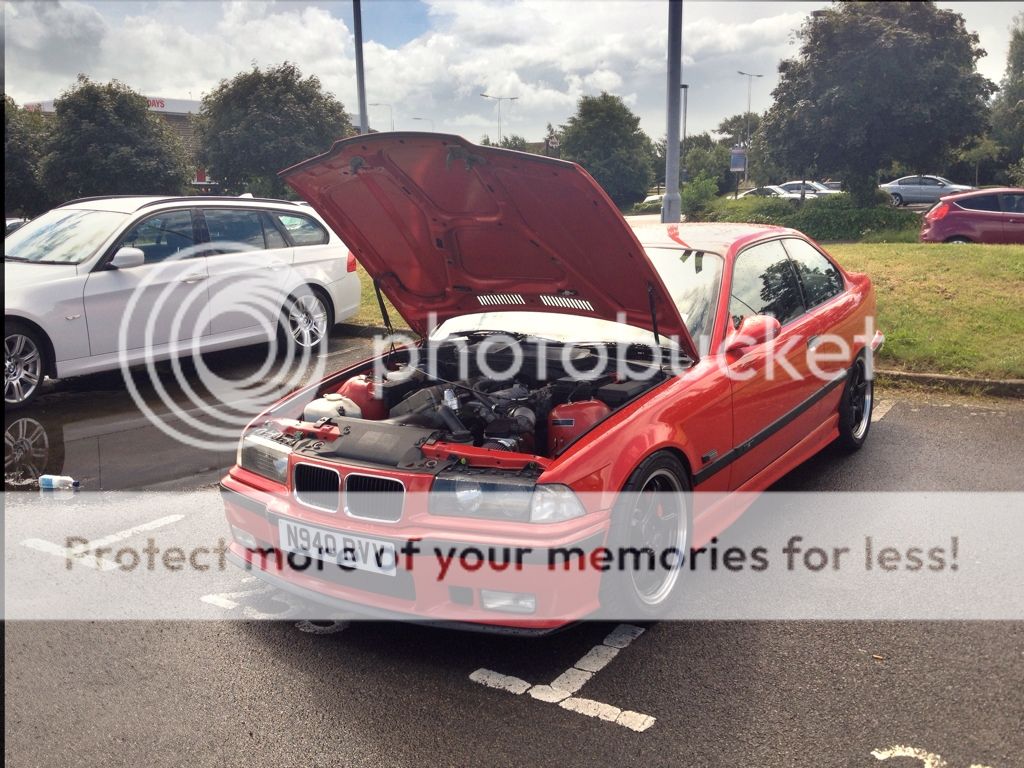
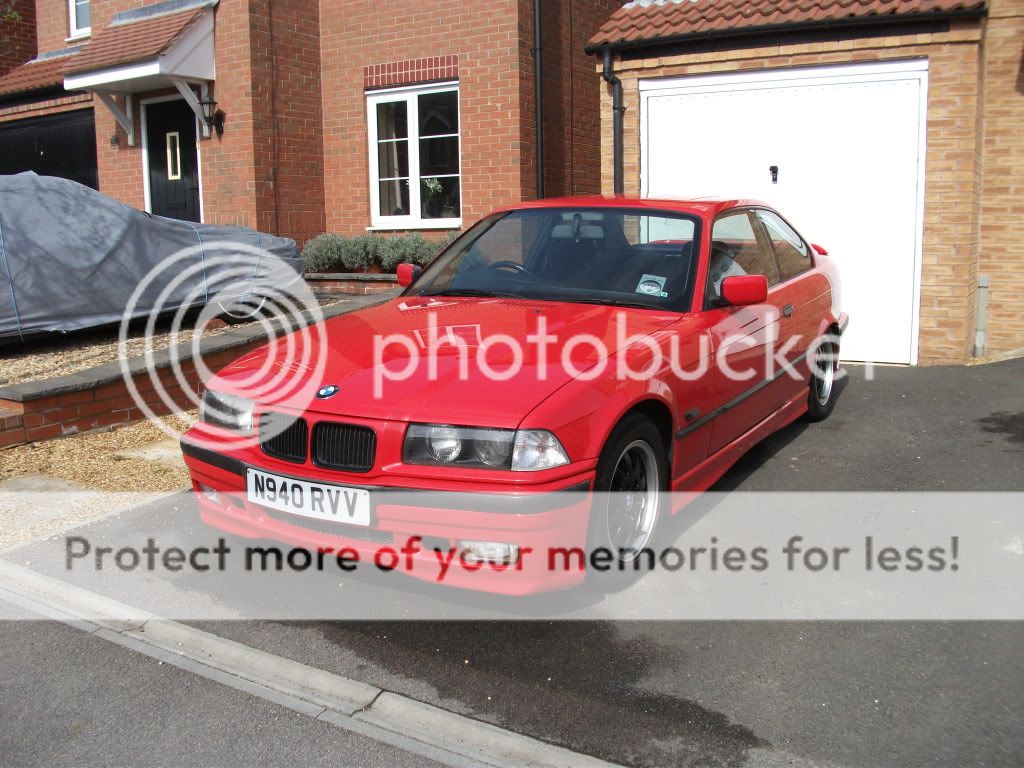
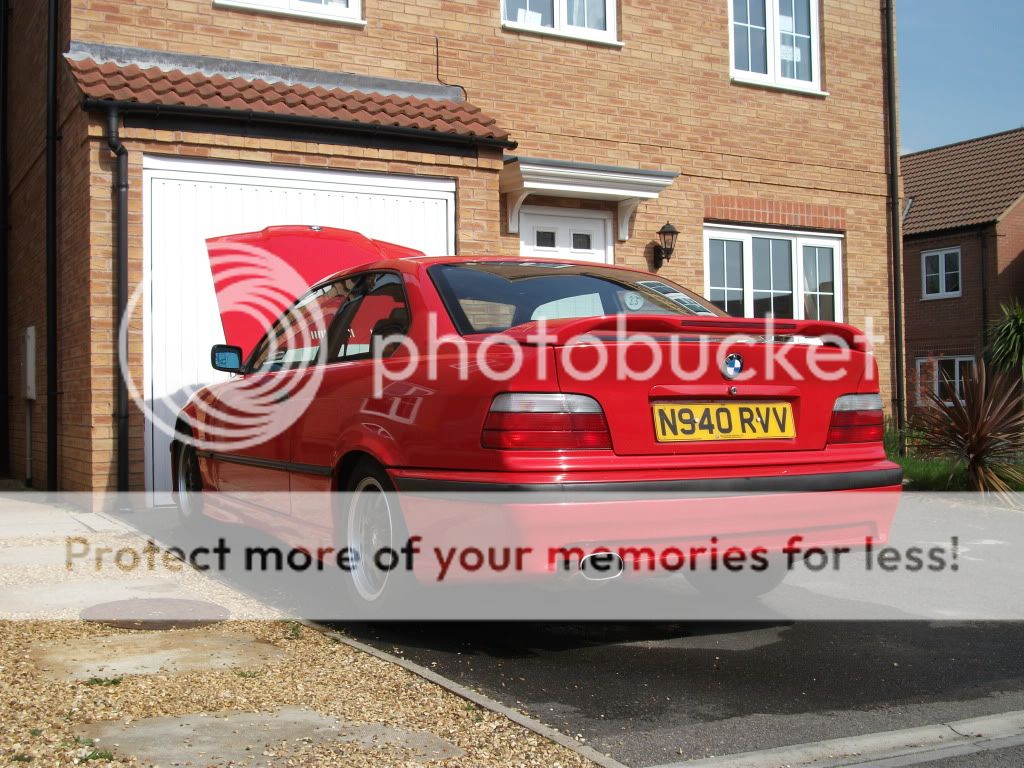
So as soon as I had the time I removed them and gave it a clean:
I bought this car quite a while ago. Originally I got the car as my Civic was involved in an accident and I needed something to get me from A to B, but wanted something that would hold it's value. I travelled to Peterborough one very snowy evening to check the car and it was fine (mechanically) so I lowered the seller to £1200 and drove it away that night. After owning the BMW for a while I decided to keep it instead of the Civic.
I've quietly started my project over the last month or so and decided to share it with everyone on here. It's not the most powerful car in the world but right now it fits the bill perfectly.
The previous owner's work wasn't the best so I have to correct scratches, rust and the awful back box. I've already had to replace a blown manifold (common problem on the M42 lump) and replace the clutch thanks to the release bearing. He did have some taste though as M3 rear lights have already been installed and the car has lowering springs (which will do for now). The car also had the full tool kit, torch, warning triangle and first aid kit.
My plans are:
Cosmetics
- M3 Body Kit
- AC Schnitzer Mirrors
- MTEC Mouldings
- BBS Style 5s (Summer Use)
- Smoothed Boot
- Lashings Of Carbon Fibre
Suspension
- HSD Coilovers (Fully Adjustable)
- X Brace
- Eibach Anti-Roll Bars
- Powerflex Purple Poly Bushes
- Front Upper Strut Brace
- Rear Upper Strut Brace
Power (Aiming for 160bhp+)
- Scorpion Exhaust
- Simota Carbon Fibre Induction Kit
- Big Bore Throttle Bodies
- Remap
Brakes
- Either a 330i conversion or an M3 conversion
Interior
- Honda Integra DC2 Type R Recaros
- Sport Headlining Conversion
In the future I will look into the possibility of a turbo or an engine conversion.
This is how it looked when I bought it:
Obviously those awful eye brows had to come off, and that terrible M badge had to be removed.
So as soon as I had the time I removed them and gave it a clean:
Last edited: