Project GT1600 (aka The Reaper)

Introduction

As this is going to be quite a big ongoing project, I thought I may as well get a project thread up for those interested. The car was taken off the road about 10 months ago as I have two cars so only used it as a weekend car anyway. I have plenty of experience from a young age from working on several mates cars and projects and that of my old man. This, however, is my first big project completely on my own.

How the car stands

The car was nearly standard when I got it. It now stands completely stripped weighing 910 kgs and running about 180bhp at 18psi. A GT of the same spec as mine with full interior can run a 14.5 flat quarter mile on crap tyres. So est. low 14's for mine. Bodywork needs attention but is standard.

Plans and goals

Now then, I'm sure I have stated the plans elsewhere on here but I will end up with a stripped, caged, GT with a full (ie blueprintes, forged etc) 1600 build using the 1600 Sporting block running on DTA management. I hope to end up with a dry weight of 900kgs and 250bhp initially just to get it up and running, then push for 300bhp. The suspension and shell will be getting a full overhaul, new bushes, bolts, underseal, few bits of welding etc. I will prep the car and spray it Satin black inside and out.

ANY COMMENTS, QUESTIONS OR CRITISISM (CONSTRUCTIVE PLEASE) WELCOME THROUGHOUT
 
Last edited:
After a busy weekend faffing about and collecting a few parts I thought it was about time I made a start on the shell whilst I'm having two days off on the sick. After managing to somehow lose a pair of axle stands (got a feeling they're at my Dads) and getting up very late, I had to go to two Halfords to get a new pair.

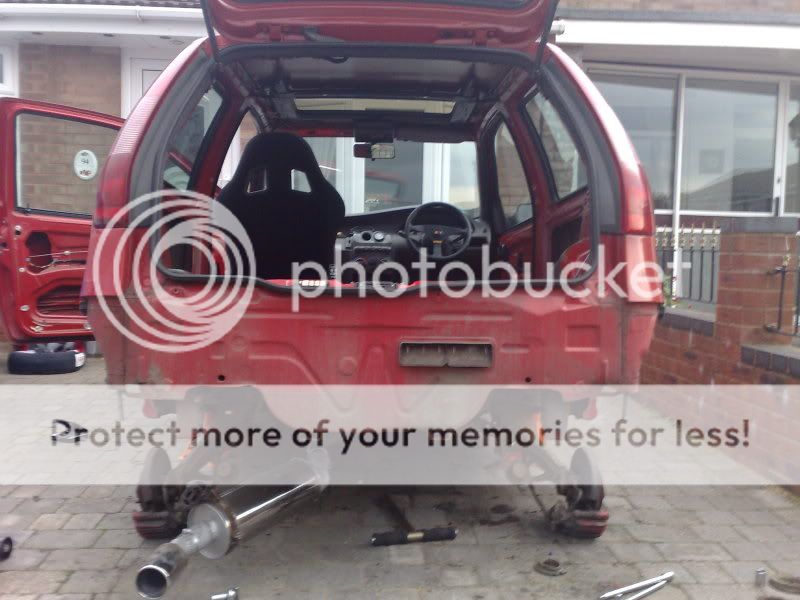
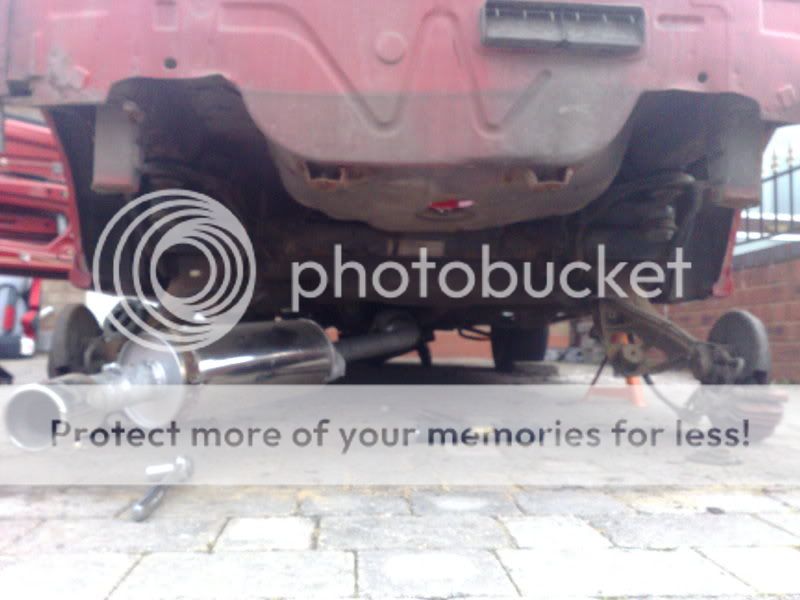
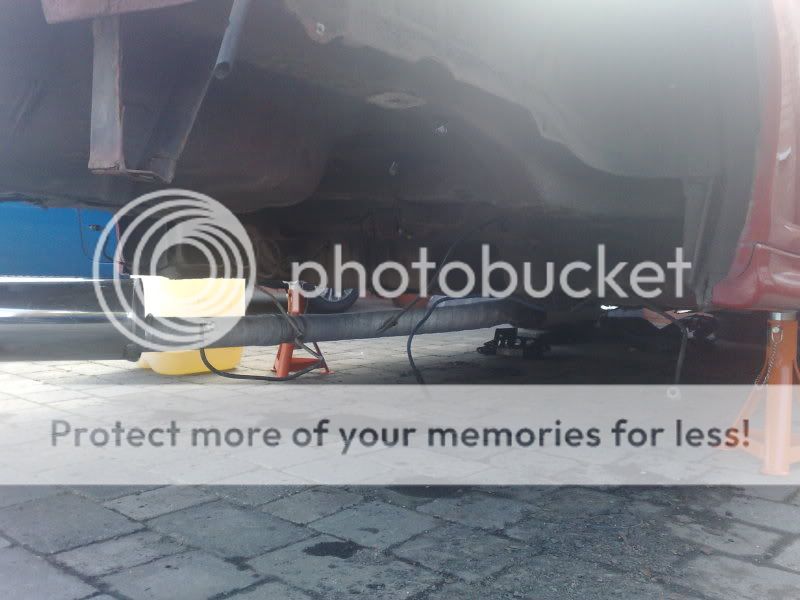
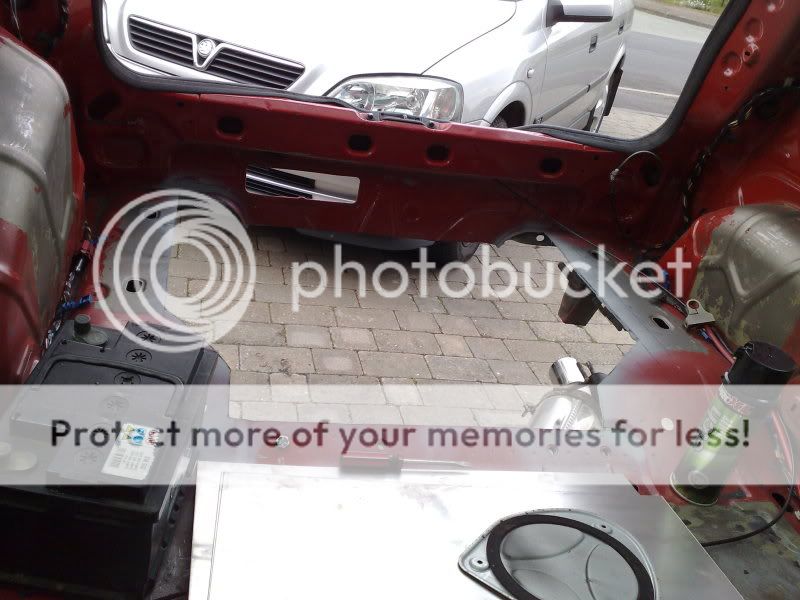
Starting late I began stripping down the rear of the car. Wheels off, Front bumper off, old ARB off, rear suspension off. At the end of yesterday this is how the car stands. Underneath is looking crusty, definately in need of re-undersealing.

RearStrip1.jpg


RearStrip2.jpg


Note the hole in the wheel well from the bracket of the old chavvy centre-exit exhaust. Also, my dismantled pogo stick breaker bar :embarrest:
 
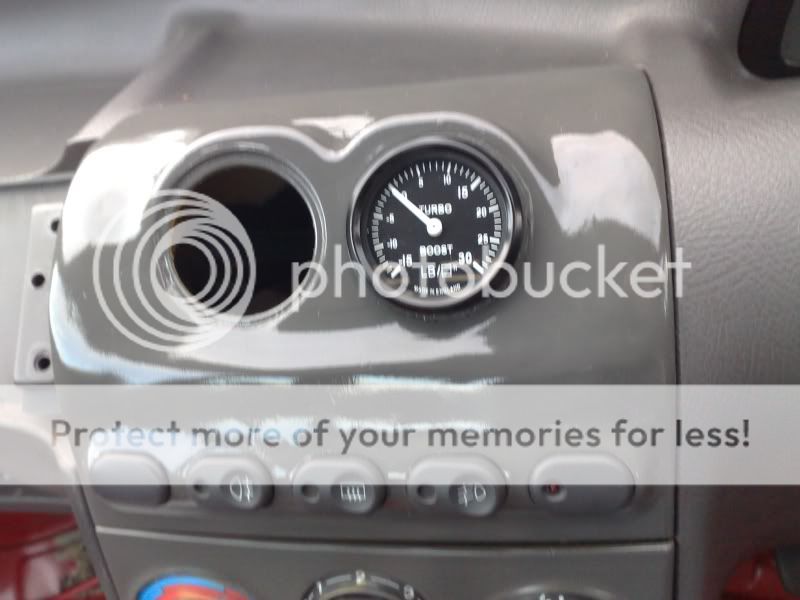
A few weekends ago I got bored and decided I didn't lik pillar pods anymore. So where do I put my gauges now? Take one standard centre dash vent, cut out the vents, laminate with fibreglass, cut out a space for a cheap ebay gauge pod to rest, insert and fibreglass into place. Now, skim with filler, sand, primer, paint, laquer and VOILA!

From this:
IMAG0132.JPG


To this:
dash.jpg


This will probably be getting sold or something in a few months, as I need to make something that can incorporate two gauges AND my AVC-R. When I make a new one I'll do a full write-up for all to see.
 
Last edited:
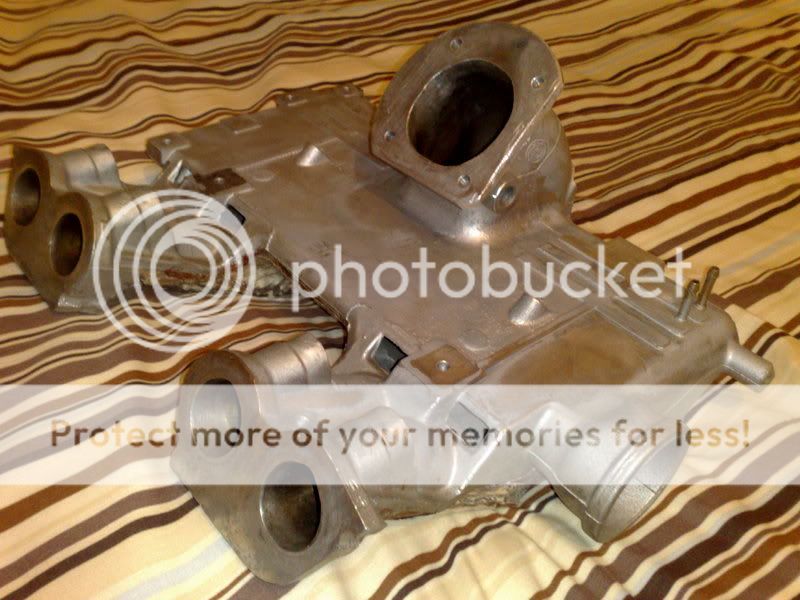
As the WET and BOOM has stopped me stripping off my rear beam today, a quick trip to a dear old friends revealed the completion of this:

10032009054.jpg


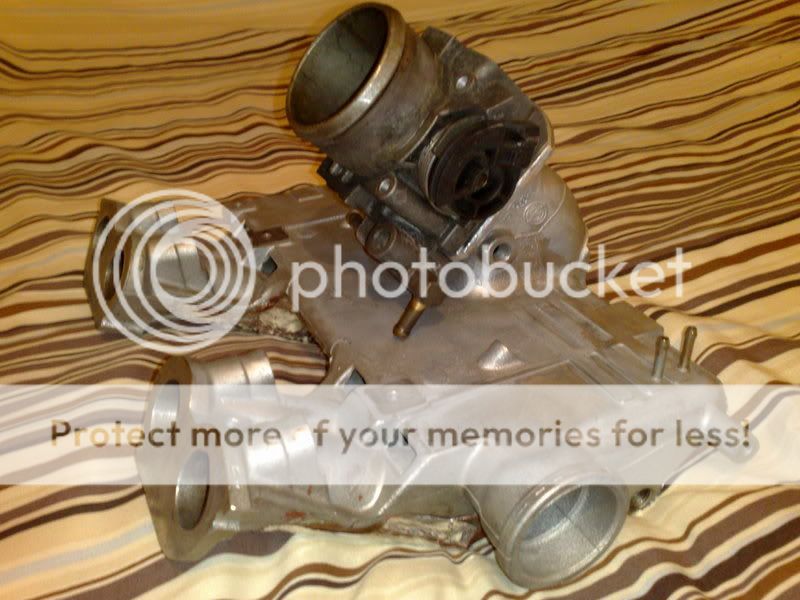
A modified GT3 inlet manifold. The standard throttle section of the manifold has been lopped off an a flange with four mounting holes drilled welded on. Mount onto this a Fiat Coupe 20VT throttle body (which uses the same Idle Control Valve as the GT). This will be getting gas flowed and ports matched to the head.

10032009053.jpg


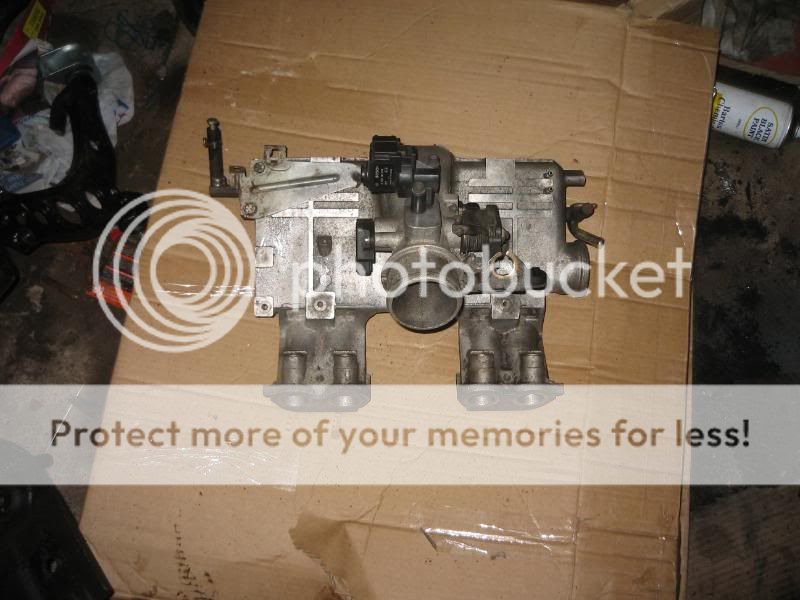
Standard for comparison:

IMG_1335.jpg
 
Okay got a crack on the last couple of days. Stripped off the rear trailing arms after a massive faff with stuck bolts. Off came the rear beam. Have new arms on order (I'm getting rid of the ABS, and non-ABS arms are half the price all for the sake of two holes for the sensors!).

Today, removed about 1.5kg of un-needed/unwanted brackets, bolts, wires and stuff from the rear beam and knocked the old bushes out. Anybody want about a tenner's worth of stale V-Power?

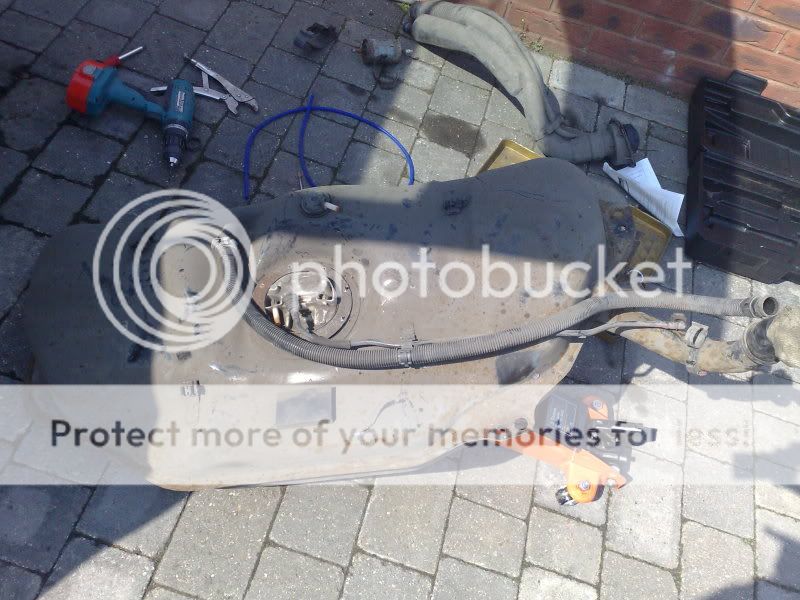
Fueltank.jpg


Removed the fuel tank. These have a habit of going rusty and leaking especially around the filler neck but this ones in pretty good nick. Bare underside doesn't look too bad:

Rearunderside2.jpg


That's all for now apart from a few little bits and pieces...
 
God knows mate. If I were to rush I think it'd take all the fun out of it, and turn it into more of a chore! I'd like to get the bodywork done for August but that's a tad optomistic as I often work 7 days a week during the summer.
 
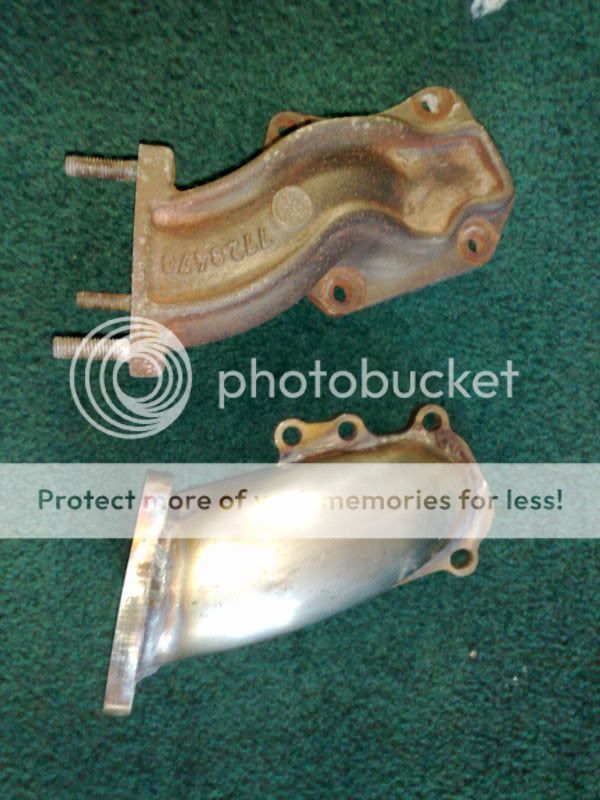
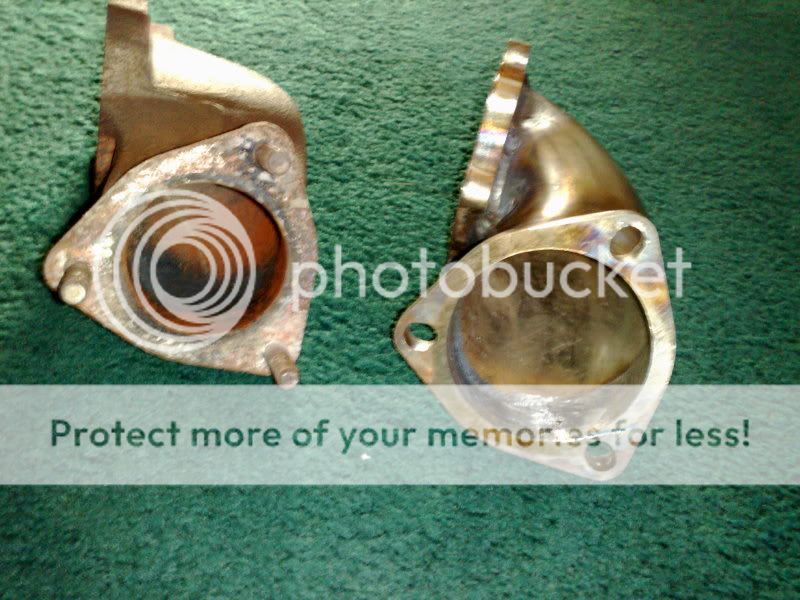
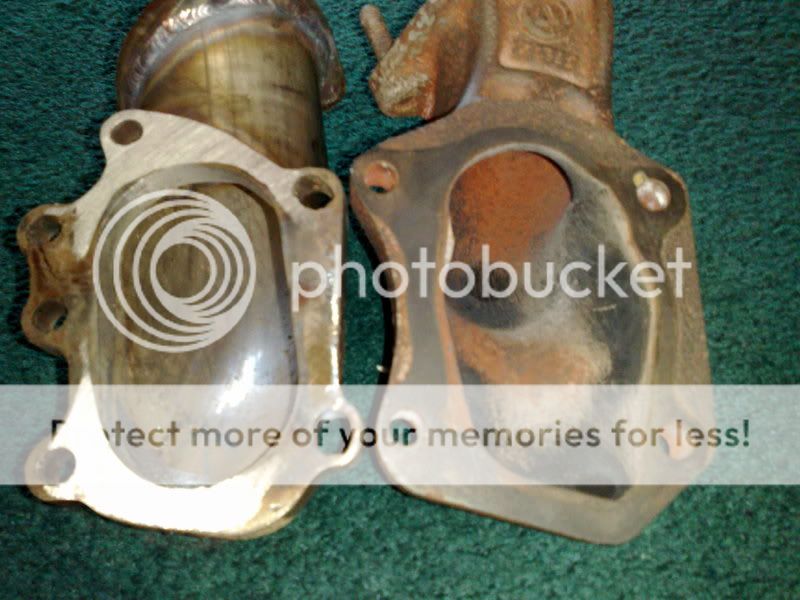
As I'm working 7 days a week at the moment, I doubt I'll get much time for the car over the next couple of weeks. I'll just show you the custom stainless turbo elbow that is on the car at the moment, to highlight the restrictiveness of the standard ones. Many turbo cars have a poorly designed elbow as such (200sx imparticular springs to mind), and fitted one like I have can yield very good results, especially in reducing lag.

Evilelbow1.jpg


Evilelbow2.jpg


Evilelbow3.jpg


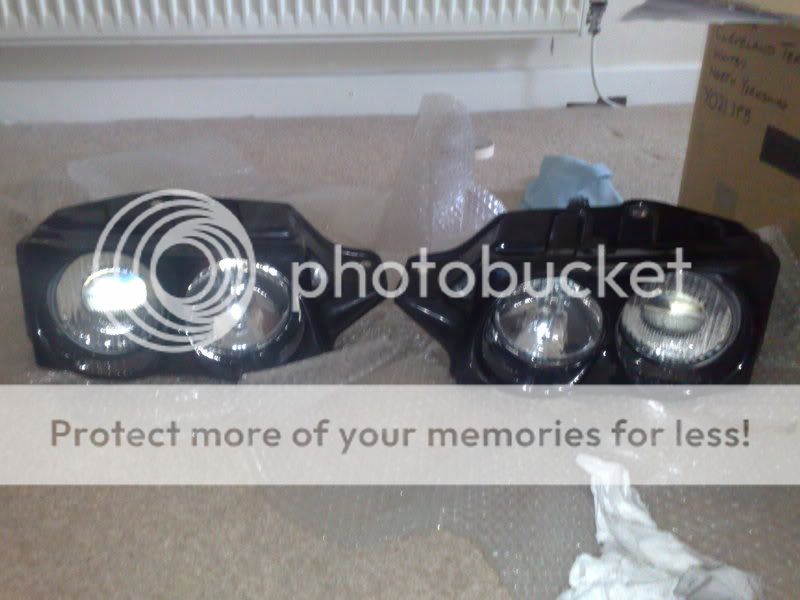
I have a different elbow in mind for the GT28R, but I need to do some tests first. Oh and my old dear took delivery of a pair of Morette headlights this morning.
 
Last edited:
Haha cheers. Funny you should say that, the rusty old Fiat is taking longer than expected due to work commitements, and I'm getting well bored driving round in a less rusty slightly newer, very slow 1.2 8v Punto. Think I might get a Glanza to nip around in ;) I've always loved them, but having driven one, they're just far too tame compared to GT's!

Haven't got the cash at the moment due to spending it on this car and other things, so i may have to approach my bank for a small loan :blink:
 
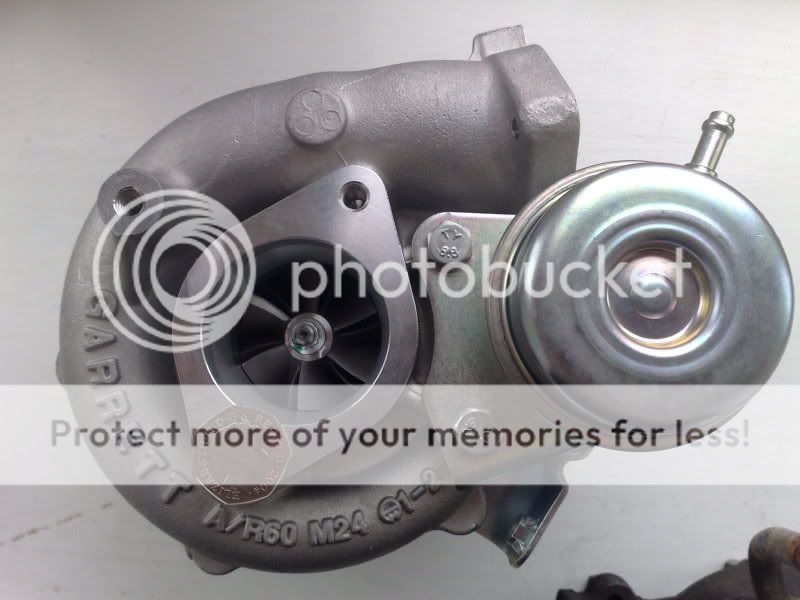
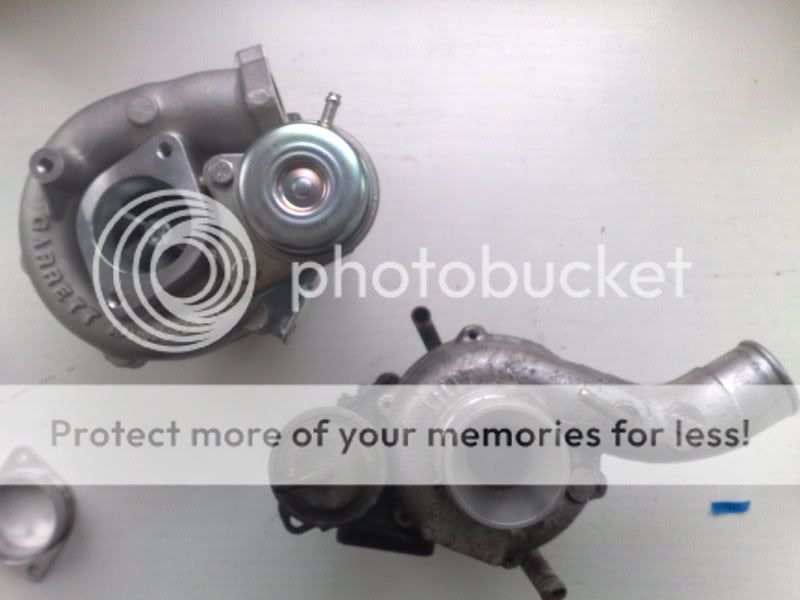
Also, the spanking new GT2560R (aka GT28R) that's going on. The fittings alone cost a pretty penny :(

GT28Rvs50p.jpg


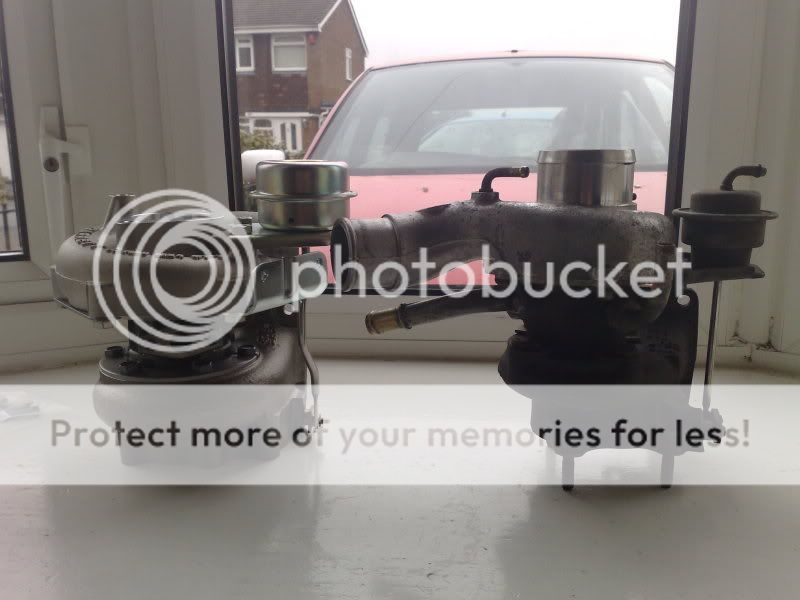
Compared to the STANDARD IHI VL7 UNIT:

VL7vsGT28R.jpg


VL7vsGT28R2.jpg
 
the good thing on the rear of your car is that the rear wheels are separated, so they can have a better traction on the road while cornering. will the rest of the interior be back in the car or no?
good luck mate, and nice turbo.
 
Puntos have a very wobbly back end that is prone to stepping out, especially when it's lightened like mine. Will have to try and address the weight distribution issue when I come to it as a lot more weight has come out of the rear or the car than the front.

It's staying completely stripped though ;) Staying road legal.

Need to take some stuff for soda-blasting/sand-blasting but I keep getting back from work too late.

what's ment by staying road legal over there?
 
sorry, but what's MOT mate?

It's a yearly check up that has to be done to all vehicles that use the UK roads. Basically you take your car to a garage and the mechanic goes over everything and makes sure it is all in good enough condition to travel on the road safely. For example if you took your car for the MOT with a bald tyre it would fail the test and you wouldn't get a certificate until you have replaced the bald tyre.
 
GET THE GRINDER OUT SON!!!

Right, due to the strikes over foreign workers at several powerstations up't North, we couldn't work today! Suffice to say we will well pee'd off, especially after driving an hour and half, only to come straight back again. :blink:

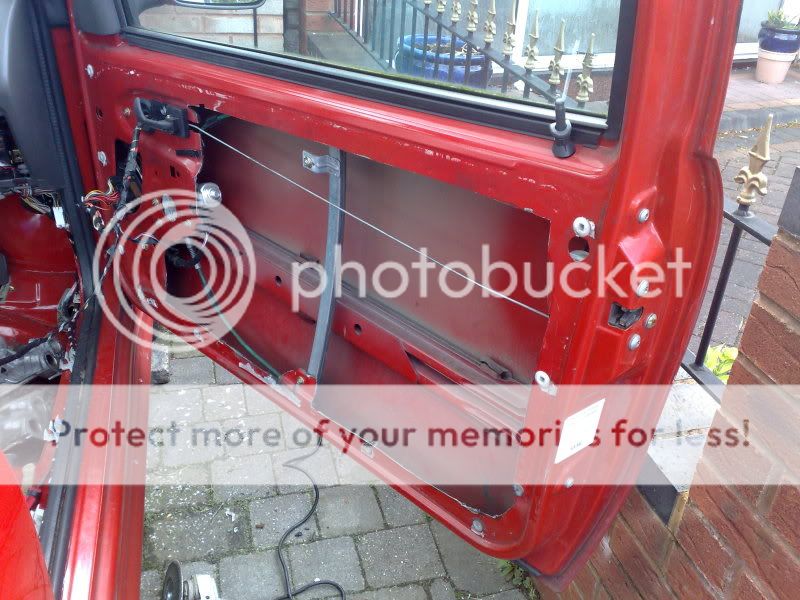
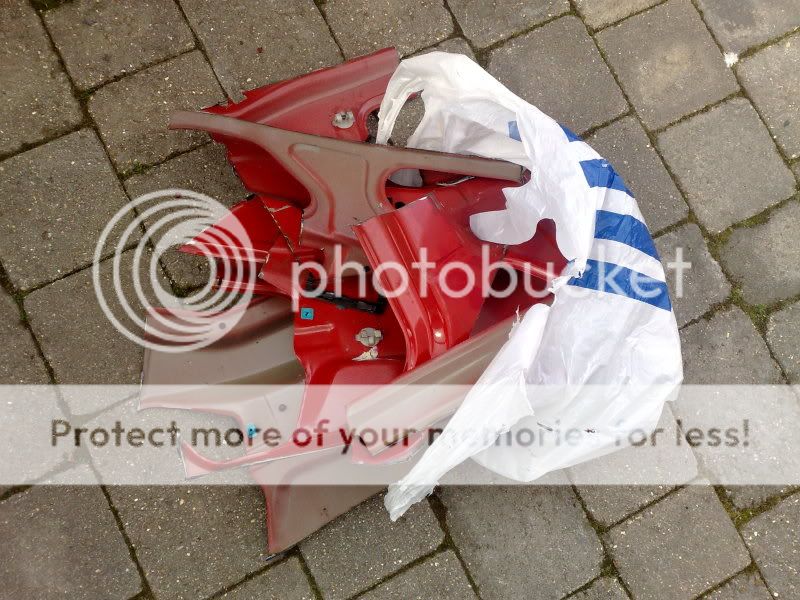
I digress. Things are ticking over, albeit slowly. Possibly in anger, I got the grinder out today. :amuse: First job, lose some weight in the form of the inner skin of the doors. What inner skin remains has something attached to it and the lip remains to mount CF door cards:

RemovedDoorSkin.jpg


That's another 2.35kg's gone from both doors, bringing the total weight down to about 906kg. This is just an approximation to give me an idea of how close I am to my target. When I think I'm there, it'll be getting four-corner weighed.

Doorskinoffcuts.jpg


Then I set about the spare wheel well. It's also had a quick blast of etch primer around the edges, just in case rust decides to bite.

Cutoutwheelwell.jpg


That's it for now. More soon though hopefully ;)
 
I'm aiming for under 900kgs, so 899.99 will do lol. I've still got a fair bit of weight to lose though, some of which you'll see in time if it all goes ahead ;)

It may seem like I'm close but there's loads to add too. Cage, intercooler, larger turbo etc etc.
 
REFURBIFICATION

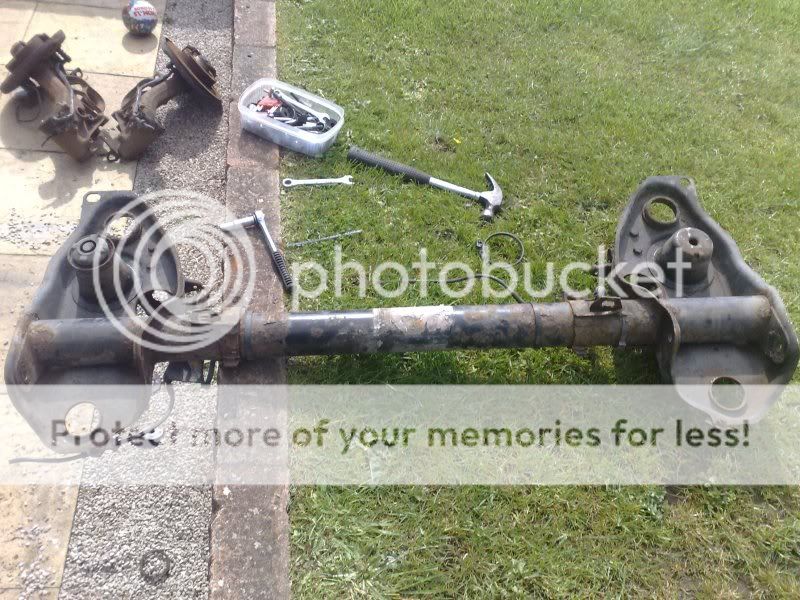
Rear beam as it came off the car:

Rearbeam2-1.jpg


Sandblasted and then etch-primered:

Blastedandprimeredbeam.jpg


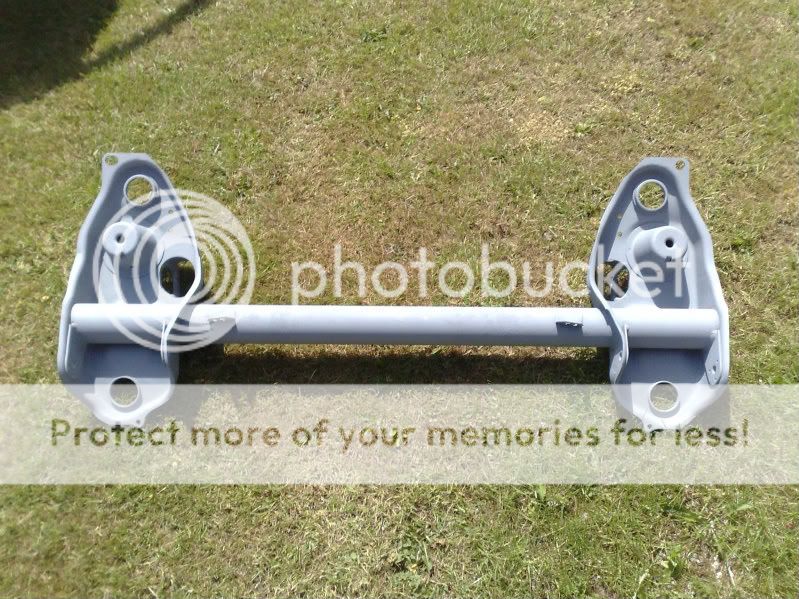
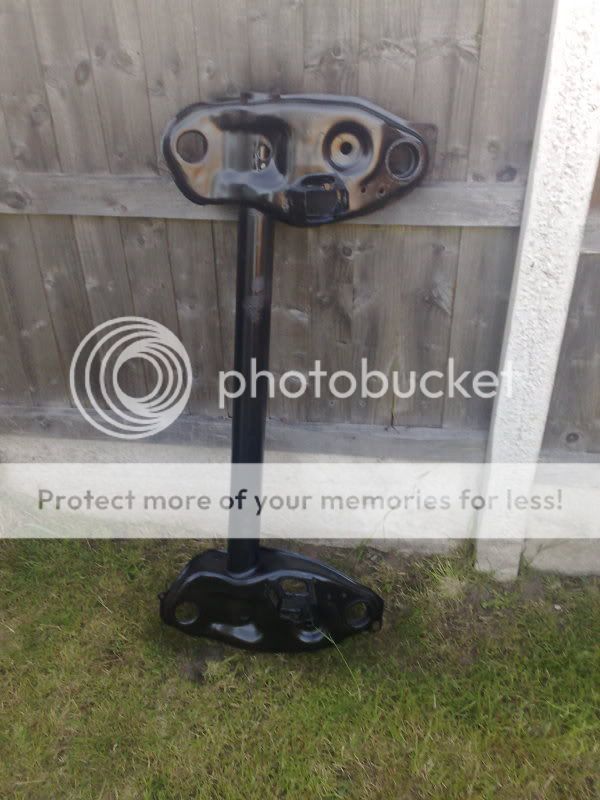
And painted:

Refurbedbeam.jpg


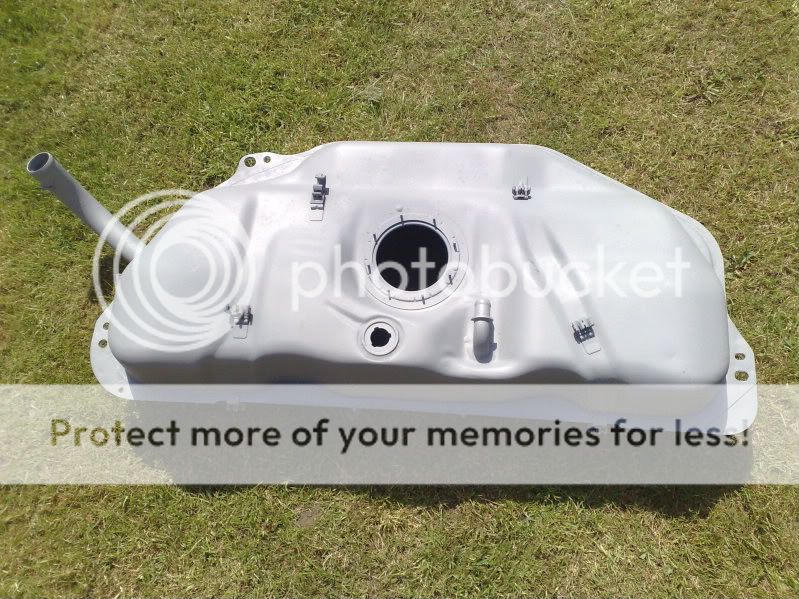
Fuel tank blasted and etch-primered:

Blastedandprimeredtank.jpg


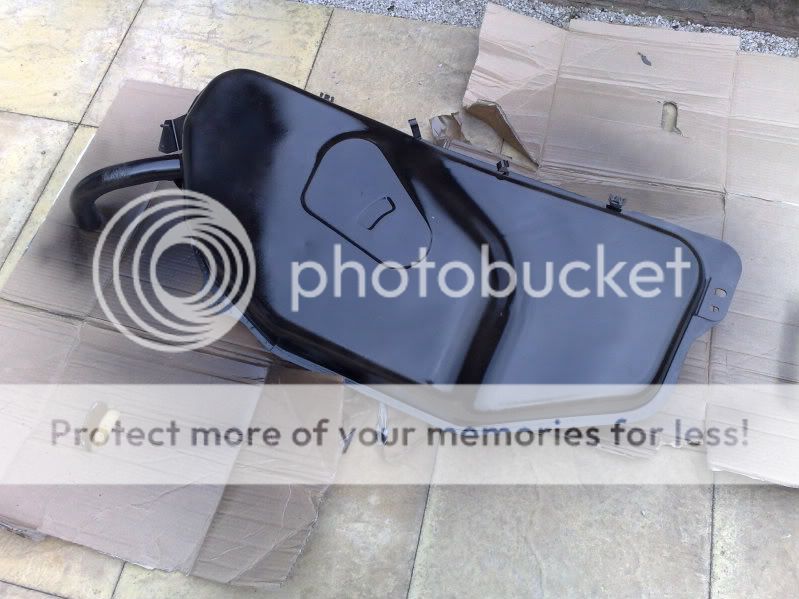
And painted:

Refurbdtank.jpg

 
Looks like a fun project. Should be a blast to drive once you are done. Is it going to stay the same color or are you going back with a different one on the body?
 
It's getting painted Satin black on the outside, the inside will either be satin black too or white, can't decide. Any thoughts?

I always have liked black. It is a classic color. I live in a very hot city so black is not a good color for where I live. As for the interior, I would probably stick with black. Save you some coin and make masking easier. I am a monchrome kind of guy anyway.
 
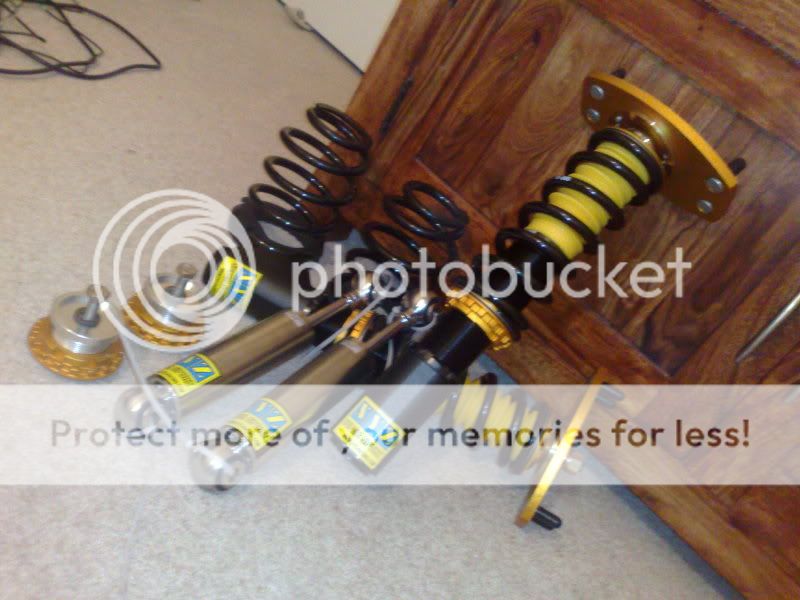
Still umm-ing and err-ing over colour, got it down to three choices. Anyways, had a day off today but was too busy to work on the car. Picked up some new coilovers t'other day:

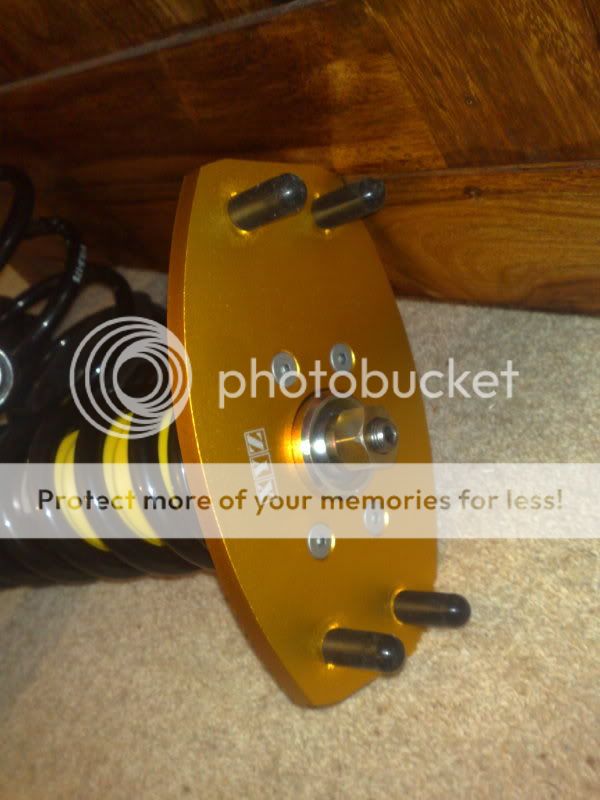
XYZ SuperSport:

Height Adjustable front and rear
30-way damping adjustable
Lightweight aluminium lower mount and rear struts
Pillow ball upper mount and solid top mounts with adjustable camber (saves me making my own solid top mounts!)

10072009137.jpg


Mmmmmmmm...solid top mounts....

10072009138.jpg


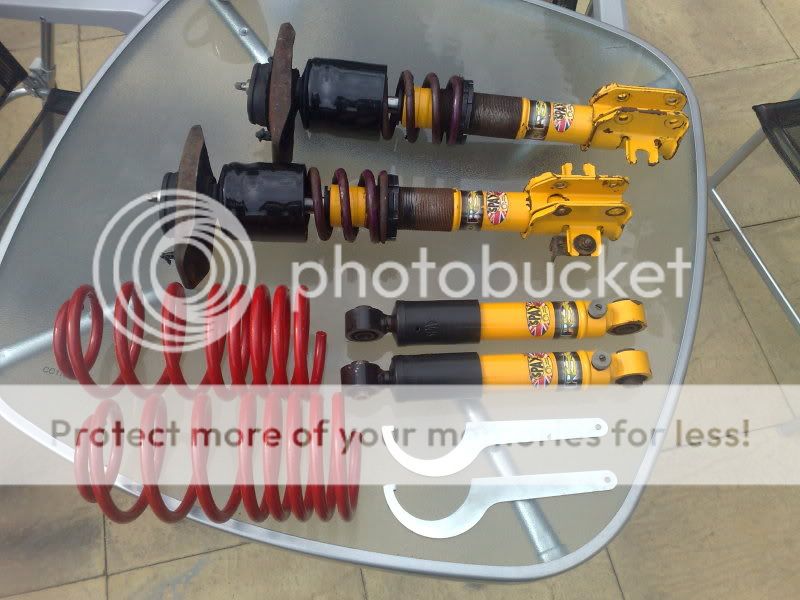
Also cleaned up the Spax RSX I was going to use and put them up for sale as they are now surplus to requirements. The difference in quality is worlds-apart and Spax is no cheapo brand.

10072009134.jpg
 
Last edited:
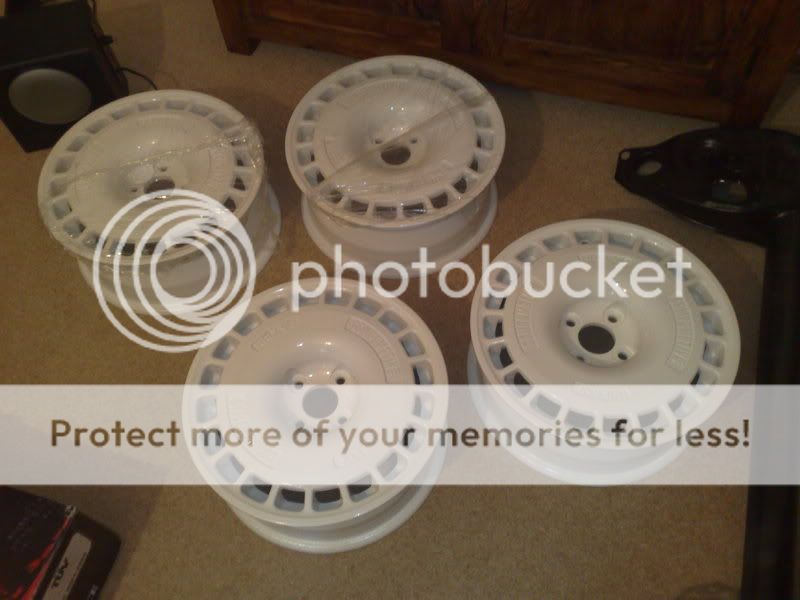
Some of you will have seen these a while ago, extremely rare and a lot of history, suffice to say they were fubard when I bought them. Picked them up from the blasters today. He had them powder-coated for me (being as he was taking his garden furniture :blink:) B-E-A-utiful. Will sort out a colour on the lettering at a later date (most probably red).

11072009140.jpg


11072009141.jpg
 

Similar threads


Please watch this on my YouTube channel & Subscribe.


Back
Top