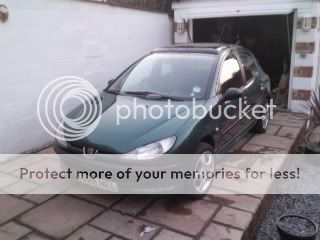
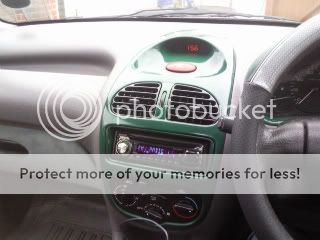
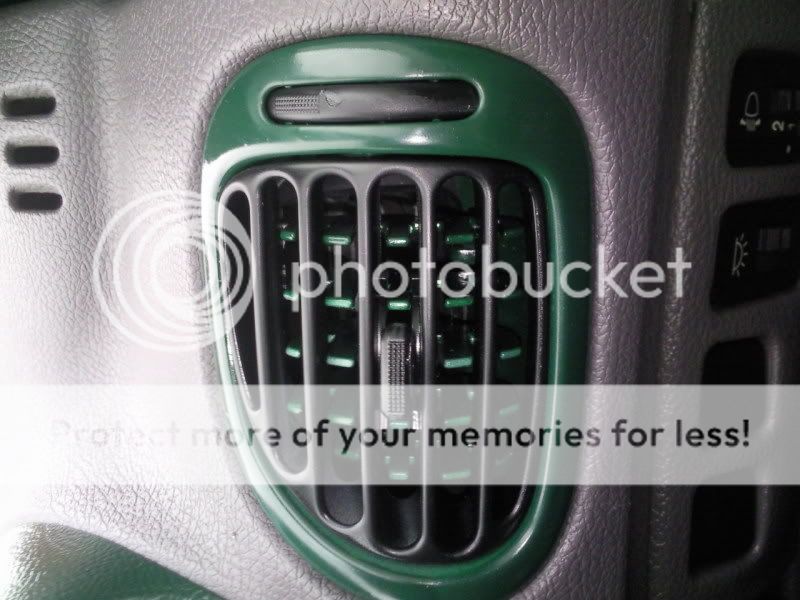
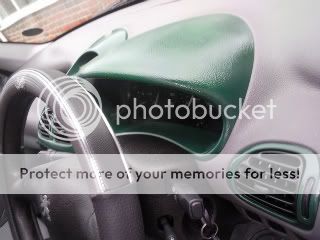
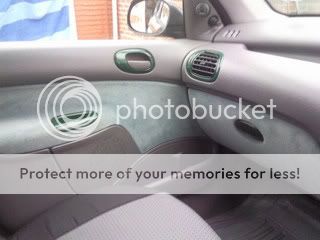
Preparation is the most important part in any paintwork. Whatever is between the part and the paint (i.e. chips, scratches, grease etc.) will show through the layers of paint. That said, some colours are more forgiving than others.
Ok, first things first, you’ll need:
~ Time. I can’t stress enough how important it is not to rush things.
~ Paint, this will no doubt be in aerosol form. You will need some plastic primer (also known as adhesion promoter), basecoat (you can use normal car paint) in whichever colour you wish to paint and some lacquer (gloss or matt, it’s your decision.)
~ Something to ‘key’ the part. In the trade we call it scotchbrite, it’s basically a rough pad used to remove the shine from a panel, and it leaves fine scratches for the paint to sit in/grip to. You could use something like 1500 grit wet and dry paper for this, but probably the best thing I can think of would be the rough part of a washing up sponge.
~ Warm soapy water, or preferably a solvent based cleaner (something like white spirit – if you use this, wear gloves).
~ Hot air gun or a hairdryer. This just makes life easier.
~ If you can get one, a Tack cloth. This is used to pick up any little hairs/bits of dust both on the panel before painting and on the paint during painting. You can make do without a tack cloth, so don’t worry if you can’t get one.
~ A Mask, preferably a vapour one.
~ T-Cut or another finishing compound. And a soft cloth.
Now you have the materials needed, let’s begin…
Stage 1 – Preparation
Remove whatever part you plan to paint. Be careful not to scratch or damage it, you’ll only be making yourself more work.
Once you have removed the part, start by washing it with the soapy water/solvent cleaner. This removes grease, dust or any other contaminates.
If there is any damage to the part, now would be the time to sort it.
Next start to ‘key’ the part, making sure there are no shiny areas left on it, the better you do this, the less likely the paint it to flake later.
Once you have ‘keyed’ the part, wash it again. Make sure it is thoroughly dry before proceeding.
Stage 2 – Painting
The main bit of advice I have for painting with aerosols would be to warm the can(s). This enables the paint to be atomised finer as it passes through the nozzle, which results in a better finish. Bare in mind I said warm, DO NOT overheat, you are taking the chill off the can, not risking losing a hand due to an aerosol exploding while you hold it.
Make sure you give the can(s) a good shake before using them.
The best technique for painting with an aerosol is to use light, overlapping strokes.
You need to leave at least 5 minutes between coats to give the solvents in the paint time to evaporate. This time can be cut by using a hairdryer.
I would recommend either wearing a mask or going outside for this next bit, the vapours can be dangerous.
First apply the plastic primer, I would highly recommend you use this as it will give the paint something more to stick to than just the light ‘key’ scratches. You could skip the plastic primer stage, but if the part gets chipped the paint will start to flake off.
You may need to apply 3/4 coats of plastic primer, but you can use a hairdryer to speed the process of drying. Remember, a light coat often is better than a heavy coat less often. Plastic primer is generally quite thin, so be careful not to get any ‘runs’.
Once the plastic primer is dry it’s time to apply the basecoat. Again, use light overlapping strokes. Depending on the colour, it may take anything from 3 to 8 coats to cover. Again, make sure you leave enough time between coats.
Once the colour has completely covered the part, you can start to apply the lacquer. This is not a necessity, but it helps to protect the basecoat and adds a shine (if you chose gloss lacquer).
Apply this the same way as the basecoat gradually building up the thickness of the lacquer. You’ll probably need about 4 or 5 coats of lacquer.
Leave the part for a good 3 or 4 hours before you try to polish and re-fit it. There is nothing worse than marking fresh paintwork.
Good Luck


