
So I owed Nick a favour, and he decided to text me and call in that favour on Monday night, while I was out on a mash-up. Cheers Nick :wink: Only kidding, I was excited about what would be my first real attempt at paint correction on a whole car. (I didn't tell Nick this :twisted: , but after seeing the results, I'm sure he wont care!)
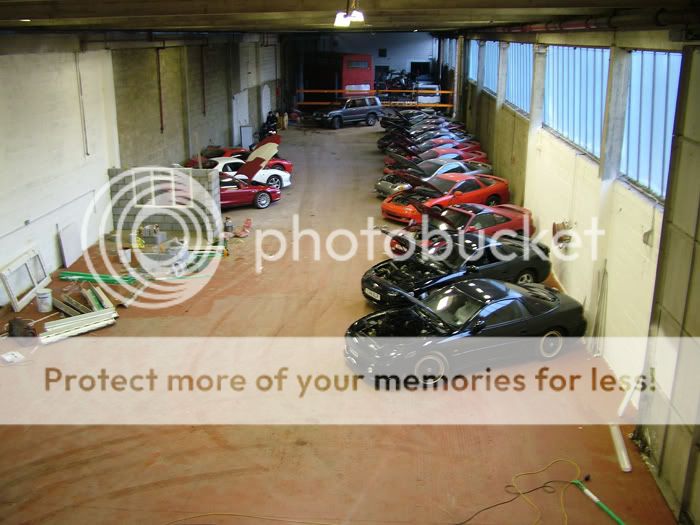
So I woke up at the crack of dawn (around nine-ish), packed my stuff up and headed over to Eurospec 2000, where Nick helps out part-time.
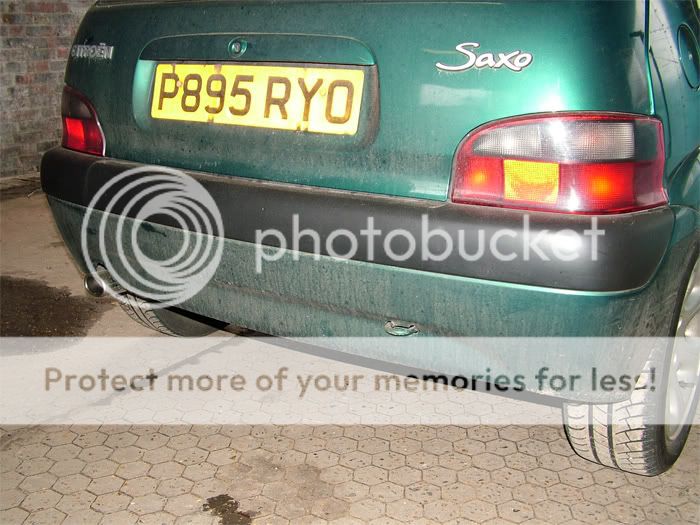
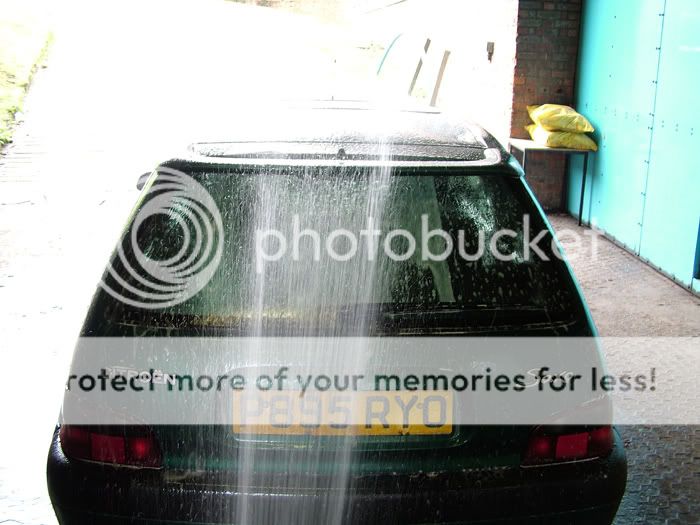
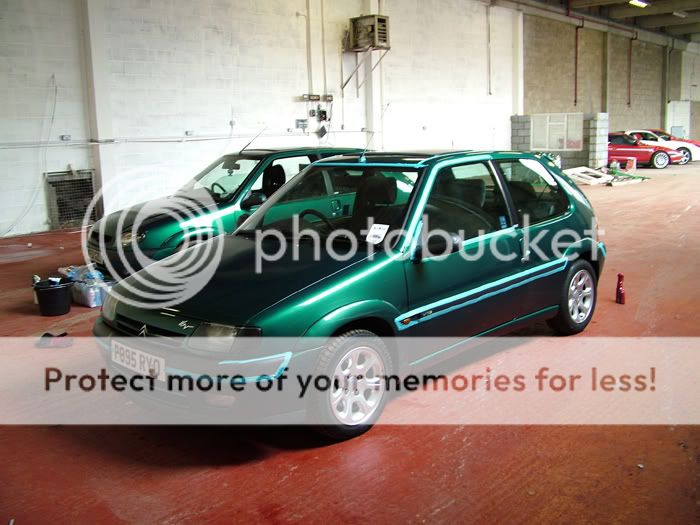
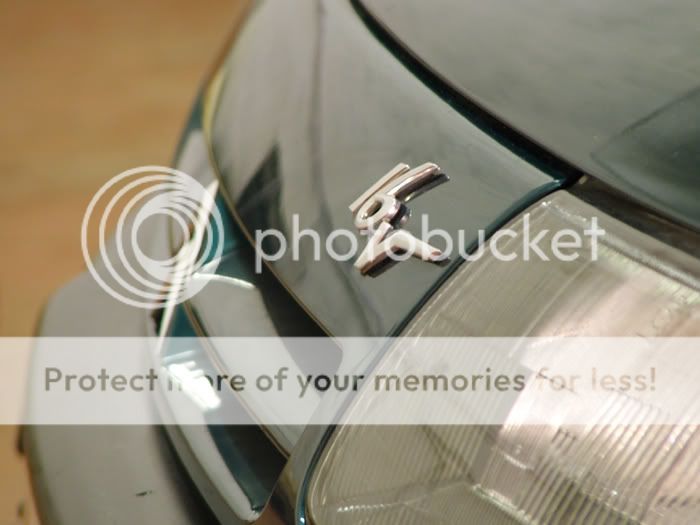
This is what greeted me when I got there.
My appologies for the picture quality, the light was making it very hard.

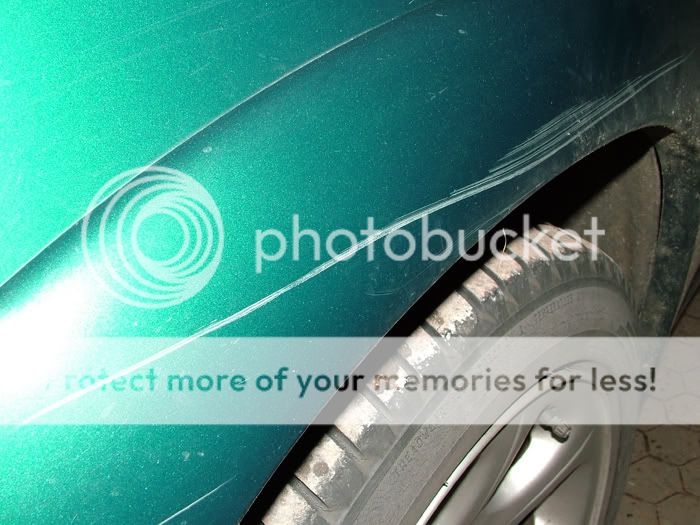
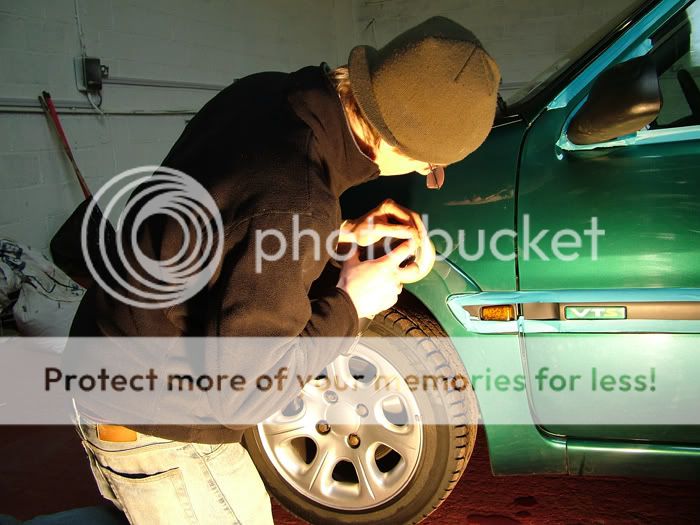
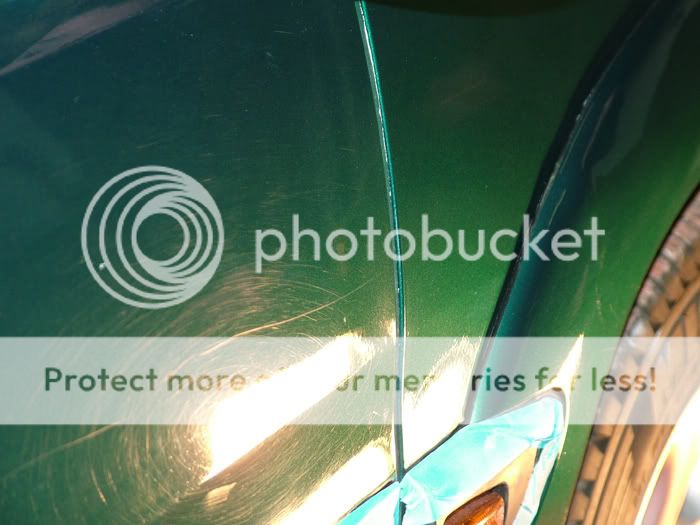
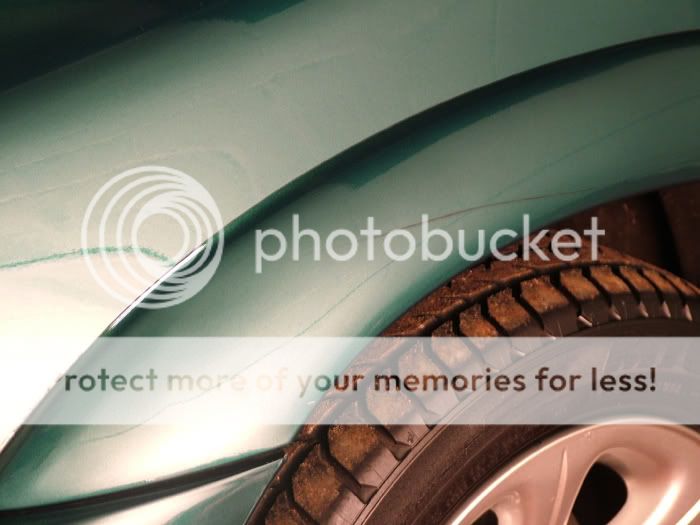
This arch was a mess, I hoped to make it look a little better by later on.
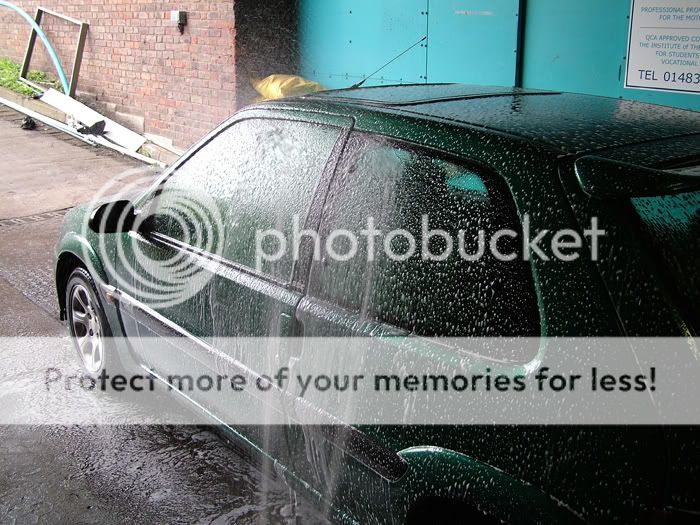
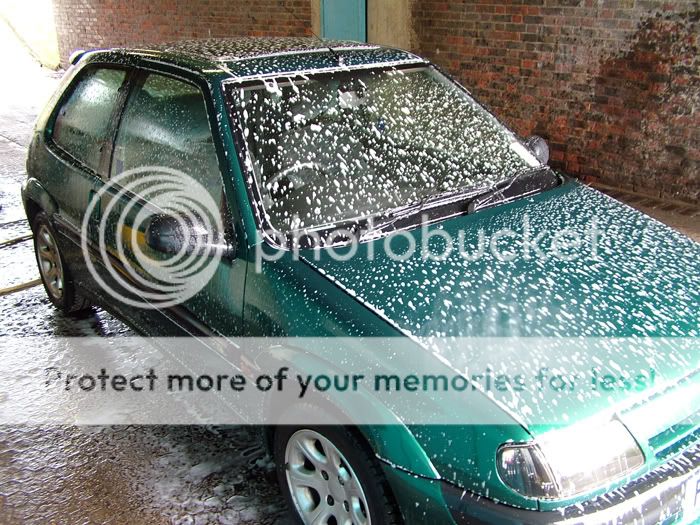
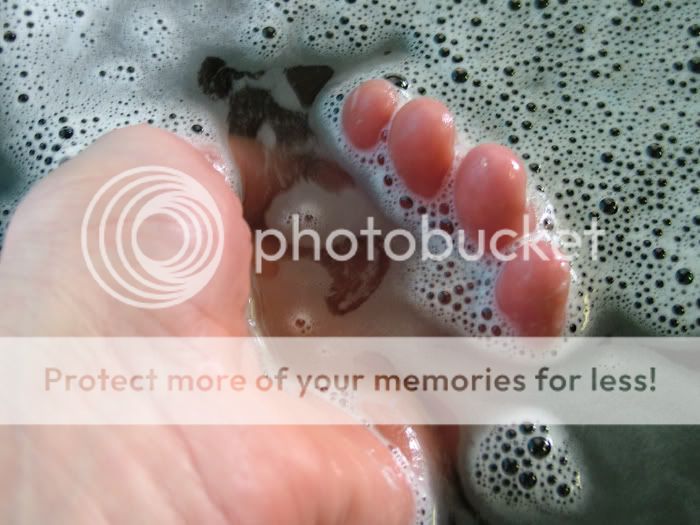
On to the wash. I loaded up my SuperSpray with some Maxi Suds II and blew my load all over the car. Noice. Left the suds for a couple of mins and rinsed off with the jetwash.
Then I cleaned the car using the two bucket method. A cotton washmitt for the wheels, lambswool for the paint.
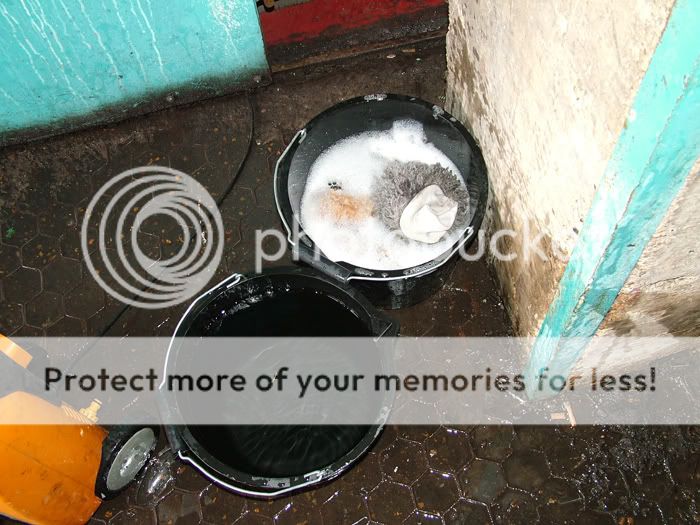
The water from the dirty 'rinse' bucket.
The water from the clean 'wash' bucket.

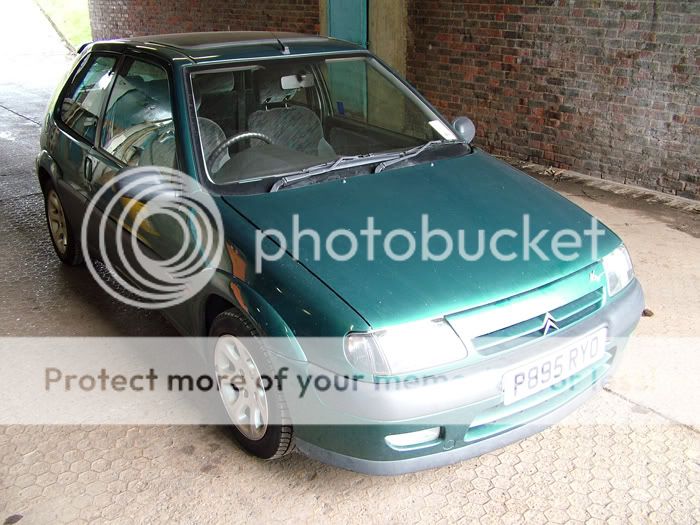
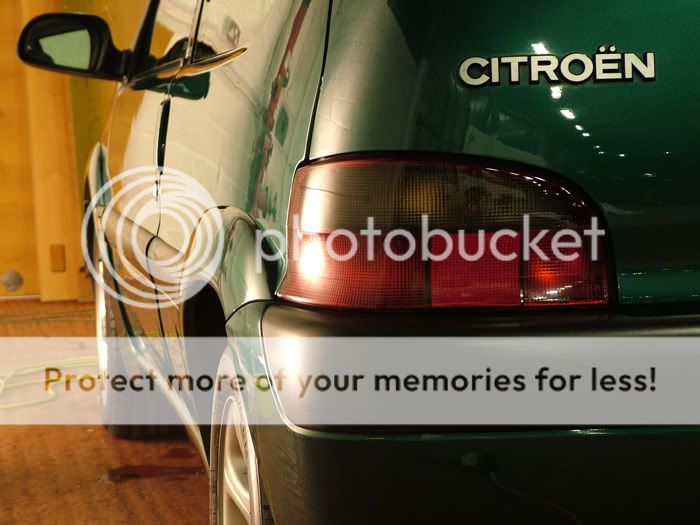
Looking a little better.
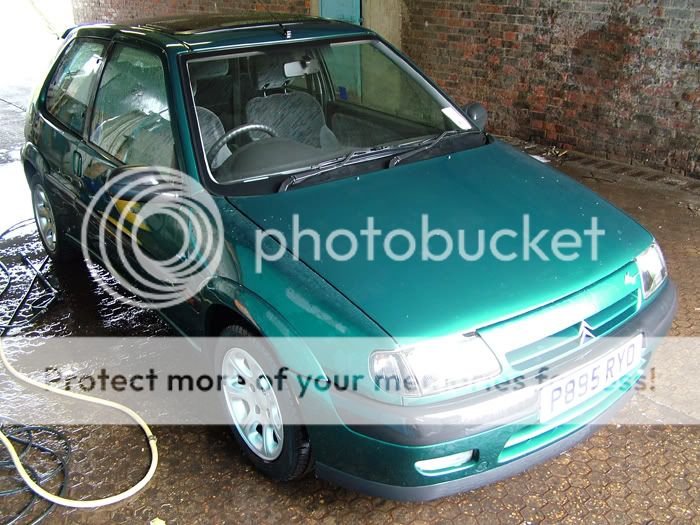
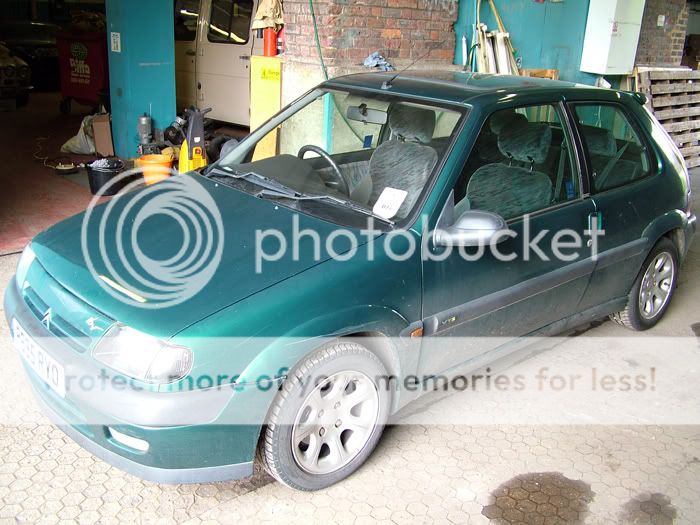
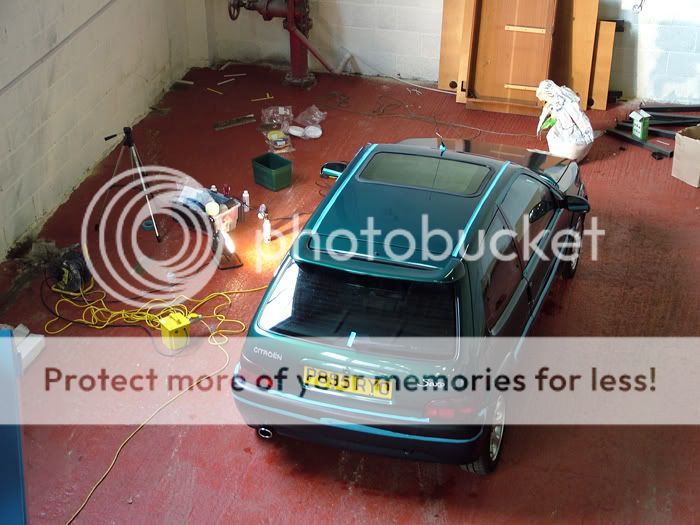
We rolled the car into the garage where we'd be working.
Clayed, taped up, and ready to rock 'n' roll.
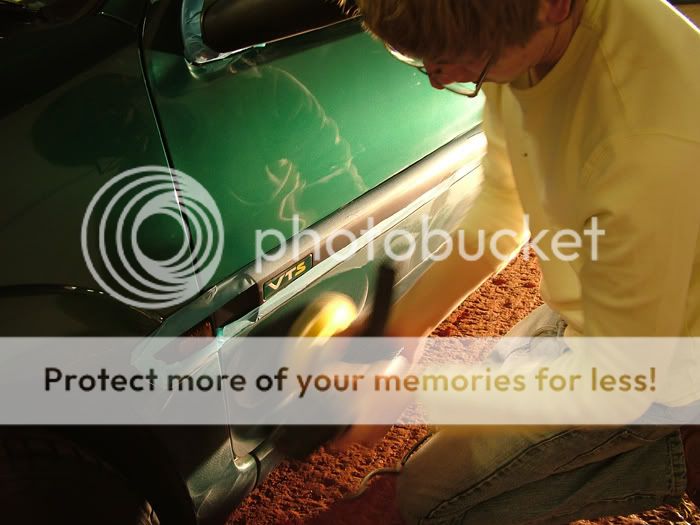
First I inspected that arch under the lamp.. It looked nasty; the scratches in the laquer (swirls and scuffs) would probably come out. The paint was taken back right to the plastic however.. Lets see what we can do.

Out came the PorterCable with a 4" spot pad and some Menzerna power gloss.
This did help, but took a lot longer than I expected. The paint seemed alot tougher than I imagined. A similar technique was used on the rest of the car, with a larger pad. Lots of lube (quick detailer), power gloss and slow cutting motions with plenty of pressure.
This was followed by a faster, lighter pressure technique with a different pad and some less abraisive polish, to remove and micro marring the power gloss left.
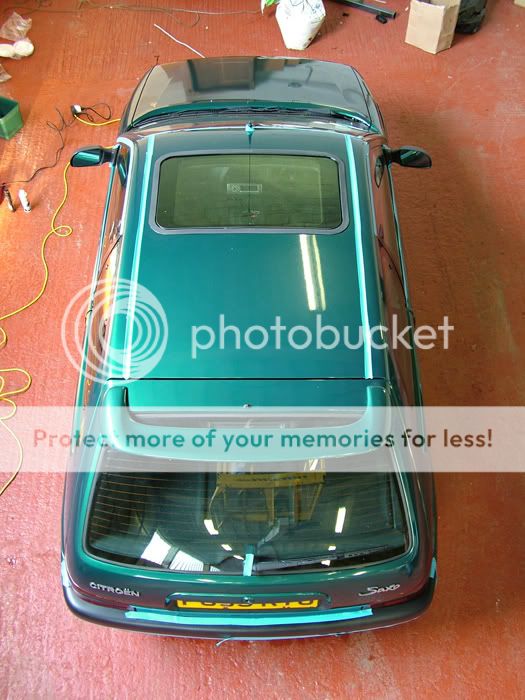
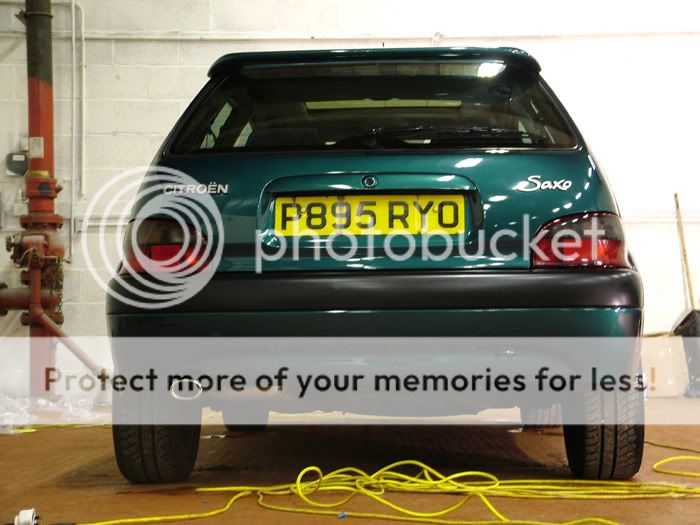
I also noticed that the bonnet had been resprayed (I'm 90% sure). The colour match was good, but the laquer had no shine to it and there were several defects under the paint.
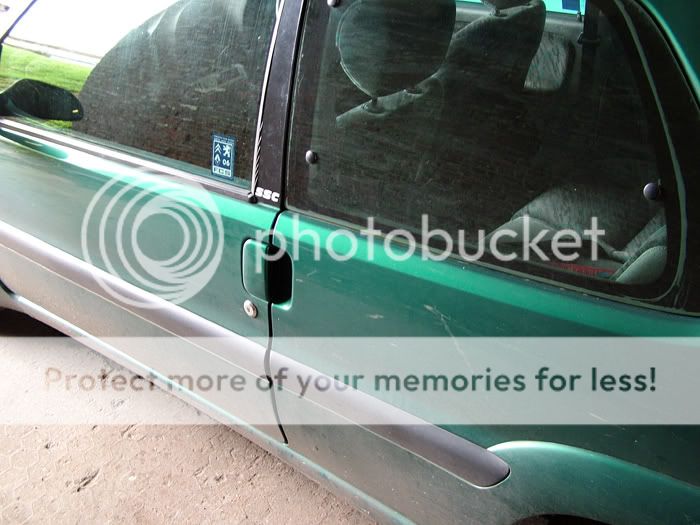
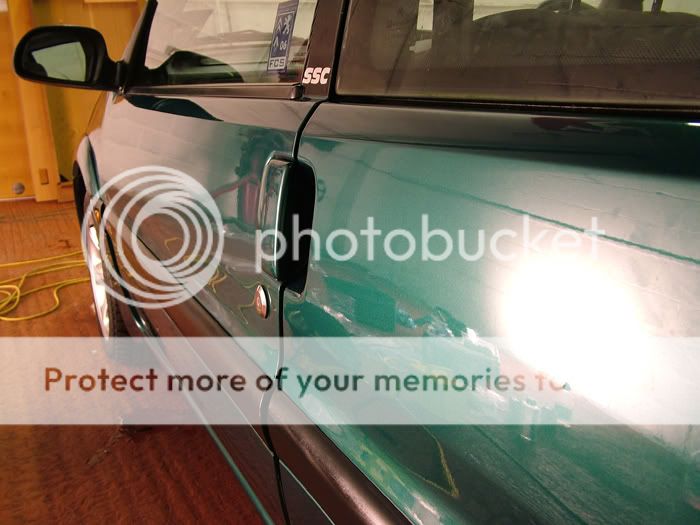
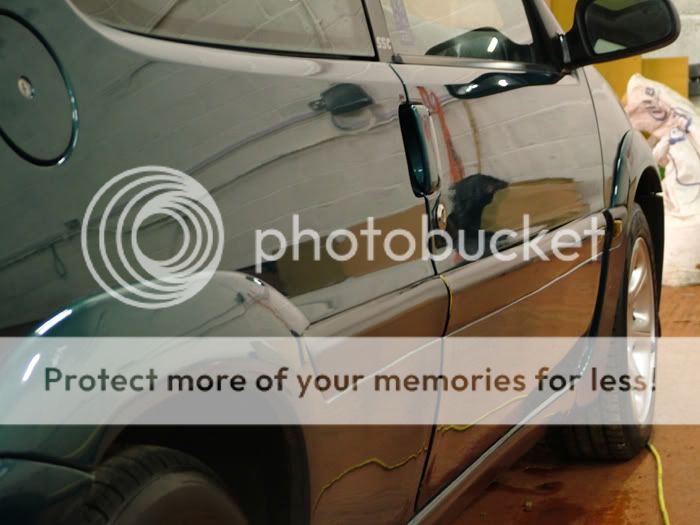
The time was getting on now and the pictures stopped! Nick arsed about and I cracked on! Here are the best half and half shots I got. The door has not been done, the wing has.


I wasn't 100% happy, but Nick seemed chuffed.. It would have taken quite alot more work to remove the last swirls, so I steamed on with the same method I used used before.
The paint was then sealed with a Menzerna sealant, and topped off with some ClearKote Moose Wax. A glaze layer would have made all the difference, but I didn't have any with me. The tyres were hit twice with Megs Enurance Gel, as they were pretty shabby.. And the trim was done with Chemical Guys New Look Trim Gel.
Unfortunately by this time is was dark and raining hard. Indoor shots only I'm afraid!
That arch came out a lot better!


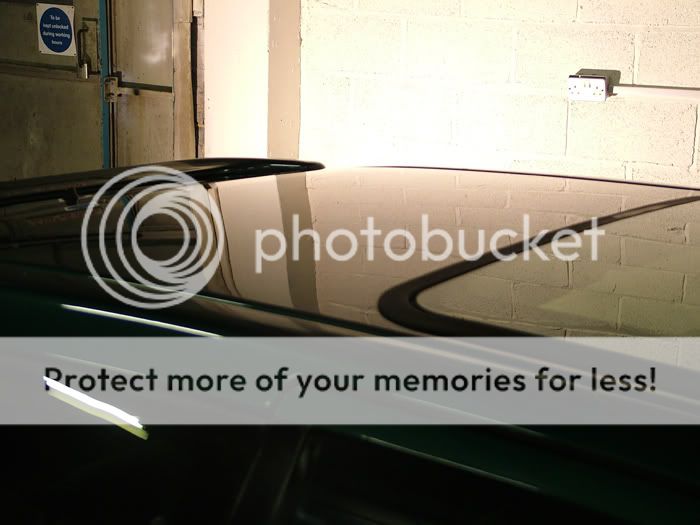


The respray left the reflections in the bonnet pretty weak.
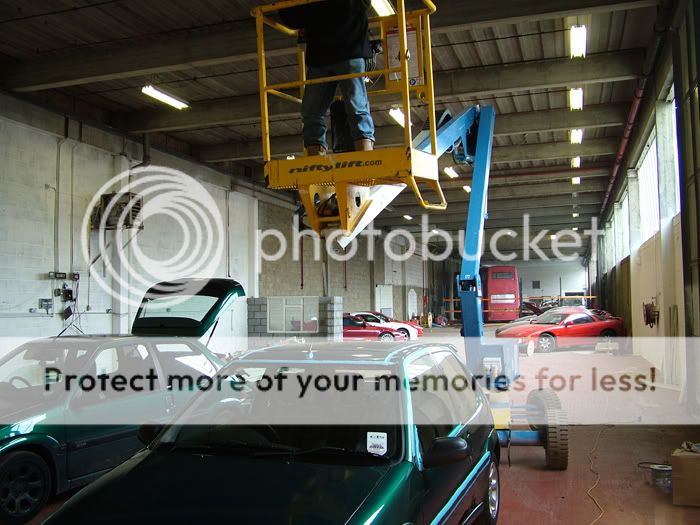
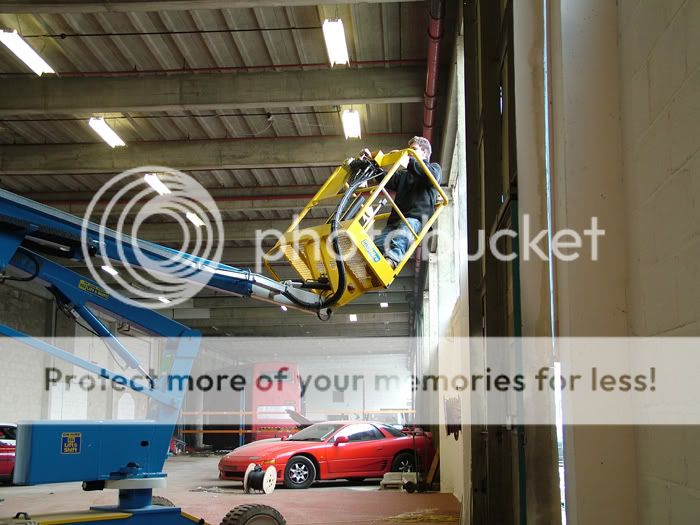
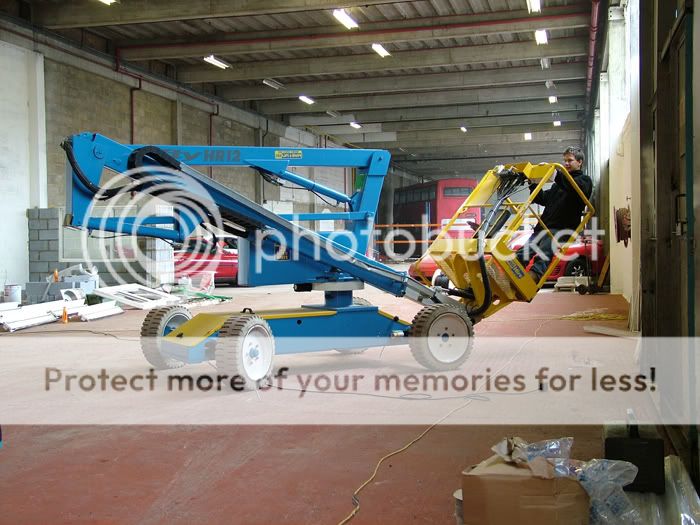
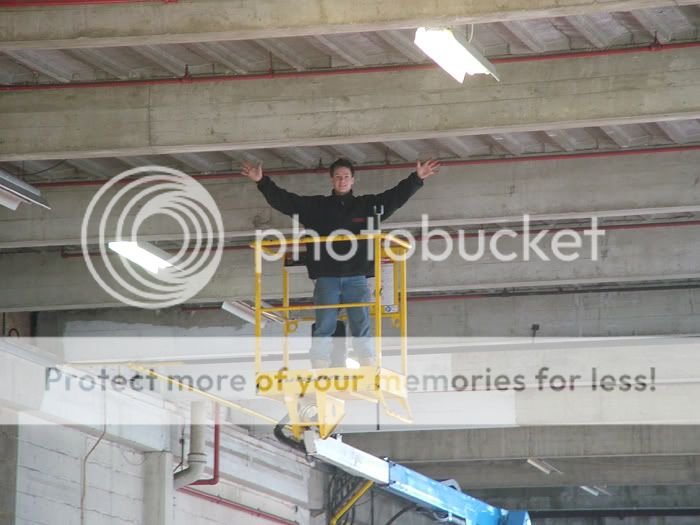
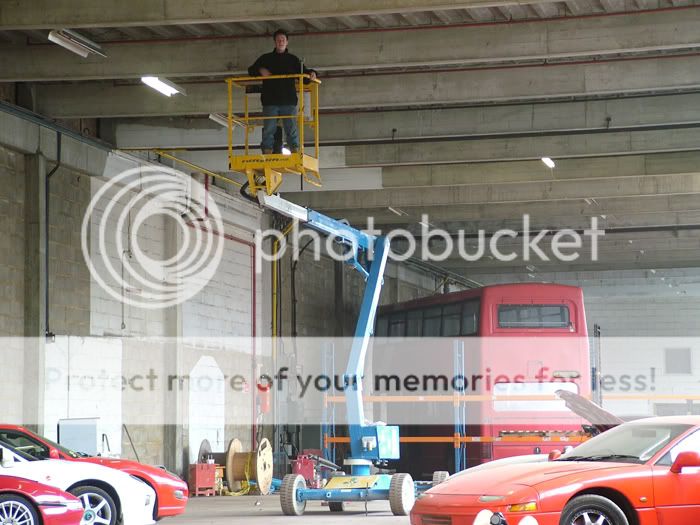
While I worked hard, Nick twatted around in a Cherry Picker!
Thanks for reading,
Regards,
Freddie.
So I woke up at the crack of dawn (around nine-ish), packed my stuff up and headed over to Eurospec 2000, where Nick helps out part-time.
This is what greeted me when I got there.
My appologies for the picture quality, the light was making it very hard.
This arch was a mess, I hoped to make it look a little better by later on.
On to the wash. I loaded up my SuperSpray with some Maxi Suds II and blew my load all over the car. Noice. Left the suds for a couple of mins and rinsed off with the jetwash.
Then I cleaned the car using the two bucket method. A cotton washmitt for the wheels, lambswool for the paint.
The water from the dirty 'rinse' bucket.
The water from the clean 'wash' bucket.
Looking a little better.
We rolled the car into the garage where we'd be working.
Clayed, taped up, and ready to rock 'n' roll.
First I inspected that arch under the lamp.. It looked nasty; the scratches in the laquer (swirls and scuffs) would probably come out. The paint was taken back right to the plastic however.. Lets see what we can do.
Out came the PorterCable with a 4" spot pad and some Menzerna power gloss.
This did help, but took a lot longer than I expected. The paint seemed alot tougher than I imagined. A similar technique was used on the rest of the car, with a larger pad. Lots of lube (quick detailer), power gloss and slow cutting motions with plenty of pressure.
This was followed by a faster, lighter pressure technique with a different pad and some less abraisive polish, to remove and micro marring the power gloss left.
I also noticed that the bonnet had been resprayed (I'm 90% sure). The colour match was good, but the laquer had no shine to it and there were several defects under the paint.
The time was getting on now and the pictures stopped! Nick arsed about and I cracked on! Here are the best half and half shots I got. The door has not been done, the wing has.
I wasn't 100% happy, but Nick seemed chuffed.. It would have taken quite alot more work to remove the last swirls, so I steamed on with the same method I used used before.
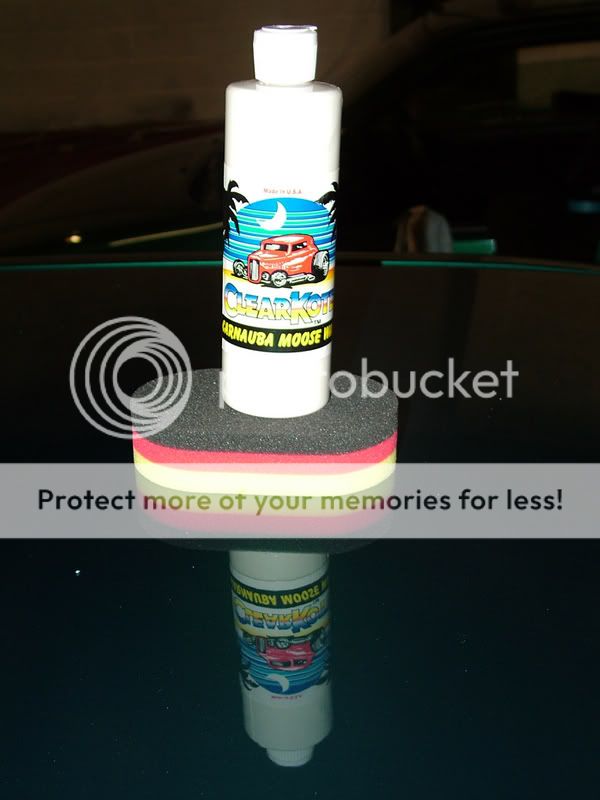
The paint was then sealed with a Menzerna sealant, and topped off with some ClearKote Moose Wax. A glaze layer would have made all the difference, but I didn't have any with me. The tyres were hit twice with Megs Enurance Gel, as they were pretty shabby.. And the trim was done with Chemical Guys New Look Trim Gel.
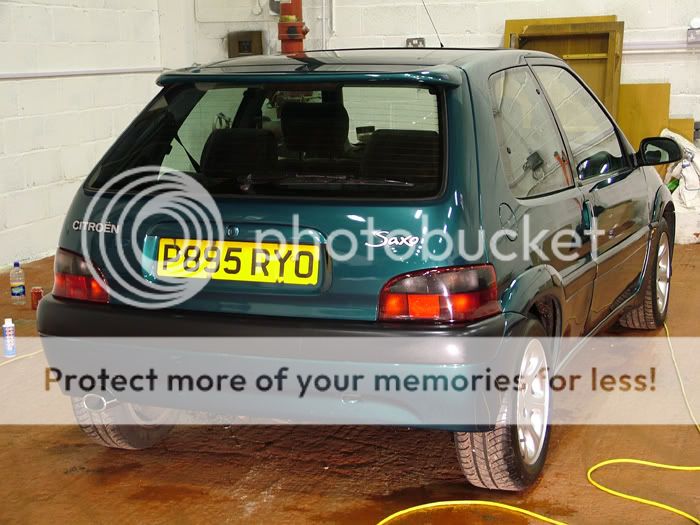
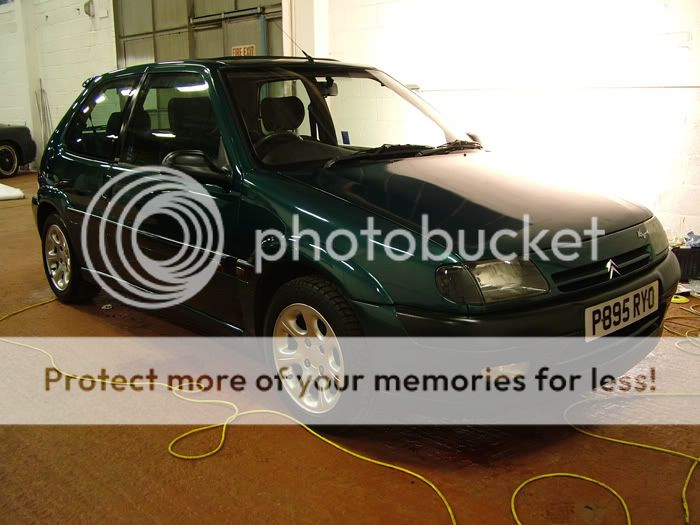
Unfortunately by this time is was dark and raining hard. Indoor shots only I'm afraid!
That arch came out a lot better!
The respray left the reflections in the bonnet pretty weak.
While I worked hard, Nick twatted around in a Cherry Picker!
Thanks for reading,
Regards,
Freddie.
")

