Jan 5 - Sometimes, things don't go to plan, and that is usually at the most inconvenient moment.
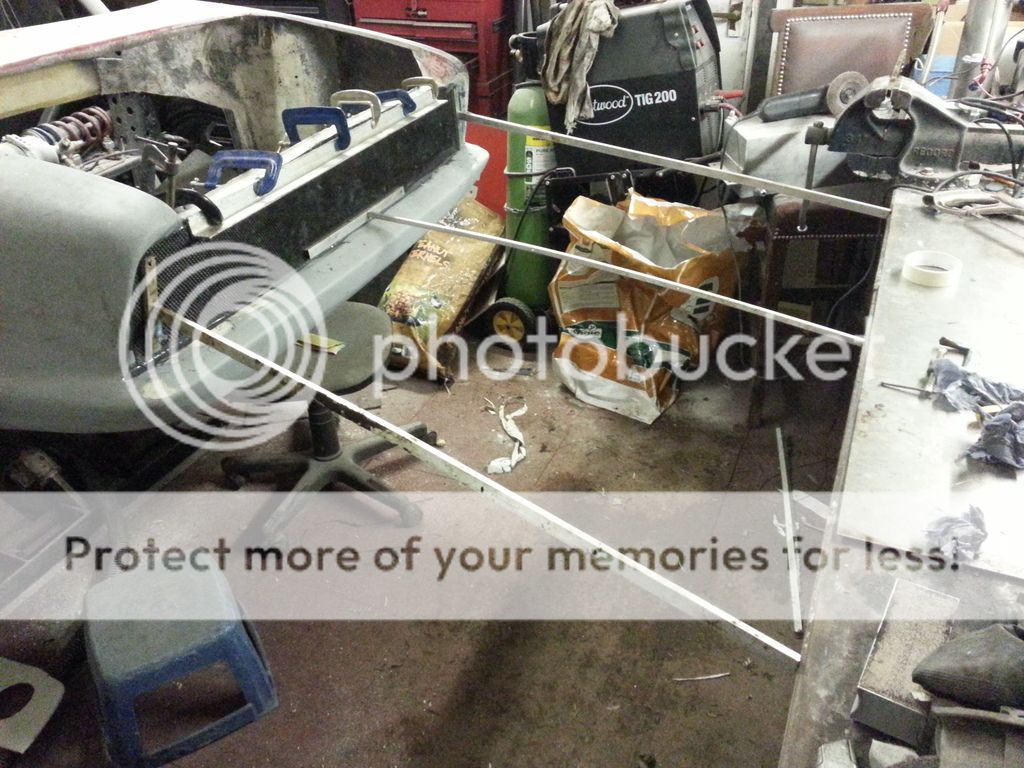
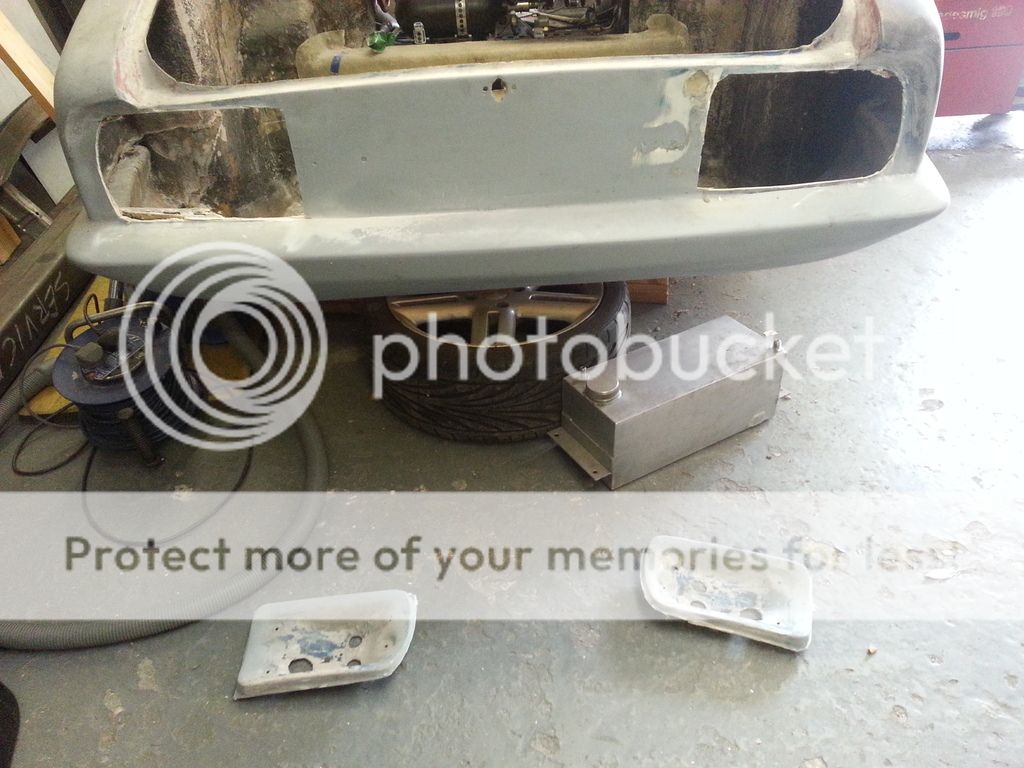
Decided to make a new rear panel as I am using different lights.
Started off OK.
Made a pattern (not really required).
Laid double sided tape on mirror
Applied releasing agent to glass
Cut up 4 layers of CF (only used 3 as this saved around 100gms
")
)

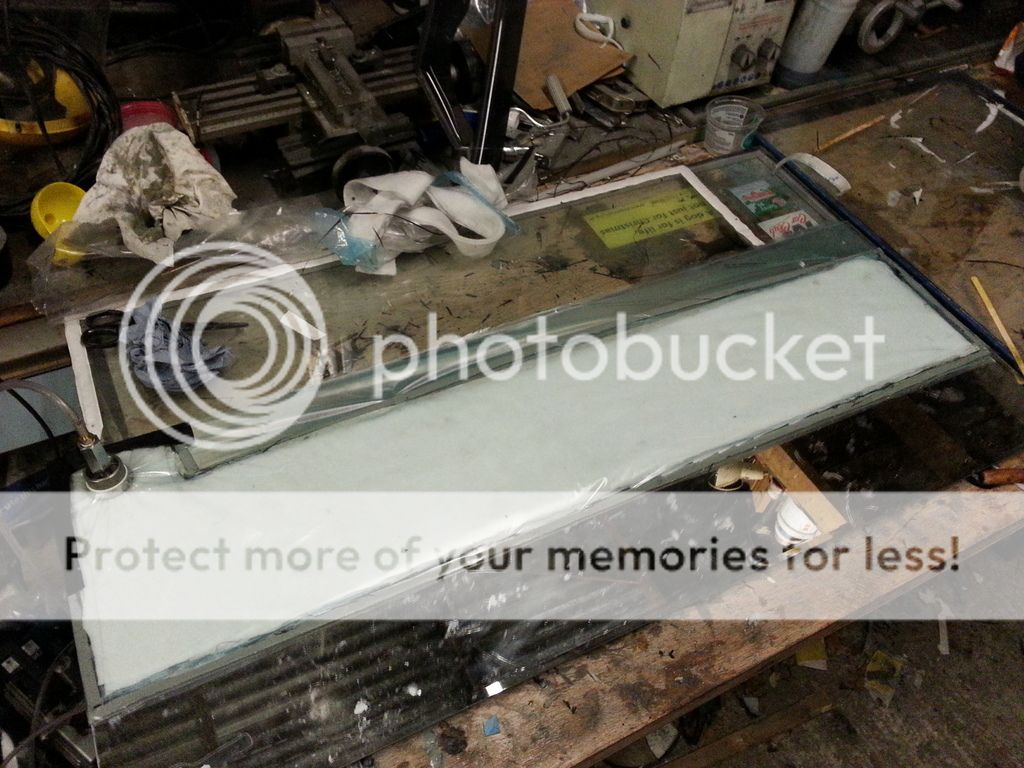
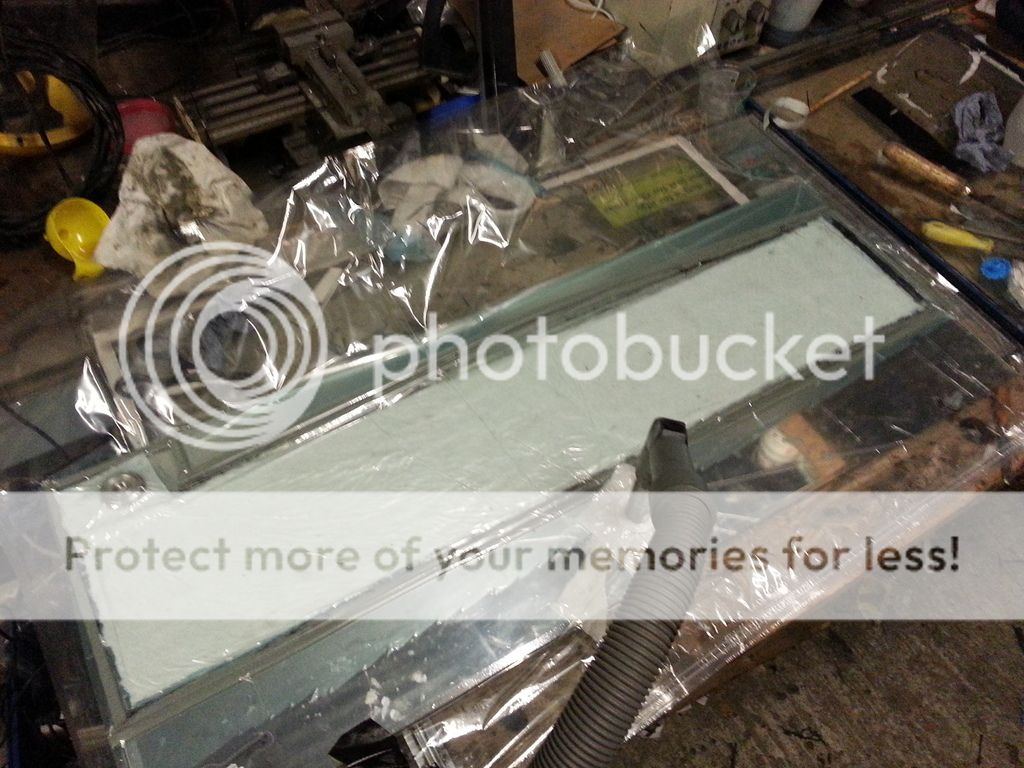
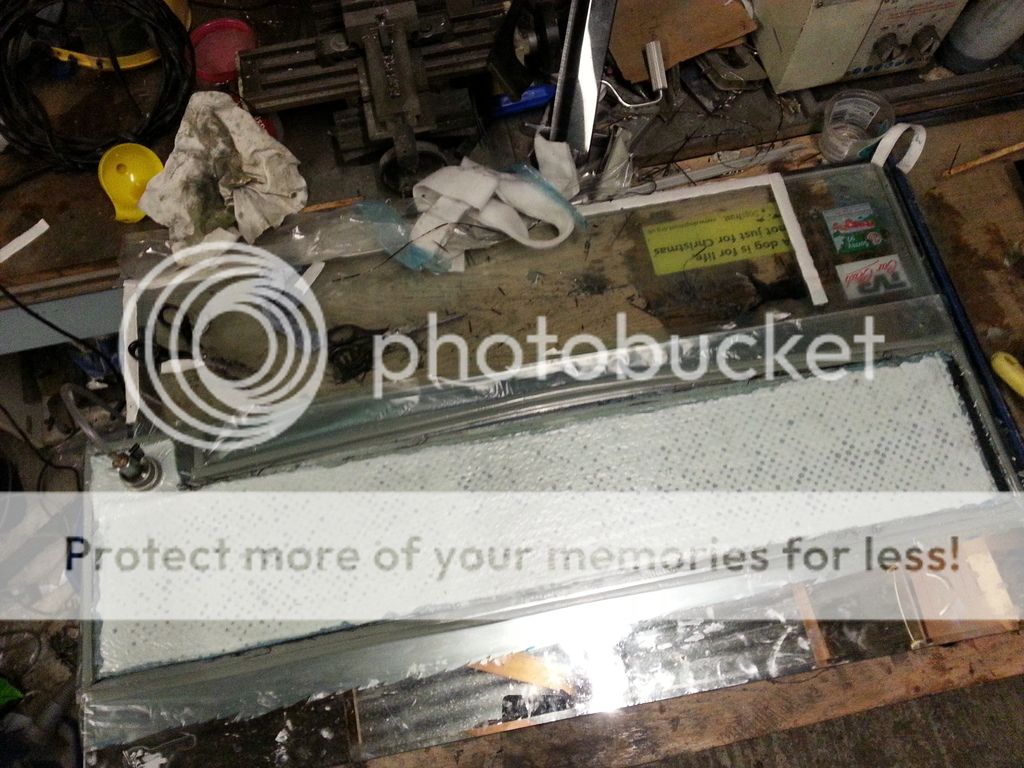
Cut one layer of peel ply, one perforated release film, 3 layers of breather layer cloth and one layer of vacuum bag.
Once the release agent had set I brushed on a coat of epoxy and laid on the first layer of CF followed by the remaining two. So far so good.

Next came the peel ply

release film
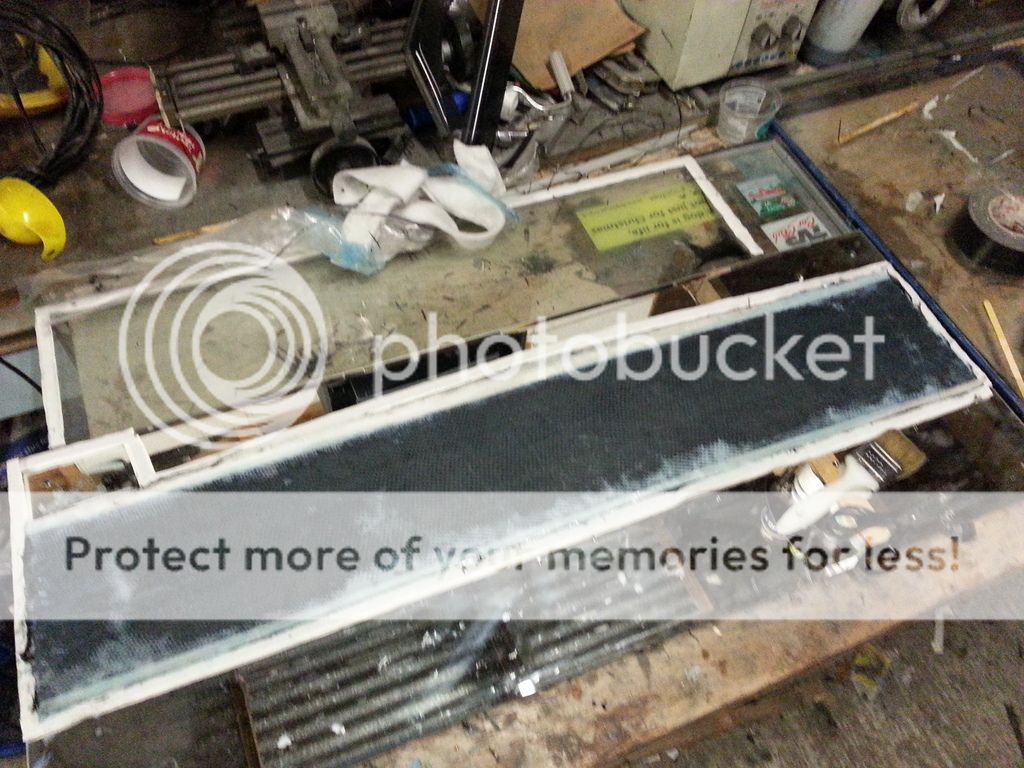
and breather cloth

Then I stuck down the vacuum bag and turned on the pump. That's when my problems began.
Pump was working but I wasn't getting any vacuum action. Bugger, but no time to mess around. Fortunately I have some of the biggest vacuum bags used for squashing clothes and the glass mirror I was using as the CF support just fitted inside. Hooked up the workshop vacuum cleaner and I was off and running. Not as good a vacuum as the proper pump, but at least it was a vacuum and the resin was starting to show through the breather cloth.
Then the vacuum cleaner stopped. Checked the fuse but that was OK. Bugger Bugger.
So I decided to have a look at the proper pump to see if I could work out what was happening, or not happening, as I was stuffed if I couldn't get it to work (I don't think Julia would have been too happy if I borrowed the house vacuum and I like my bits where they are
)
Quickly discovered that resin had been sucked up into the through bag connector last time it was used and sealed it up!
A quick ream with a couple of drill bits and we were back up and sucking...Phew!
At least I now know that a standard vacuum is no match for a dedicated vacuum pump when it comes to creating usable vacuum.
Hopefully, when I extract the CF tomorrow no harm has been done, should be OK.