At Last!. I have started on my car ;-) PART 2

Just to prove than men can multitask away from the loo, This afternoon I have been juggling feeding the bonfire (burning debris from pollarding 49 conifers), repairing the A-pillar, adding more coats to the seat mould and building the mould for the centre console. I must be turning into a woman :)


I am using Isopon P40. It contains fibreglass chopped strands and is great for this type of repair.


Almost there, finish it tomorrow:

 
Spent a lot of time this afternoon staring at this, trying to work out the best way forward with the centre console and the inboard damper cover. The MDF is the console mould and the plastic card is being used to work out how to make the damper cover.

The centre console needs to be removable in order to allow access to the gear change mechanism and handbrake hydraulics (the lever will poke through the console) along with gearbox support bolts. The damper cover also needs to be removable. The tricky bit is around the roll bar tubes that are welded to the chassis. Although the whole centre console needs to be removable I can get away with having only the top 100mm of the damper cover removable.

How to clamp them - I think I will use over centre latches, unless you can suggest a better alternative. I thought about velcro but am yet to be convinced that I could make it look good and using enough of it to make sure parts are secure could make it a pain getting them off again :)

 
I try not to :) The CF centre console/centre section of the body should weigh less than the original fibreglass it is replacing. Likewise the damper cover.
 
I had a carbon fibre dash and top made a couple of years ago, but the roll cage has meant that a lot of fettling would be required to make it fit so I have decided to start from scratch.

I am combining making the dash mould with finalising steering wheel and switch positions


Dash design coming together. The passenger side started off with the panel extending directly to the floor, but it made the compartment rather cramped. By cutting it off and forming a footwell it both gave more room and a location for the battery/fuse box/ECU. I will add a 'glove box' opening for access to the above.

Now I have to decide how I convert this design to CF.


The new home for the battery.

 
Been spending a fair bit of time designing dash switch panel. As it will be the signature piece of the interior I need to get it right (to my satisfacion).

To that end I will be getting it made by my favourite CNC man. I don't have the necessary cutting tools or skills to produce it to the standard I require.

I started off with the switches on the centre console but a lack of room and conflict with my left arm/hand killed that idea.


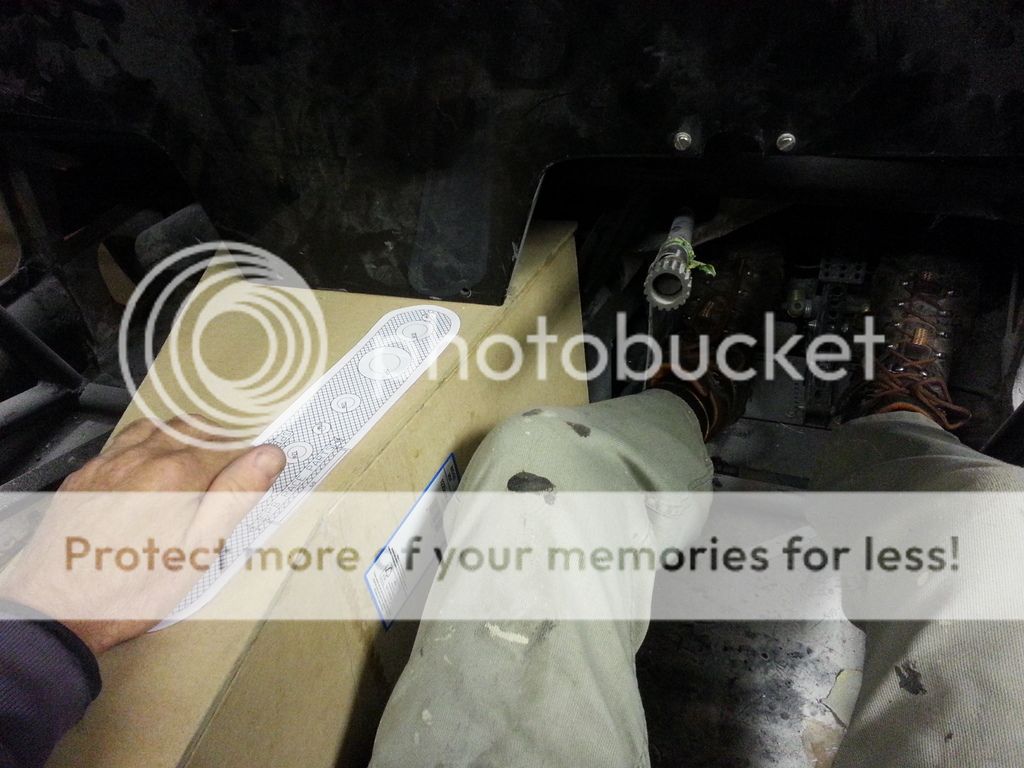
My previous dash had a flip down centre section into which I had fitted 5 gauges so I decided to pay homage to this. No gauges however, only switches. The original panel is just visible in the photo below.


The design has gone through many iterations. This is one of the early designs.


I settled on this design.


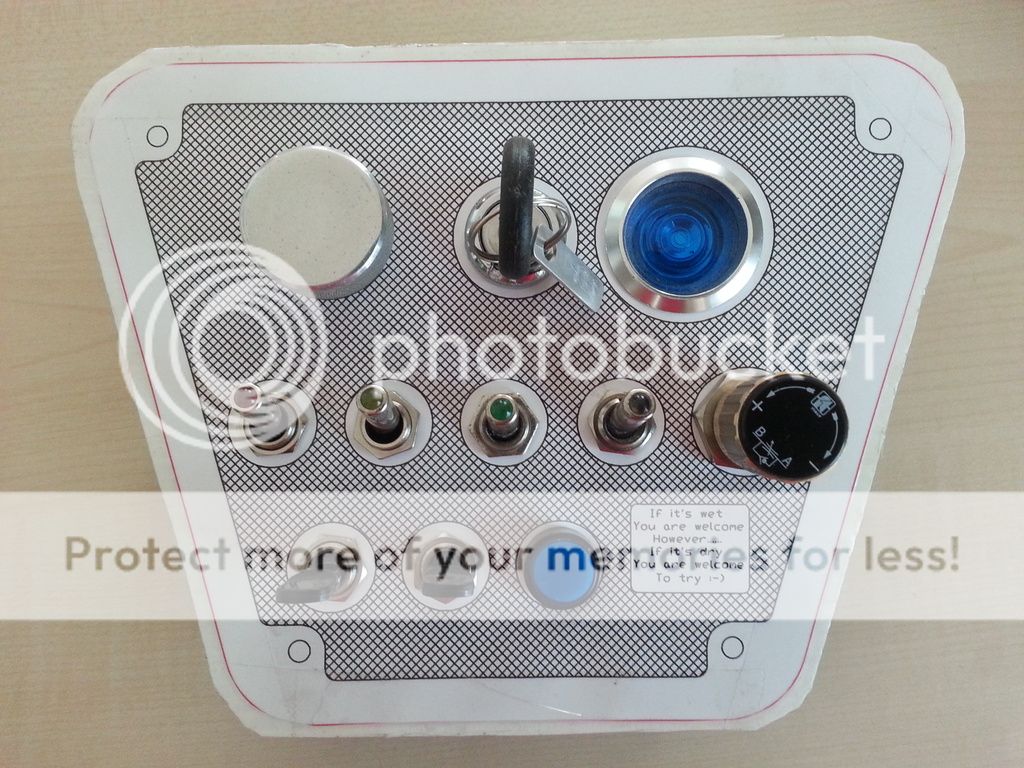
I then realised that the key fob would interfere with the switches so back to the drawing screen.

Unless I think of something else, this is the final design. I have built in redundant switches and a warning lamp to cover future upgrades or something I have forgotten.


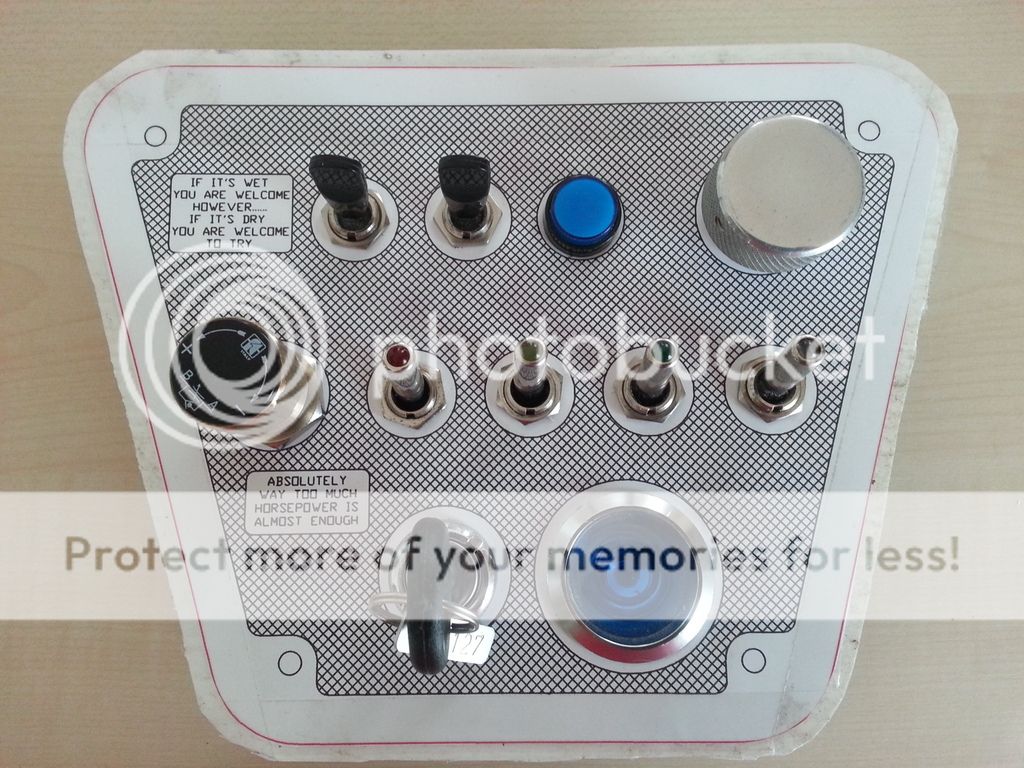
I have had to use two conventional black toggled switches as I couldn't find them with the functions I required in the lluminating style of the switches below them.

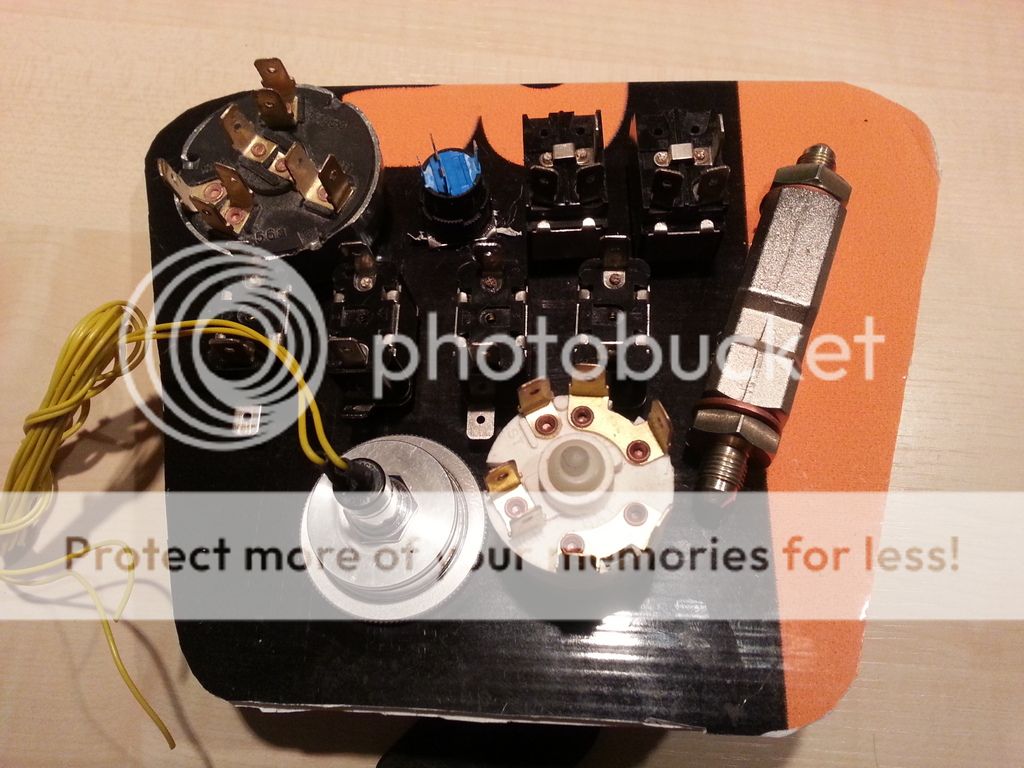
The design was constrained by the physical shape of the various switches.

 
I have also been working on the dash top. The fibreglass mold is made but a fair bit of tidying up is required. I used some very old resin on the first layer of FG and it was far too viscous so the mat didn't bed down very well.


Final, final switch panel desgin :) Photo shows some of the many iterations the design has gone through (many didn't make it to the printing stage). You very rarely get it right first, second or even third try.

Final design is secured to dash from behind so no screws show on the front, tidying it up a tad.

 
It may well work, but looks heavy. My Lithium Ion battery weighs 980gms. It may not move his rough scales but it looks heavier than the 1/2lb he claims. Not a lot of capacity.
 
After approx an hour of careful struggling I finally separated the seat from the mould. Came out pretty good with only a little bit of tidying up required.

Original carbon fibre/fibreglass seat weighed 7kg. First CF attempt came in at 1.4kg, This weighs 742gms! I will be adding some reinforcement around the edge plus fixings and paint (so the mark on the front of the vacuum connection will not show. The one on the back I will sand out) but it should still be less than 1kg :) A pair will save me 12kg.

I added a black pigment to the epoxy gelcoat layer in order to hide the weave but it is still visible. A black spray coat should deal with that.

Everything will now be vacuum bagged, thanks to Claymore giving me the necessary nudge :)


On a roll now. Centre console is now fighting for breath :)

Fibreglass resin arrived today. As soon as the woven fibreglass mat arrives I will start on the dash mould.


Centre console removed from mould. That took ages as, even with many layers of releasing agent, the MDF mould came off in bits and I spent an hour scraping it off of the console. Once position is finalised I need to sort out handbrake slot and how to operate the handbrake lock.


Started to lay up fibreglass on former for dash mould. Added black pigment to final layer so as to get an idea of how it will look.

Also vacuum bagged dash top. It will stay vacuumed over night.


When I was one of the working masses, we used to say that we thought we could see the light at the end of the tunnel, but it turned out to be a bar steward with a torch bringing us more work! That is how I feel at the moment :)
 
After less hassle than I expected, I managed to remove the dash mould from the car. A fair amount of tidying up is required but I expected that. It will be a bit of a challenge to vacuum bag this :)


The dash top is coming along nicely. Not totally flat but getting there:

 
Ok, looking for suggestions.

I want to put a 'glove box' type flap in the flat area on the passenger side under the dash (in order to access battery, fuse box and ECU), shown as a white rectangle below:


Do I cut it out and use cut out piece as the door, fitting it flush, or make a new door slightly bigger than the opening?

How do I hinge and latch it?
 
A lot of hassle to hinge it. Personally I'd use some cf off cuts bond them to the back of the dash and use velcro. Then you would have a flush fitted access panel which was easy to do.

Hope this makes sense?
 
That had crossed my mind and would, as you say, be easy to do. The panel won't be opened, hopefully, that often. It will just need either a finger hole or a small handle (hole is easier and lighter :) ). The CF support for the velcro will have to be recessed so that the panel sits flush but that isn't a problem.
 
Whilst taking the dog for a walk this afternoon I mulled over the glove box design.

Herb got me thinking and I have decided how to do it. I will make a 4mm recess the same shape as the switch panel but around 35% larger. I can then make a flat flap out of 2 layers of CF that will fit into this recess and it will be held it in place with velcro. I think that a small finger hole will work as a handle. The recess will also act as a stiffening structure, therefore serving more than one purpose and it will allow me to get away with making the dash out of 2 rather than 3 layers, reducing the weight by around 30% (allowing for a couple of strengthening ribs at stategic locations).

It is all starting to come together, albeit slowly.
 
Switch panel CNC'd. Very happy with the result, just need to polish out tool path marks and fill in text with a black enamel. The pattern on the hatching will also disappear with a polish:

 
An hour or so of buffing with a scotch pad and a little bit of black enamel paint. I have some chromed covers to fit over the nuts to neaten it up a tad.

 
Last edited:
Thanks, I am quite pleased with it.

Dash mould has had 6 layers of releasing fluid applied and is now ready to receive CF. Tomorrow will be a long, stressful day :)

 
OK, managed to bag up the dash this morning, although it was a bit of a mission.

2 layers of CF plus extra in corners
Peel ply
Perforated release film
2 layers of breather cloth
Vacuum bag

Fingers crossed :)

 
2 hours later.....

dash%20vacuum%20bagged%20after%202%20hours%20191115_zpsjrnsax4v.jpg
 
The dash is out of the mould, but not without a fight. The glove box caused a fair bit of grief and I had to cut the centre out so I could attack it from behind. There is quite a bit of post mould repairs to be done, but I was expecting that.

As it stands it weighs 1.265Kg. By the time I have finished tarting it up and added a couple of stiffening ribs it will be nearer 2Kg.

 
Almost wasted around £100 of carbon and sundry materials. measured and prepared mould for the rear firewall. i realised, just in time, that access to the diff, air bottle etc would be severely restricted with a one piece (albeit removable) sheet.


Even looking at modifying it with a removable section wouldn't work very well. I have decided, therefore, to use my original half firewall in fibreglass as a mould and make a separate top section.
 
First attempt at making the 'glove box' door was an abject failure (however I wasn't totally surprised). I tried to be clever when I should have stuck to my mantra of KISS. Oh well, on to the simpler second attempt. I will also use 3 rather than 2 layers of CF.


Here I am trying out a method of making the window surround in CF. If it works I will be able to make the surround fit the A pillar and roof snuggly. I will know tomorrow when I turn the vacuum pump off. Photo also shows the mould ready for my second attempt at the glove box door.


Similar threads


Please watch this on my YouTube channel & Subscribe.


Back
Top