My project

Thought this would be the best place for this, so here goes.

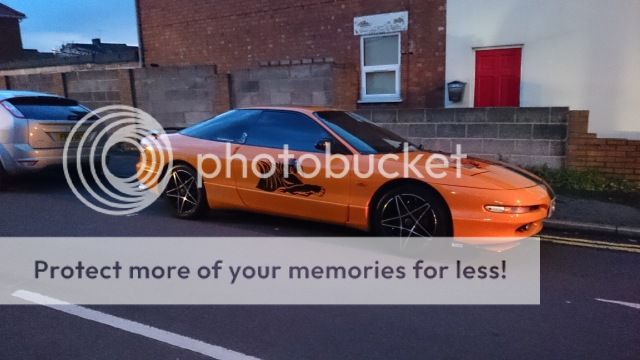
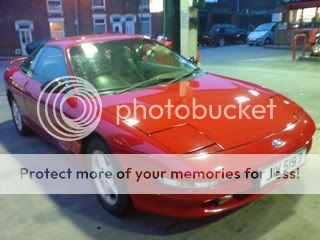
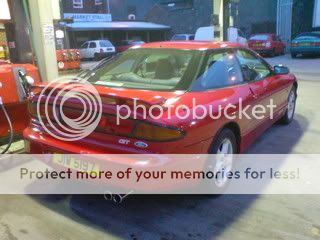
This was my car when I first bought her a few years ago
DSC00205.jpg
DSC00206.jpg


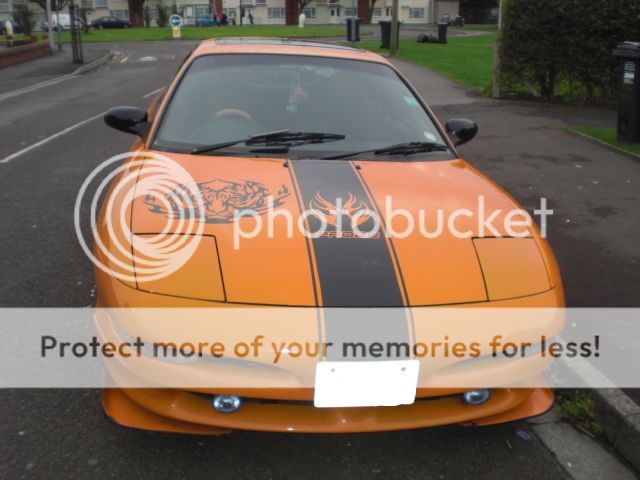
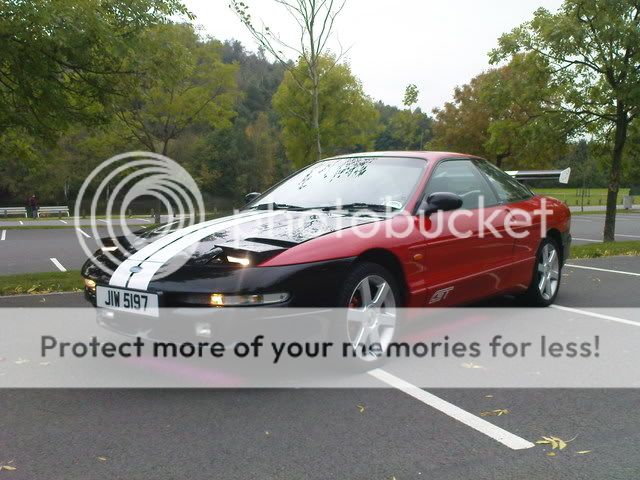
and this was after her first 'facelift'
DSC00364.jpg


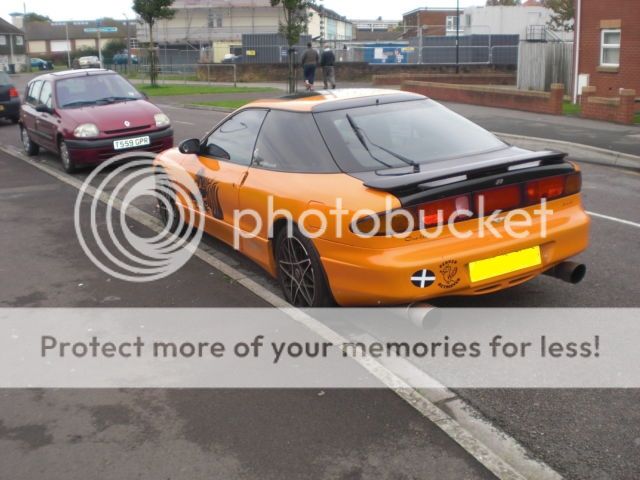
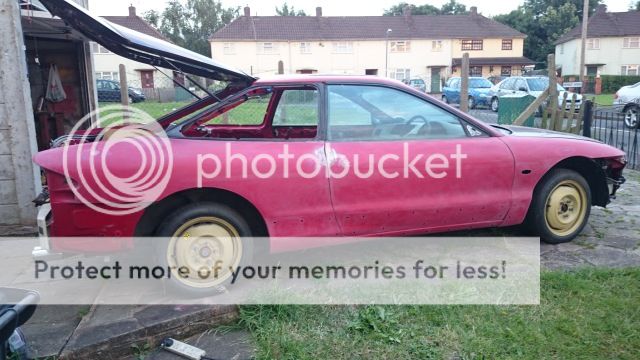
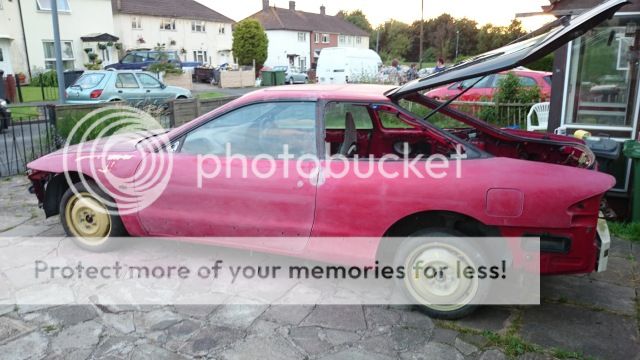
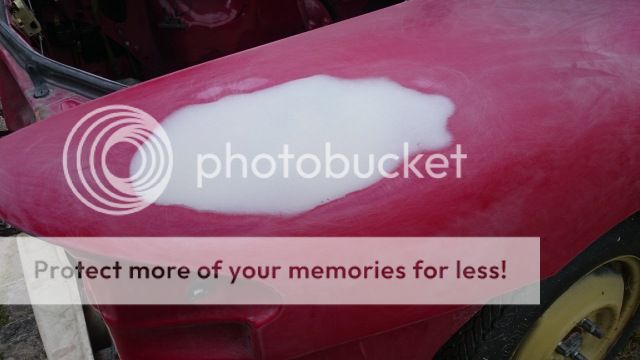
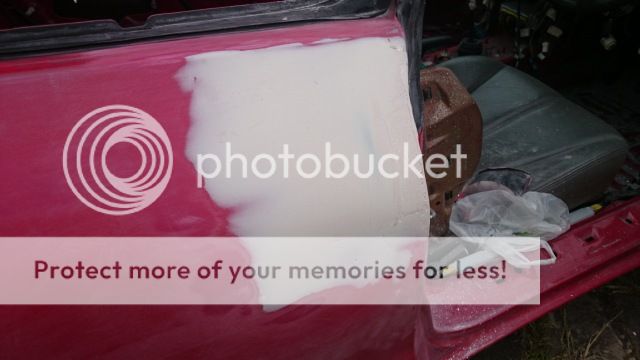
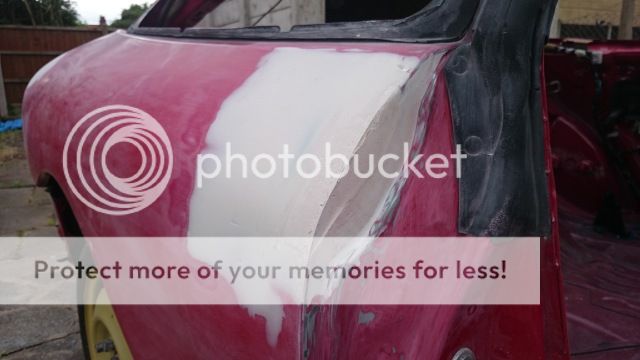
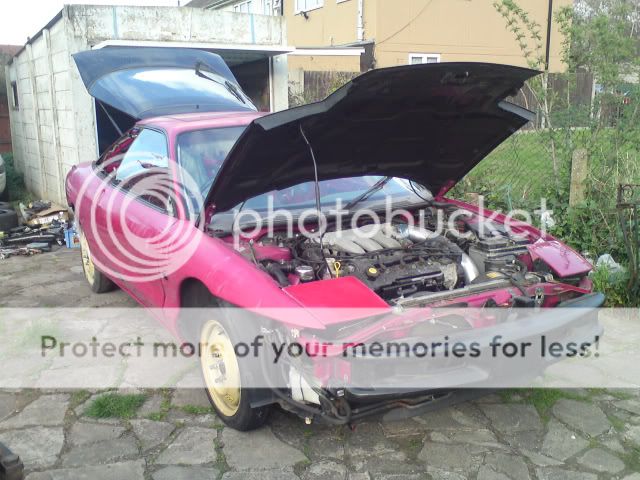
She now, however, looks like this
DSC00684.jpg


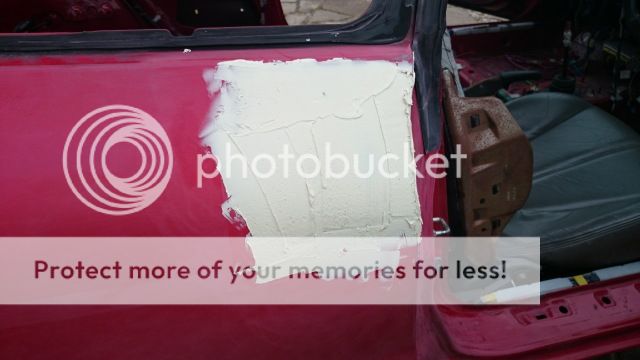
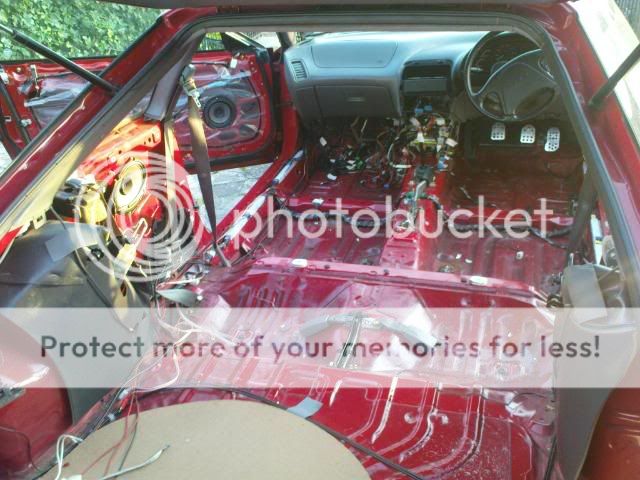
Interior is stripped out apart from the dash
DSC02162.jpg


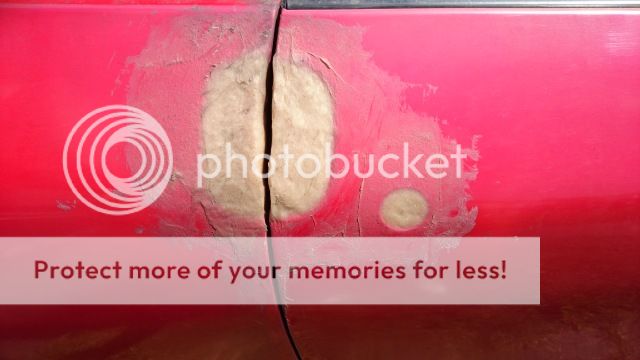
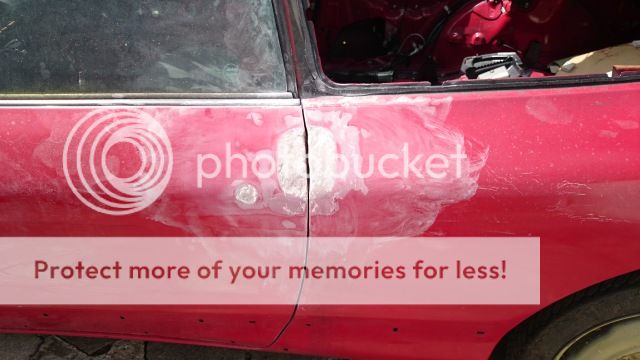
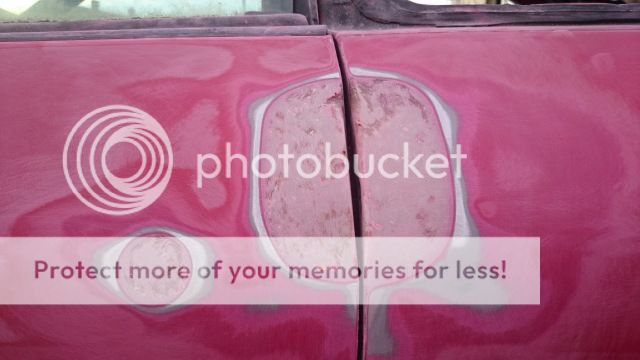
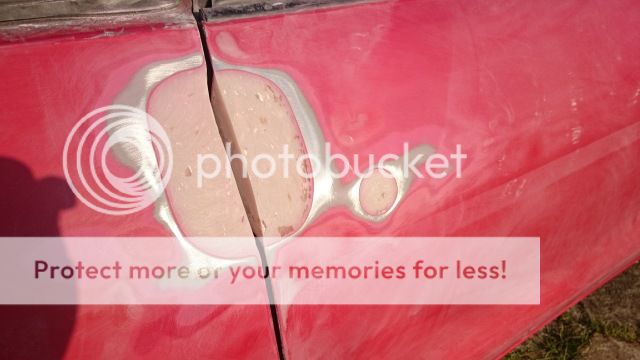
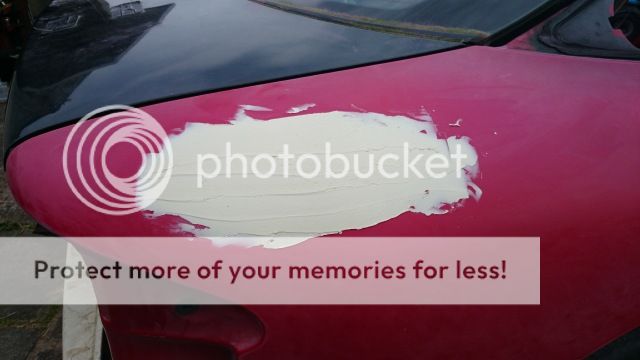
She's having some body mods done, including de locking, shaved door handles and a few other things.

Her new colour scheme will be green and black.

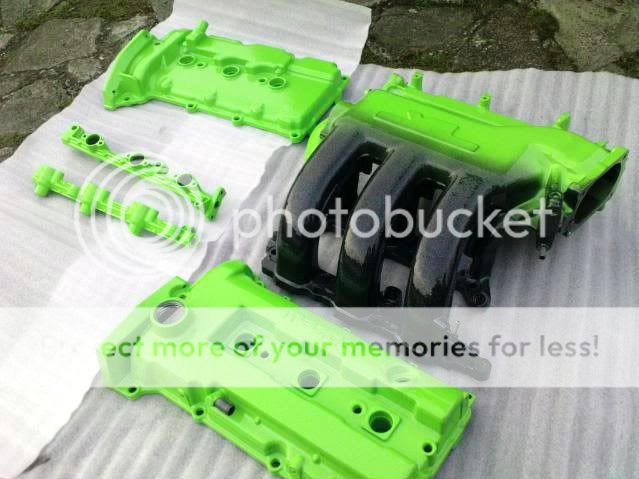
Here's my engine bits ready to go on her
DSC03393-1.jpg


Got the strut braces done too.

They all have rainbow shimmer in them so look pretty cool when the sun hits
DSC03388.jpg


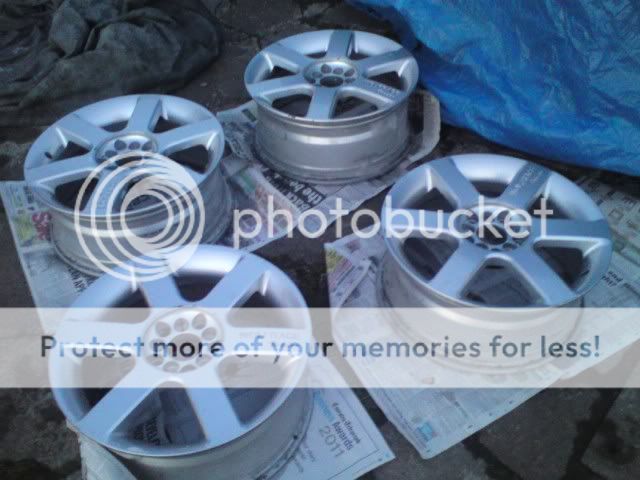
I've also just had the wheels back

From standard silver
DSC00645.jpg


to
DSC00679.jpg


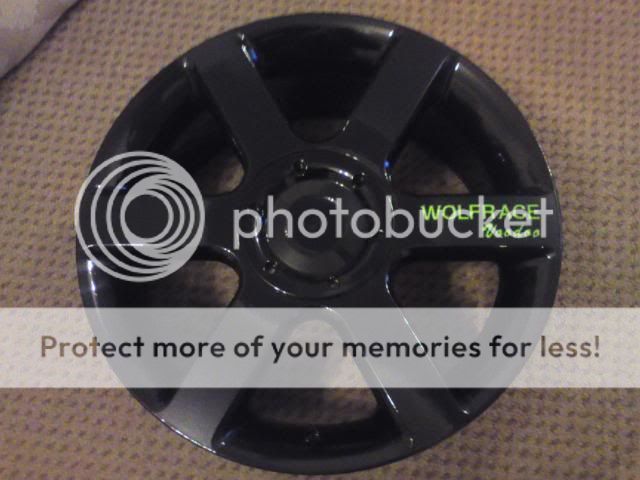
They are all powder coated so the engine bits should happily cope with the engine bay heat as they were baked at 200C anyway :D

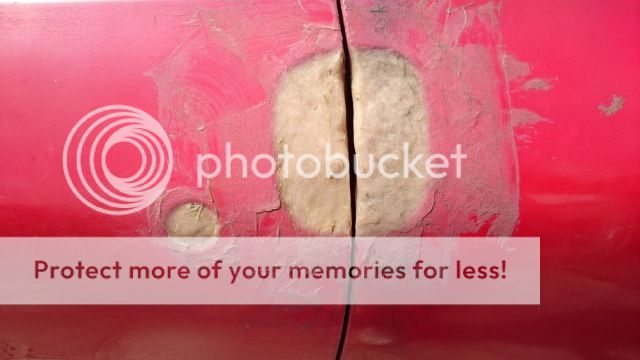
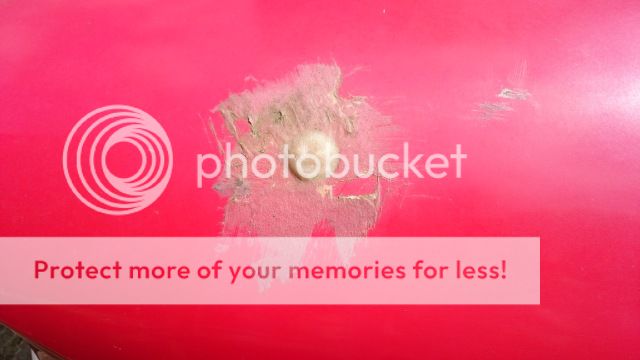
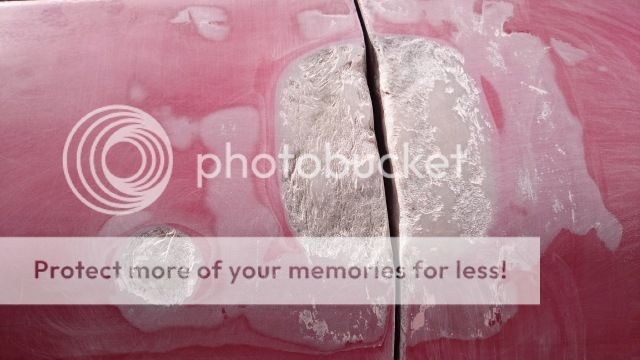
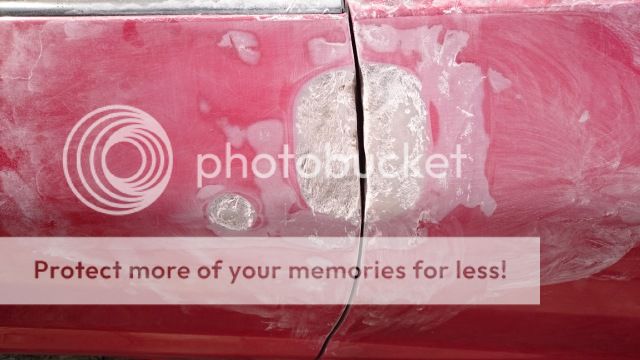
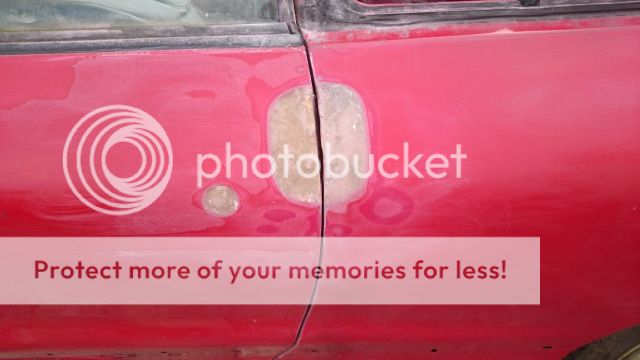
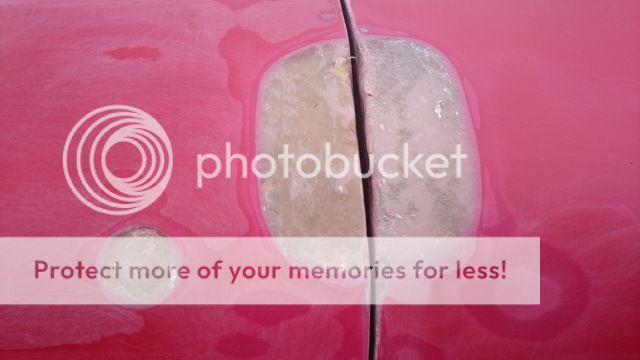
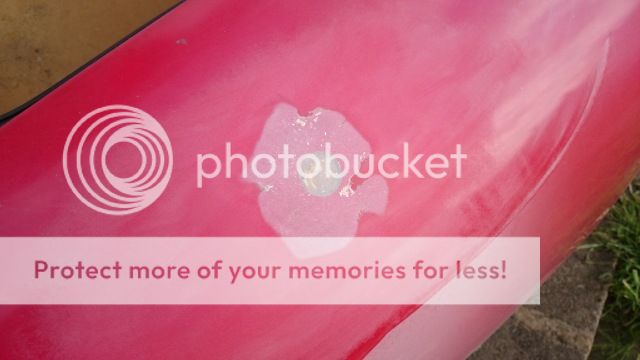
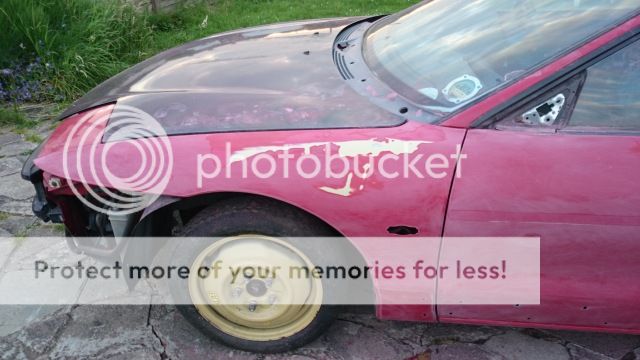
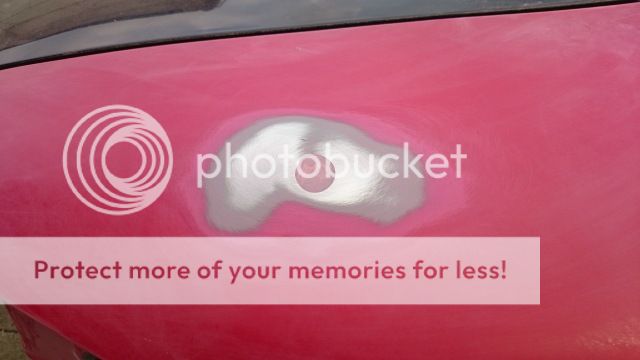
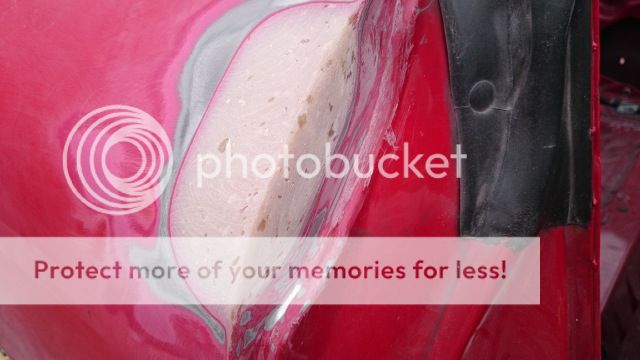
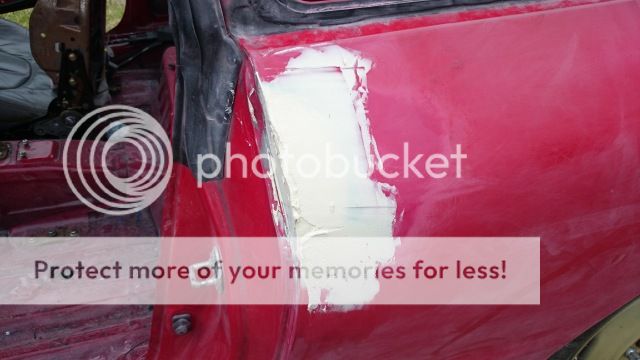
Just been out today and removed the door locks and handles too
DSC00771.jpg


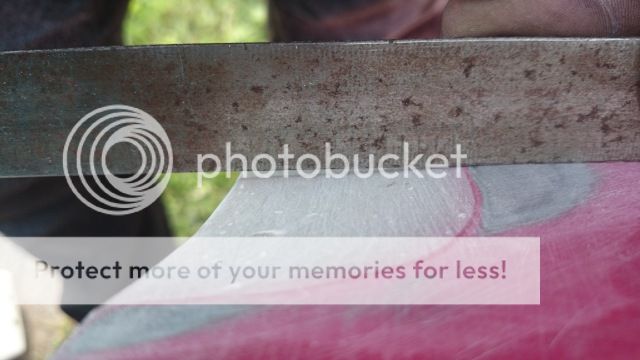
Still got loads of work to do :lol:
 
You do realise that the barrel will unscrew as long as you have the key in and turned to a certain position?
Obvs a bit late now. :blink:

Ooops! Well he will be much wiser for the next project :)

In the absence of any advance knowledge I suppose I might have done the same thing ;) Brave attempt anyway :)
 
Last edited:
Hey people!

I needed both the barrel and the housing almost completely gone hence the grinder - there is a madness to my method, trust me :lol:

The barrel of the push to start switch will fit nicely now without the gubbins there, and I don't mind not being able to refit a barrel as I'll never sell the car in any case.

I will be using a proximity transponder sysem to deactivate the alarm and the imobiliser.

No transponder, no start.

My daughter said to me that it will be easier to nick if I drop the transponder, but I said the same would be true if I dopped my key with the alarm fob :lol:

Don't forget - there's no locks or door handles so nobody can get in without the transponder ;)

It was fun, and my face felt a bit raw afterwards despite wearing safety goggles, but she is getting there bit by bit :D
 
as your delocking it how are you getting around flat battery situation ?
leaving terminals under the bumper so you can supply juice to the battery

Yes fella, I'm going to fit emergency use terminals, and yes, at the rear.

I'll be relocating the battery to the boot also, to allow for the turbo install at a later date, when I get that far.

If all else fails, I do still have the boot lock at the moment, so could climb in thorugh the rear hatch to pop the bonnet ;)
 
at least youve thought about it unlike most.

just remember if your locating the battery to the rear to use a gel one incase the worst happens then battery fluid wont leak into the cabin
 
Looks good so far and is a blod move to have no locks what so ever, still I guess that means theres none to attack...

Are gel batteries expensive?
 
Well hi people, I'm back :lol:

Didn't realise it had been so long, I haven't dropped off the planet, just been hyper busy, unfortunately not with the car, more with the missus health problems, but that's a whole other story.

Anyways, not really much to update other than to say I am still here.

I kinda missed this car, so I bought another in the mean time which was probably a bad idea, it kinda sidetracks you a bit, however, the current car does have some plus items which I'll be removing and putting back to stock before I get rid of it.

The Probe has pop up headlights, and this has American full length headlight covers - the UK version was sanitised and shortened for some reason, with plastic infills which I've never liked, so the American lids will be being appropriated for project use :lol:

The current car also has a factory fitted high level brake light - again something the UK market never saw, and they're really quite rare over here, so that's another thing that will be appropriated :lol:

I don't see the whole car when I go to buy them, I see it's component parts, and what I can take off for mine :lol:

The current one is a bit too in your face for my liking, but it has some good features, nice wheels, Wolfrace Blitz 2 which are pretty new and unblemished, short shifter, lowered, and a twin Powerflo exhaust.

Now the Probe doesn't have an exhaust hanger on the passenger side, so someone has had to weld that on first.

Here's some pics

DSC_0090.jpg


34c7cb6b-3f4b-4a50-aadf-b6d173608848.jpg


18af028b-b439-4deb-bb9d-874639c68a75.jpg


I won't be keeping this one much longer though, been running around in a Honda. I figure I've got to get rid, otherwise my project will never get done :confused:
 
Blimey, no wonder there's a steel shortage, it's all used up on your exhaust tail pipes :lol:

Those wheels are unusual, never seen that model before.
 
Blimey, no wonder there's a steel shortage, it's all used up on your exhaust tail pipes :lol:
I know, I know, they're a bit on the large side, even for me. I much prefer the system on my project. Always fancied a twin system, just not that big. It's just too loud. :confused:

Those wheels are unusual, never seen that model before.
They're new(ish) apparently, they're on the Wolfrace website

http://www.wolfrace.com/eurosport_wheels_details.php?wheelID=365

The bloke told me he'd just paid £500 (without rubber) for them a few months prior to selling the thing to me.

Personally, I woulda stuck a standard set of rims on it, and flogged the wheels on, but they do go nice with the car. :D
 
how about custom headlights mate? you can take the front lights from some scooter bike, and do custom ones like these, just to make sure they are positioned well
DSCN4323.jpg.html

cover is made by fiber glass which you do well.
 
how about custom headlights mate? you can take the front lights from some scooter bike, and do custom ones like these, just to make sure they are positioned well
DSCN4323.jpg.html

cover is made by fiber glass which you do well.

Yeah I do quite like the custom lights, and I do now have the American lids which reach to the top of the bumper, so I could modify those.

We'll see how we go :)
 
I admire the detail and effort being put into this car.
Keep it up and keep us in the loop with progress.
 
Hi everyone!!

Well here we go with an update, at last!!

The filler I've used has certainly stood the test of time and temperature.

Here's the pics of where I'd gotten to previously.

Door handles

DSC_1490.jpg


DSC_1492.jpg


Bit of a mess still, but not cracked, or splitting, or coming away from the body.

The aerial hole

DSC_1491.jpg


And here's them in progress

DSC_1496.jpg


DSC_1497.jpg


DSC_1498.jpg


DSC_1500.jpg


DSC_1501.jpg


DSC_1502.jpg


DSC_1503.jpg


DSC_1504.jpg


DSC_1506.jpg


Continued in next post . . .
 
. . .

DSC_1507.jpg


DSC_1508.jpg


Probably going to swap the wings for my modded ones, but did them anyway.
I rubbed the top of these down with 180 grit as the lacquer was peeling, so needed to get rid of it, hence you can see the primer.

DSC_1509.jpg


I expect these are going on instead though.

DSC00670.jpg


Just got to clean them up, smooth the edges where I've cut them, and then mesh them - black mesh should look the part once the bodywork is green, and will look nice backlit ;)

I did it pretty much all by hand with various grit including 80 for the tough stuff, 240, and 320.
I used a sanding block to flatten the filler, and just by hand rubbing down the rest of the bodywork.

I tried my random orbital sander, which worked a treat on the aerial hole filler, as it was standing quite proud, but I didn't really use it after that. I think you can 'feel' the job better by hand. Power tools take a lot of that away.

Got pretty dusty out there, but rubbed all the main body panels down with 400 too.
Got to do behind the rear bumper, and all the insides of the doors, boot, and under bonnet, plus any fiddly bits.

It's coming along pretty well I thought.

Nice to get working on her again.
 
Rubbed back below level with some 80 grit.

DSC_1520.jpg


DSC_1519.jpg


DSC_1514.jpg


Then checked it was all below surface level

DSC_1511.jpg


All looking good so far, but ran out of sunlight.

I was fixing a sloppy gearbox on a Mondeo earlier, and had a mot to get done, so been busy.

I was quite happy with the filling, so now to skim with some P38 and let that harden.

I think it's going to be real hard to get the shape right, but I'll try.
 
Hi buddy, it's been a long time almost forgot about this one :)

I like your progress so far, look forward to your next update. just don't make it so long next time ;)
 
I know yeah, sorry, been busy with other stuff for a while, but I've had some spare time recently, and some good weather.

I'm gonna try and do some more today, but had to pop into town this morning, and gotta take her indoors out around 5.

Might go get cracking now, and carry on after.

I never intended to take this long with this project really, just circs getting in the way.

It doesn't cost me anything to keep it, so it can wait.

I was a bit worried about it rotting underneath, but it seems fine.

I need to get it up in the air, drop all the suspension, petrol tank, exhaust, and whatever else, then I'll examine and clean up. Hopefully we won't need any welding, but you never know.
 
Another update :lol:

'What's this? More than one a year??', I hear you say
lol.gif


I know, had a bit more free time lately, about time too.

Filled it a couple of days ago and left to harden

Had to remove and sand all the overfill from the intricate parts around the door handles, in the creases and bends.

DSC_1527.jpg


DSC_1530.jpg


Lots of pictures, I know, but I am spending enough time and taking care to get it just right.

I've spent this long, so it won't make much difference.

Mixed up some filler, and applied it.

This is the aerial hole covered

DSC_1533.jpg


The next bits I did were the 'cut outs' in the main body, opposite where the door handles would have been

DSC_1534.jpg


DSC_1535.jpg


I haven't done the actual door handle parts yet, I wanted the current to stuff to go off and harden.

Didn't get much done today though, it started raining :sad2:

Started sanding the filler which was set, all good.

DSC_1562.jpg


DSC_1564.jpg


DSC_1565.jpg


You can see it's getting closer, and closer to where it needs to be, and I'll keep doing it until it's right.
I don't mind taking my time with this because it has to be perfect.

I will be using high build primer when I'm ready, but the better it is beforehand, the easier the task will be later, and the resulting finish will benefit from the time and effort.

It is great fun, I'm loving doing it, and seeing it gradually take shape.

It's still a bit high, but I'll get cracking again once the weather picks up again.
icon_cool.gif
 
Last edited:
lol I like that, What has been seen, cannot be un-seen
lol.gif
lol.gif


Well, hopefully, we'll have a few more coming up.

Weather's turned cack but should clear again in a few days, so I'll be on it again.

Need to get that filler rubbed back.

Someone said to me the other day,'When is this going to be done then?'

My short answer to that was,'Some time this decade.' lol
(That gives me 6 years or so :lol: )

Still got loads to do.

The outside is just the start, colour coding the interior is next.

She'll have a black roof lining.
Green plastics from the roof down to door card level.
The door cards will be black topped, as that material is soft, and will fit well against the green plastics.

The main door panel I want green, with black door pockets, and handles. Reason for it being that way is the handles get a lot of use, and if painted, would more than likely wear and look horrible.

The carpet will be black too.

The dash will be black, but green over the top of the instrument cowling and continue down onto the centre console past the handbrake to the back. It will also have green detailing for the air vents and whatever else I think looks right. The lower part of the console will remain black.

The target is to try and get a 50/50 split, green/black.

Then after all that, I'll have to get the underbody cleaned up, do any repairs, fit new brake lines, refit the petrol tank, and the lowering springs, then new lower arms and links. New discs, pads, and calipers.

Anything else I can think of too.

So you see, maybe this decade. :lol:

P.S.
Engine rebuild, new water pump, cam belt kit, piston rings, recon the head, and anything else. That's after all of the above.
 

Similar threads


Please watch this on my YouTube channel & Subscribe.


Back
Top