Jagz XKR

PART 1

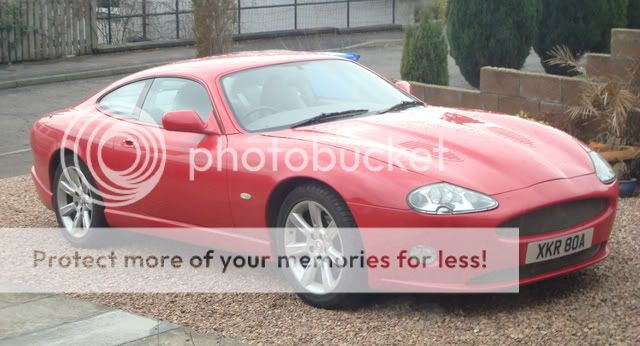
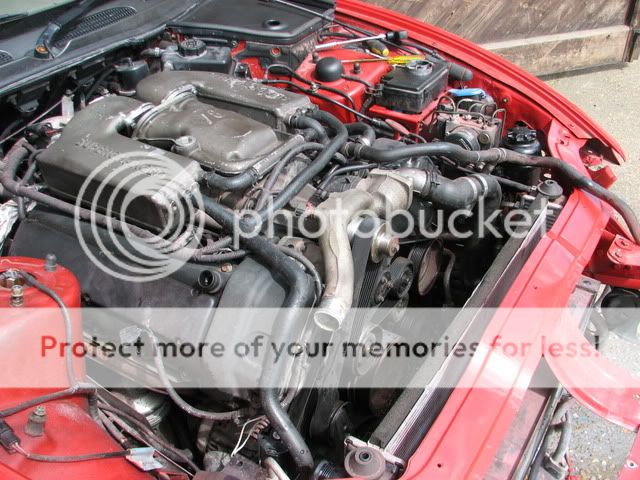
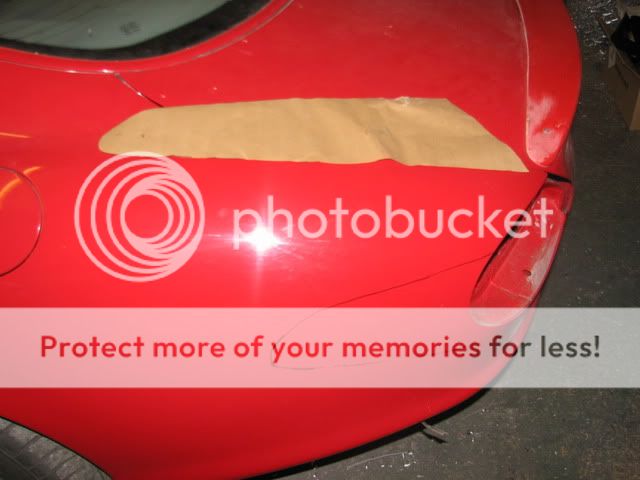
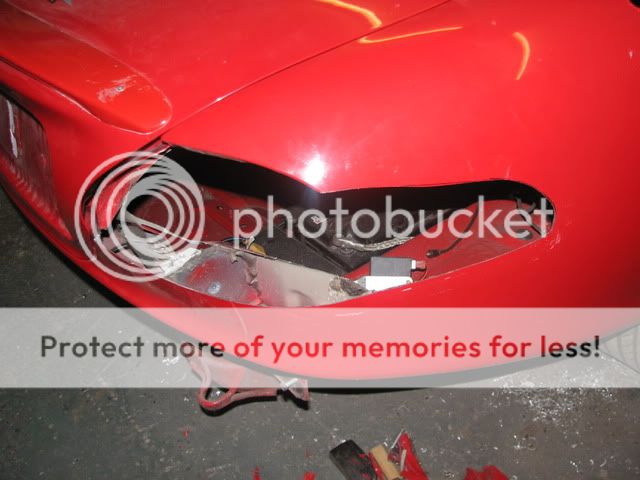
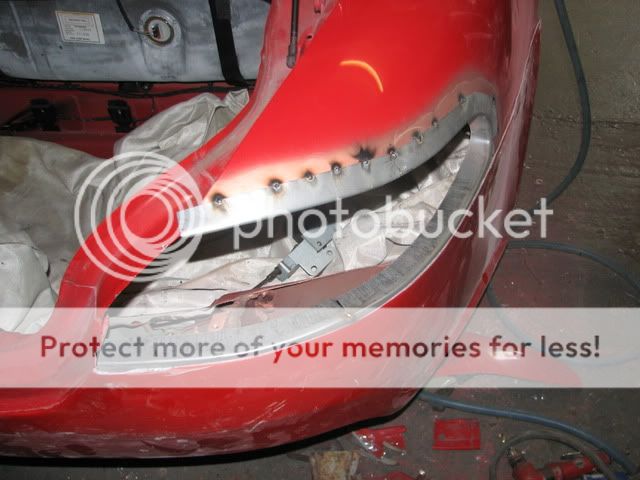
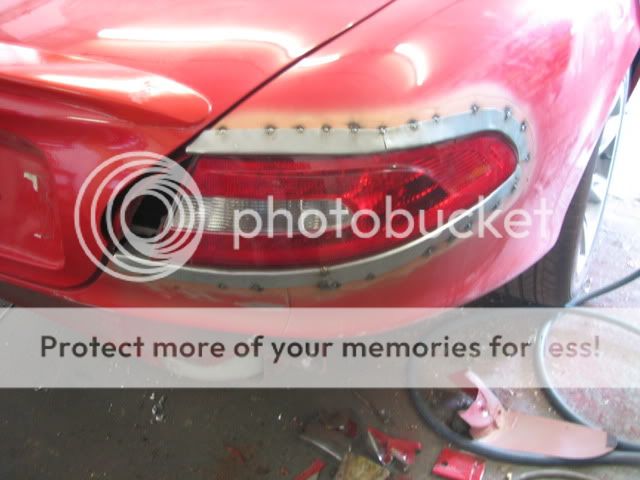
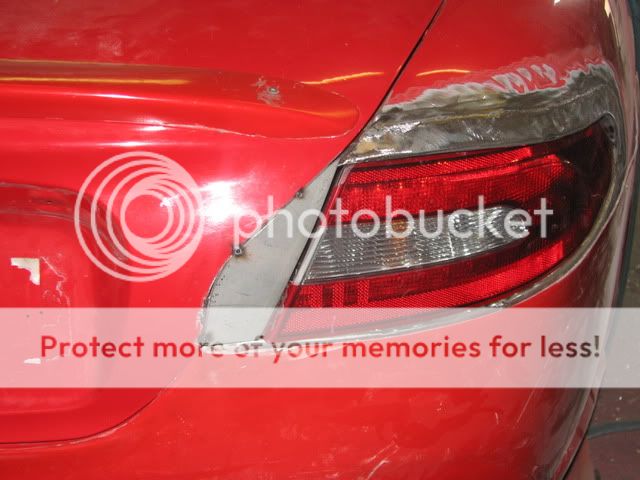
Thought I would share the basket case I got :blink:. Its a 1999 Jaguar XKR in a bit of a sorry state, does not look too bad in this first picture, was already modified to a certain degree

DSC00788.jpg


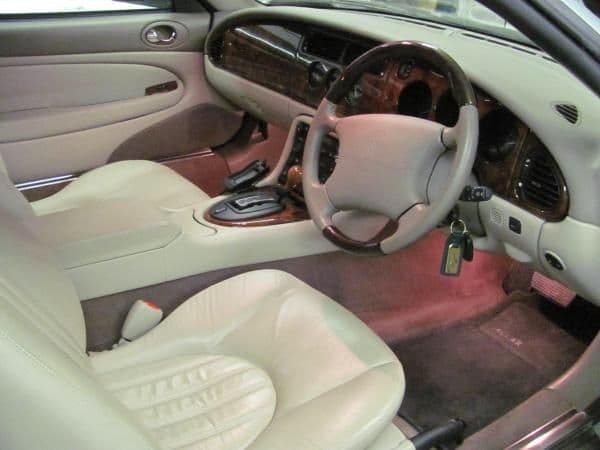
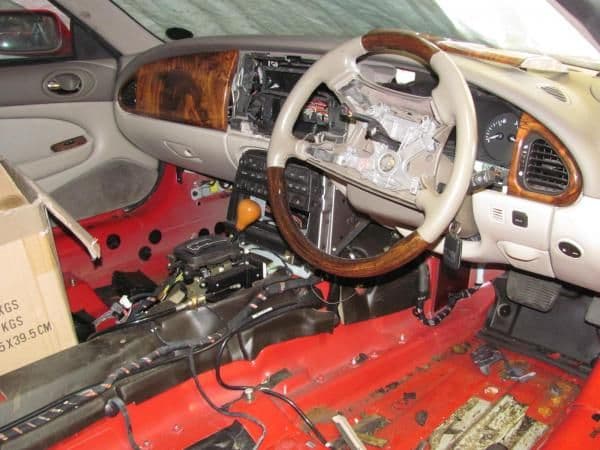
They never look too bad in pics, this one had a bad paint job, a blown engine and the worst interior combo I could ever want, even the engine bay was a mess :(, but quite low mileage @ 50K

IMG_3428.jpg


The first thing I did was pull the engine, I then stripped it down to every last nut ‘n bolt, this is what I found, I actually had 3 pistons like these :sad2:

IMG_3452.jpg


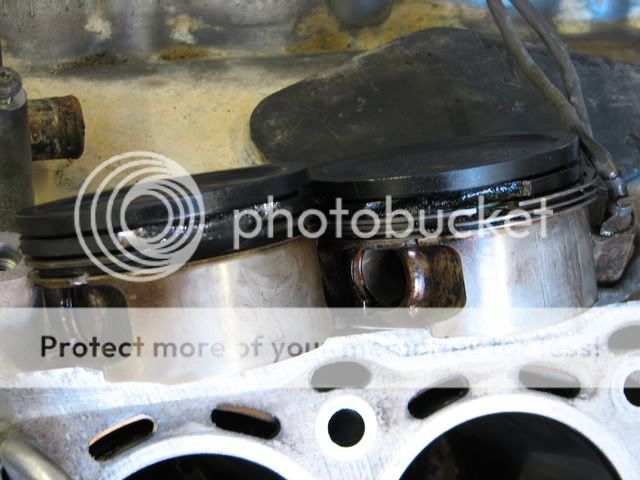
Luckily the bores were saved by there nikasil coating, a testament to how strong that stuff is when you consider the state of the pistons!
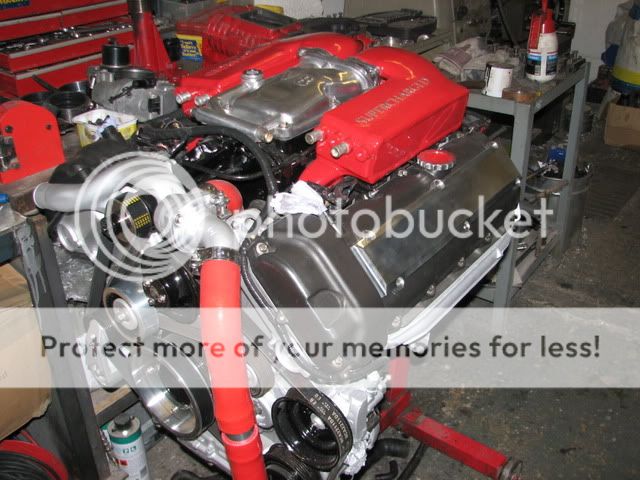
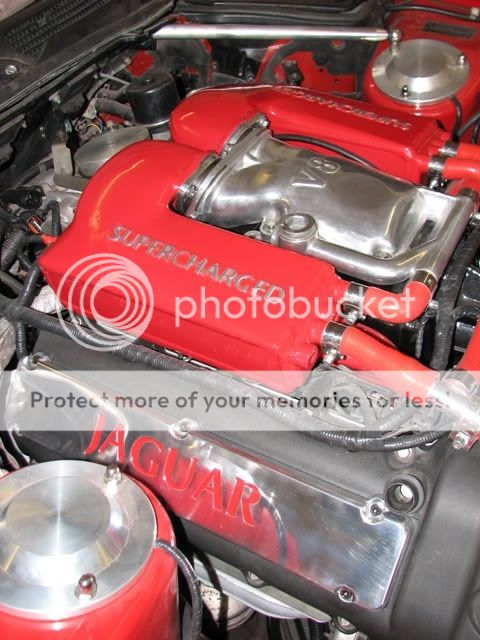
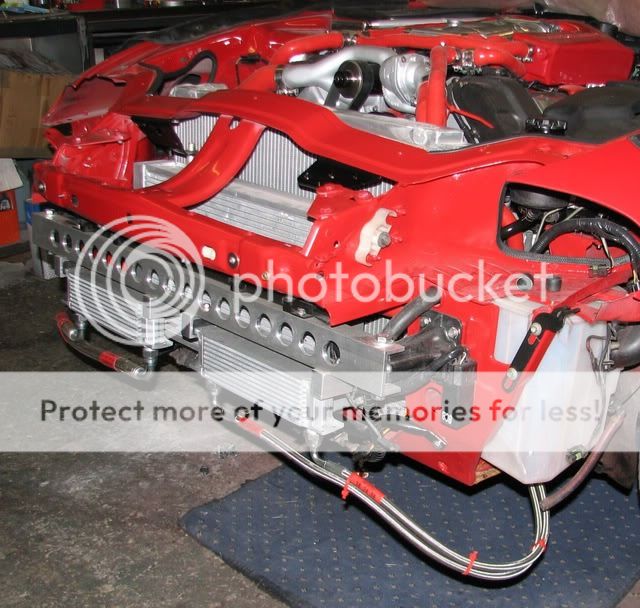
I rebuilt the engine stroking it from a 4.0 to a 4.2, port matched the manifolds and uprated the supercharger, a sprinkle of bling and I ended up with this..

IMG_3579.jpg


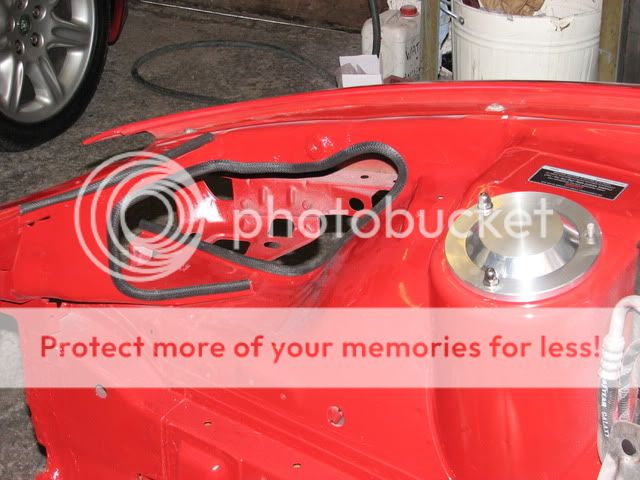
Whilst the engine was out it made sense to sort the engine bay, this too was stripped of everything I could and everything I couldn’t was bagged and masked. A damn good clean, rub down, etch primed, painted and then a good few coats of lacquer. :D

IMG_3649.jpg


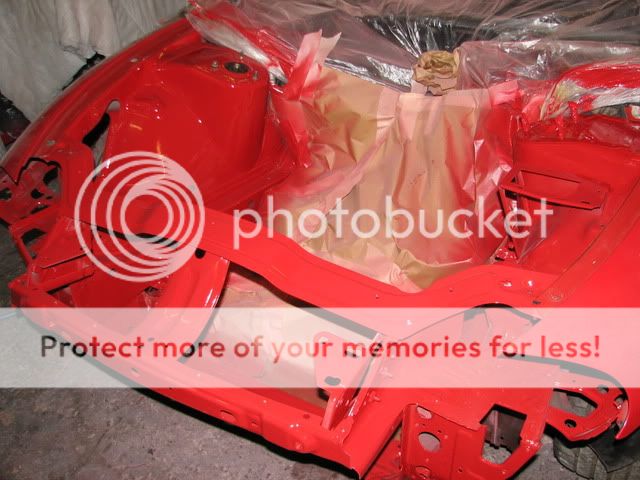
I also did a little bit of a modification to the drivers side inner wing, I put a big enough hole in to get a 3” induction tube in either to bring air up from the front (CDA) or to put the air box into the front bumper, have not quite decided yet.

IMG_3651.jpg


With the engine back in I made up some more bling, strut cap tops, strut braces, coil pack covers and all the fluid caps were made from aluminium, I also had the tooling made to produce silicone hoses :amuse:

ENG1b.jpg
 
Last edited:
PART 2

As I have uprated the supercharger I was a little concerned about the cooling side of things, I uprated the charge cooler and the electric pump, I have separated the supercharger cooling system from the main loop and have added an additional tank with another pump. I also changed the main radiator for one from an EVO, much cheaper to buy on ebay for £150, to get one made would have been £600+, the only problem is the gearbox oil also shares the radiator as a cooler, so I simply added an additional cooler for the gearbox next to the one for the engine, I made up a nice ali beam with my own machined up hangers. I turned up some nice stainless fittings which Pirtek then came along and joined everything up with some braided pipe, all very pretty. :p

IMG_3689.jpg


I decided to change the rear lights, with something more fitting with the style of the exterior I wanted. I fitted XF lights, quite a task fitting lights that are not meant for the car in the first place!
I marked out where I wanted to cut :confused:

Picture008.jpg


Got me angle grinder out and cut a big hole :amazed:

Picture010.jpg


I had to make a frame up to strengthen the outside edge of the wing, I did not worry about letting it in as I knew I would be adding a wrap around bumper and could easily loose the join, I tacked it in place

Picture012.jpg


The inner panel I bought from Jaguar which was meant for the XF, trimmed it up to suit my purpose, a fair bit of cutting, banging of hammers and bits added, offered the light up with the inner panel bolted to it, got the position I wanted, tacked it in place

Picture013.jpg


I then had to modify the boot lid, this was simple, got a piece of flat sheet, folded it in half and doubled the thickness, this served the purpose of my outside edge, made a cardboard template and when I was happy cut the metal to suit, a bit of bending and tacked it in.

Picture018.jpg

When I was happy everything was welded up, ground and beaten to within an inch of its life with hammers, the finish will be done with good ole pudding (that’s filler not actual pudding :blink:)

Picture019.jpg


There’s loads more, but I will save that for another day….. Brakes, suspension, 20” wheels, new Recaro interior with widescreen touch media player/tv/satnav, subs, amps blah blah blah, did I mention I have made my own front and rear bumpers along with side sill covers, more on that later.

Thanks for reading :bigsmile:
 
Last edited:
Well what can I say except WOW! :bigsmile: very impressive stuff there Jagz, you certainly know your way around the engine and bodywork side of things! Can't wait for the next instalment ;)
 
Now that is pretty cool stuff.

You didn't put any pics of the current interior; what was it like?

The interior is stripped at the moment, I have a few holes to sort :confused:, I have started on some of the other parts of it, fitting a 7" touch screen running off a hard drive, I will be losing all the wood, probably go for carbon fibre, did think on piano black, I need a finish to cover the alterations to the original fascia panels.

I got hold of a 7" touch screen and basically stripped it to its component parts, made a new frame and housing out of aluminium and polished it up, I will stick some pics up later


lol,

Seriously though this is a cool project, what supercharger are you using? Also are you going manuel on this one?

I am keeping the original Eaton M112, I may swap to a Keene Bell twin screw, the car will also be kept auto, this XK will be a showie crusier, not so much of a speed machine, my show car if you like :bigsmile:

I will leave the speed to my track car ;)
 
Now that is pretty cool stuff.

You didn't put any pics of the current interior; what was it like?

I actually dont have any before I stripped it out pics but as an idea it looked very similar to this

xkracer-70408-albums-parts-pics-misc-2081-picture-interior-10205.jpg


I hate it..... bland and boring.... looks like this now :bigsmile:

xkracer-70408-albums-parts-pics-misc-2081-picture-stripped-interior-10206.jpg


OK it is in need of work, but I have plans, the wood is going, too typical old man Jag for my liking

(OK I am gonna repeat myself a bit here)

I took the centre section with the 3 clocks out and cut it about a bit to fit a 7" widescreen

xkracer-70408-albums-parts-pics-misc-2081-picture-fitting-touch-screen-10194.jpg


A fair bit of chopping about was required behind the dash to give me enough depth. I took a touch screen to bits and threw the original case away and just used the bits I wanted.
The surround will be polished, I have also made bezels for the main instrument binacle to tie everything in a bit, all the wood will have a piano black finish (decided this over carbon), in typical man style, lots of black and shiney bits :blink1:


I made a start on my brakes, going for Brembos, but I did not want drilled discs, plain discs are a bit uneventful..... soooooo..... I did this


Groooovy :amuse:

xkracer-70408-albums-parts-pics-misc-2081-picture-grooving-my-own-discs-10208.jpg


You can not get grooved Brembo discs in this size. they are available aftermarket by people like AP but for huge money, buying plain discs and doing my own seemed the logical thing to do :toung:


More to follow!
 
Last edited:
Oooh a dividing head, I used them during my apprenticeship many moons ago, sadly I think I've forgotten it all now! :lol:

Great project looking, some excellent engineering going into that. :)
 

Please watch this on my YouTube channel & Subscribe.


Back
Top