At Last!. I have started on my car ;-) PART 2

pretty awesome, yes he is the true old school king. can't wait to see his car done and on the track. I hope to get somewhere into his steps as well.
 
Gloss or Matt, that is the question.

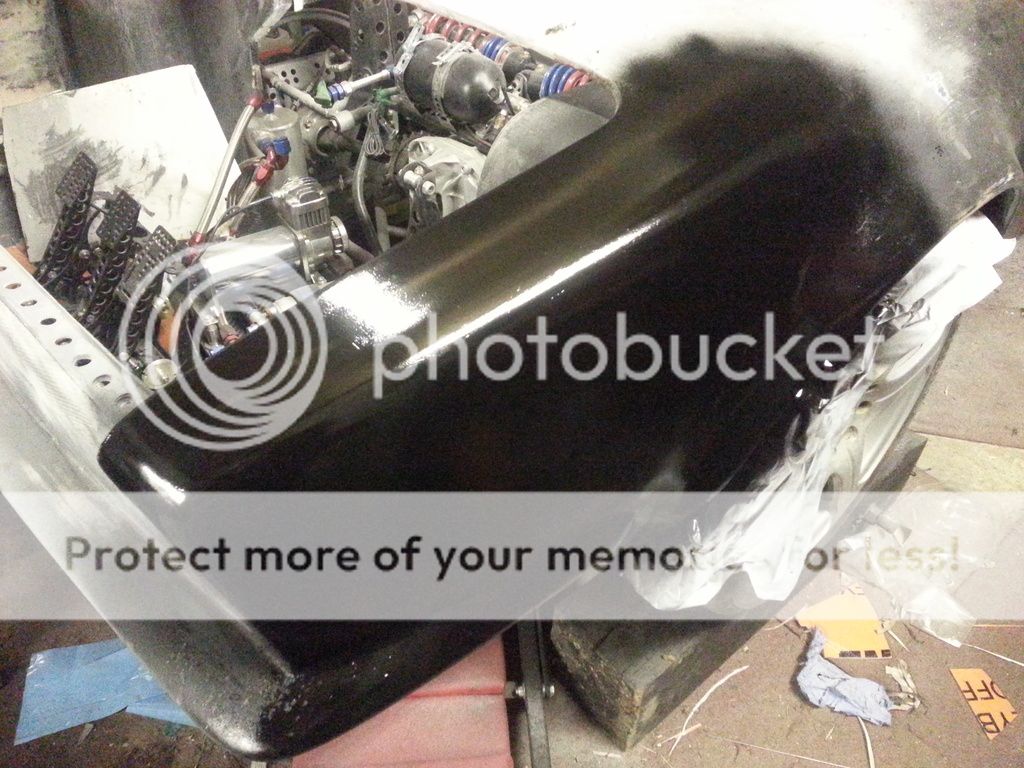
I have been agonising over body colour and finish for a couple of years. When I broke it in 1984 it was gloss black and I still like black. Around 10 years ago I thought about doing it matt black, but then the 'murdered' look became all the rage so I couldn't do that. What? Follow the crowd? No way.

Since then I have been through every colour and effect there is, but keep coming back to black.

I thought that I had cracked it last year. I fancied a fade from dark grey to black from front to back. However, I didn't want any transition lines, it had to be a perfect continuous transition. A couple of painters have claimed that they could do it, for a king's ransom.

I looked into wraps, but no one that I have so far talked to can supply it. Another problem is that wrap comes 1.52m wide and my car, from the bottom of the wheel arches, is 1.7m with no panel lines.

The interior is going to be matt black so maybe I should do a matching exterior.

A quick and dirty rattle can trial:


Red cars are faster ;)

FWIW many many years ago a motor mag managed to get 4 of the same make but different colours and put ordinary drivers behind all of them on a track and all of them posted the quickest laps in the RED car |B
 
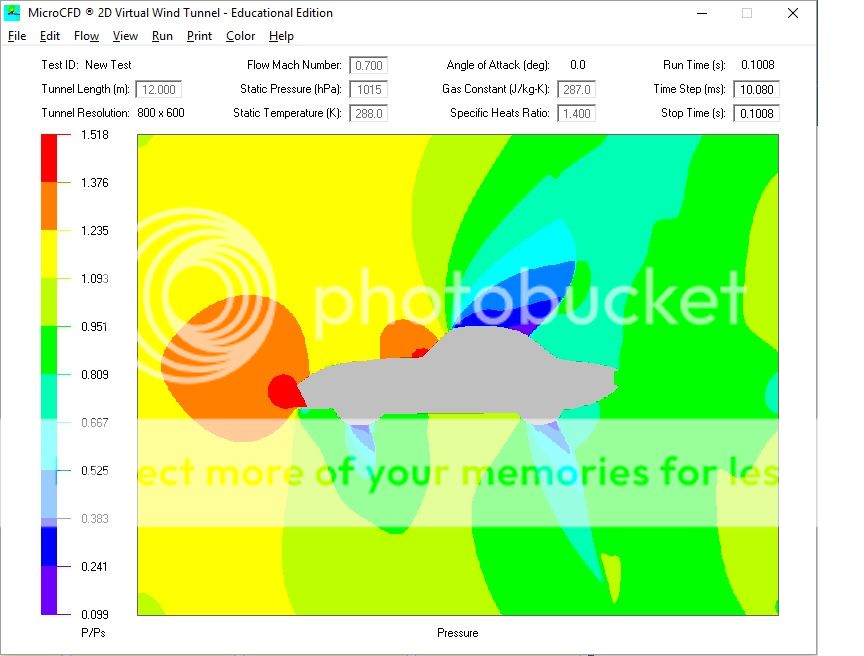
Below are some rough and ready CFD screenshots. It is only 2D so is, in effect, the air flow over the centre of the car and anything below the bumpers can be ignored.

Confirms the location of low and high pressure areas (with the roof being particularly low) and that I need to redirect the flow from the rear of the roof downwards (vortex generators?), although there is a pressure increase above the wing.

It looks like the roof is a good location for a cockpit vent.

If I could get hold of a 3D file of the Elan I would be in heaven :)


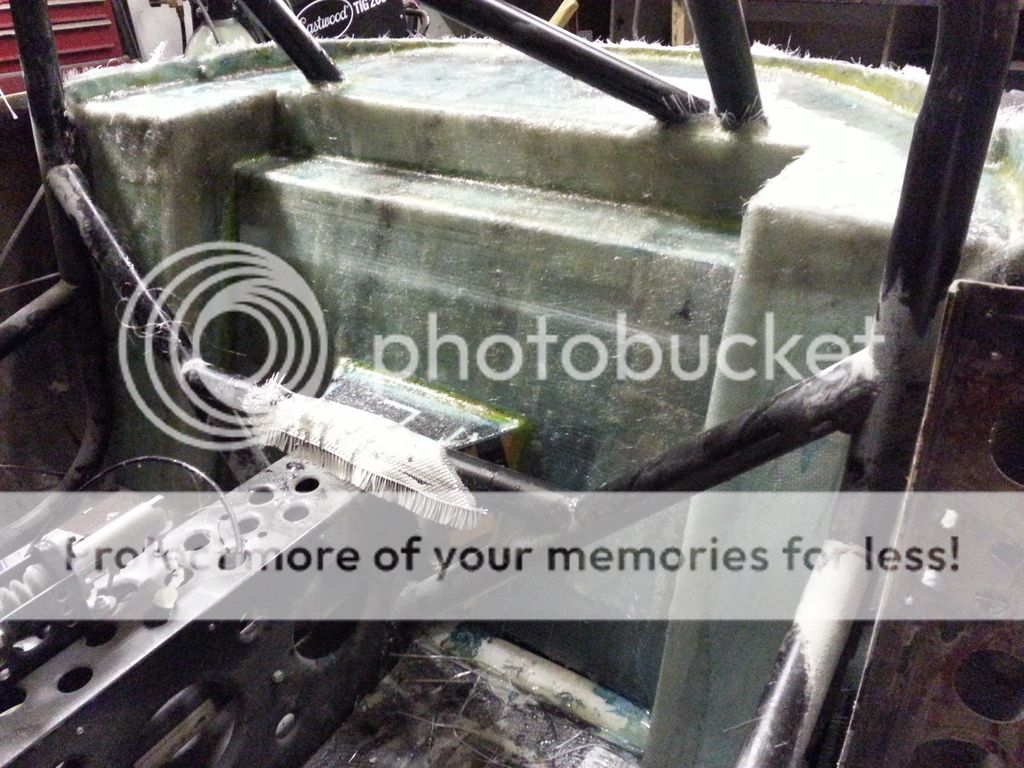
Damper cover/hood tray/wheel tubs plug (which is covered in fibreglass to form the mould from which the carbon fibre panels will be formed) under construction.

 
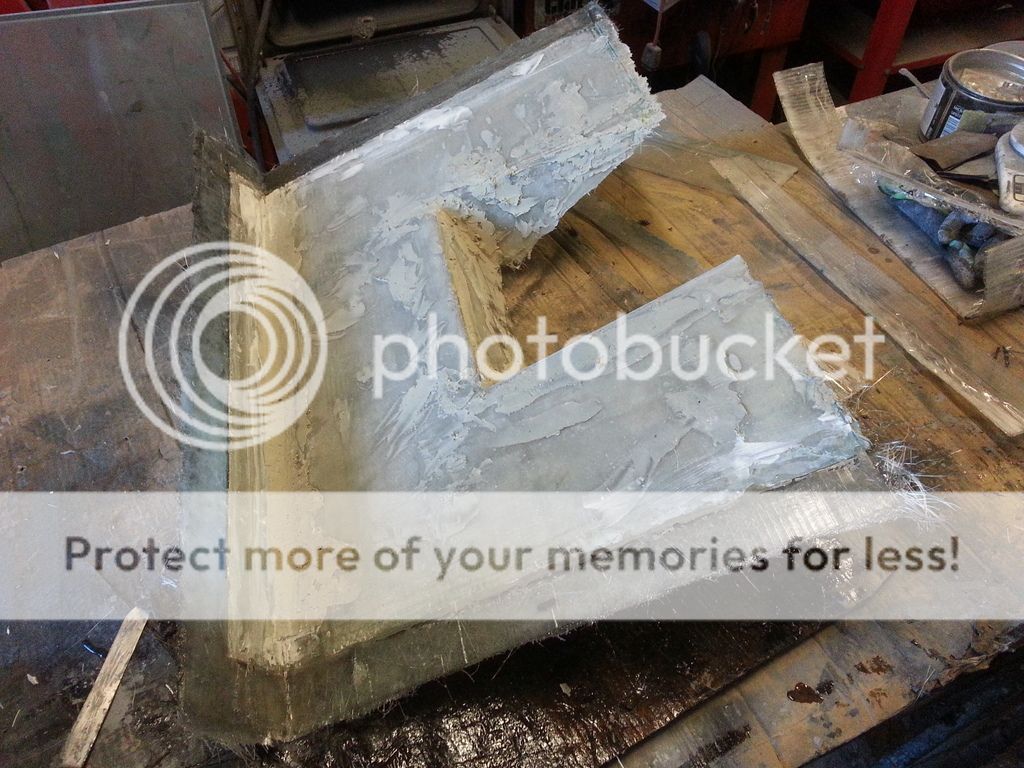
Mould finished.


After a fair bit of cussing I managed to extricate the mould sections. Next task is to trim and smooth them.


Whilst staring at the car I realised that there was a weak point in the cage. The rear suspension struts to which the roll cage is welded are not connected so there is no lower triangle. I will fix this with a tube as shown in the photo below.

 
Men can multitask. Whilst the filler set on the rear damper/wheel tub covers set I have been working on the dash. A lot more sanding and filling yet but getting there. It won't be fitter, however, until I have made the firewall. All in carbon fibre, of course :)


Thinking about scattershield design. Space available is very restricted so thinking of using Aramid. Any thoughts? I will be using it for the sump guard.
 
Sorted. After an interesting chat with Warren at EasyComposites I decided to use 10 layers of 175gm Aramid satin weave. They do a 300gm which I could use in 6 layers, but the tighter weave of the 175gm will better resist small sharp shards and work just as well retaining the big bits. I can also use this for the sump guard.
 
Whilst the latest primer coat on the dash top was drying I had another look at the bulkhead issue. I decided to go with the mantra - If in doubt cut it out, as I can always replace with carbon :) I now have a better, and clearer, view of the issues.


First trial fit of dash and centre console - and they bloody well fit!!!!

The design has been kept similar to the original, hence the rather boxy look. I could have made it all curvy but it isn't a new car and old cars had pretty straight dashes.


Also started to make CF rear panels:

 
Cut hole for switch panel and fitted it. A quite coat of satin black (out of matt at the moment) to get a feel of how it will look. It bit sparse, but the glove box will brighten things up a tad.


It's not finished, but I tried the first part of the rear panel for fit, seems OK.


Made the sides of the rear panel today. Up until now I have been using the standard resin hardener, as this gives me 90 minutes pot life. However, it takes 30 hours to cure, slowing down part fabrication. As I have got better at laying up I have started to use the rapid hardener. This only has around 15 minutes pot life but cures in around 6 hours, meaning that multiple parts can be made in a day :)

To that end I prepared to make the two side sections of the rear panel. To s...peed things up even more I used a preformed bag so that I only have to seal one end rather than making bags from a roll of bagging film.

Almost a disaster as I couldn't get a vacuum. The pump was pulling air but not enough to squeeze the carbon. Couldn't find any leaks so decided to put another bag around the existing one and attach my workshop vacuum. This worked as it added a little extra squeeze, allowing the main pump to do its job, just. The vacuum pump was also making funny noises so I though that it was on its way out. Great, it is only a couple of months old, so I was already working out what I was going to say to Easy Composites tomorrow.

I had enough of the proper film to make a bag for the second panel so this I did. Took my time making sure it was airtight and it worked a treat! I guess a combination of thin plastic (not designed to hold a vacuum so probably slightly porous) and not a perfect airtight seal caused the problems with the first panel. The pump stopped making funny noises so that's a relief.

Removed the first panel from the mould and it seems OK, but I will reserve judgement until I can compare it's weight with the second panel.


Does anybody else get the feeling that Steve will be at a loss with nothing to do with all the skills and know how he has gained if the Elan ever gets finished ;):lol:
 
Look, bud, this ain't ever going to be finished, OK? :)

For example, you may have noticed that I am already thinking about a flip clam for the front.

I plan to stop once I can't get up off the floor, out of the car or see what I am doing.
 
I plan to stop once I can't get up off the floor, out of the car or see what I am doing.[/QUOTE]

That is what I am going to say to my wife the next time she says "when are you stopping racing"|B
 
I plan to stop once I can't get up off the floor, out of the car or see what I am doing.
[/QUOTE]

Interesting. I can do all those things but found that I started to think differently at about 67 & by the time 70 clicked up I was thinking very differently to when I was 65. I now find myself finishing off a car at an age when I really would like to be doing other things. I wish I had stopped at 65 & just enjoyed my car more instead of going for more & more Power.
 
You can only say what you think is right at the time and thoughts and priorities change over time. You may well be right but I can only express my thoughts and hopes as they stand at the moment :)

Are you nearing completion of your final power build?
 
Worked on CF centre console last night. The ends will be trimmed to fit the dash and rear panels once they are in place. Photo is a little grainy due to low light conditions.

 
A little more work on the rear panels. The centre console still has a lot of pin holes along the edge radii so I need to sort those.

 
Some tasks seem to take for ever. Removable section of rear panel needed to be extended so that it overlaps the fixed section. Mind you, this is the one time when fibreglass beats carbon. From cutting the corex support to peeling it off - less than one hour.


Whilst waiting for FG to set I dry fitted other panels, coming along.

 
Three sections of the rear interior panel finally as good as they are going to get prior to fitting.


Used the new centre console as the former for the mould for the console extension that will be fitted to the removable part of the rear panel, if that makes any sense :)


Not a lot has happened since last post, but I finally finished the rear panels and dry fitted them. Next job is to glue in the floors so these panels can be glued in also.

I could have made them simpler, without the recessed section, but this serves a couple of purposes. The seat belt anchor points are just below the roll cage struts and the contours add stiffness to the wheel tubs.

 
Unfortunately I need two, but the pair still work out approx a tenth of the cost of the Motec PDM16. The Motec has 16 outputs and the PDM60 have only 6 but 12 is enough for me. The Motec is also smarter but I don't need that, especially with a £2.5k saving!
 
Life is full of having to make compromises but feel sure that such a determined never say die person that you are will reach OR exceed the goals you have set for the Elan |B :)
 

Similar threads


Please watch this on my YouTube channel & Subscribe.


Back
Top