
pgarner
TC ModFather
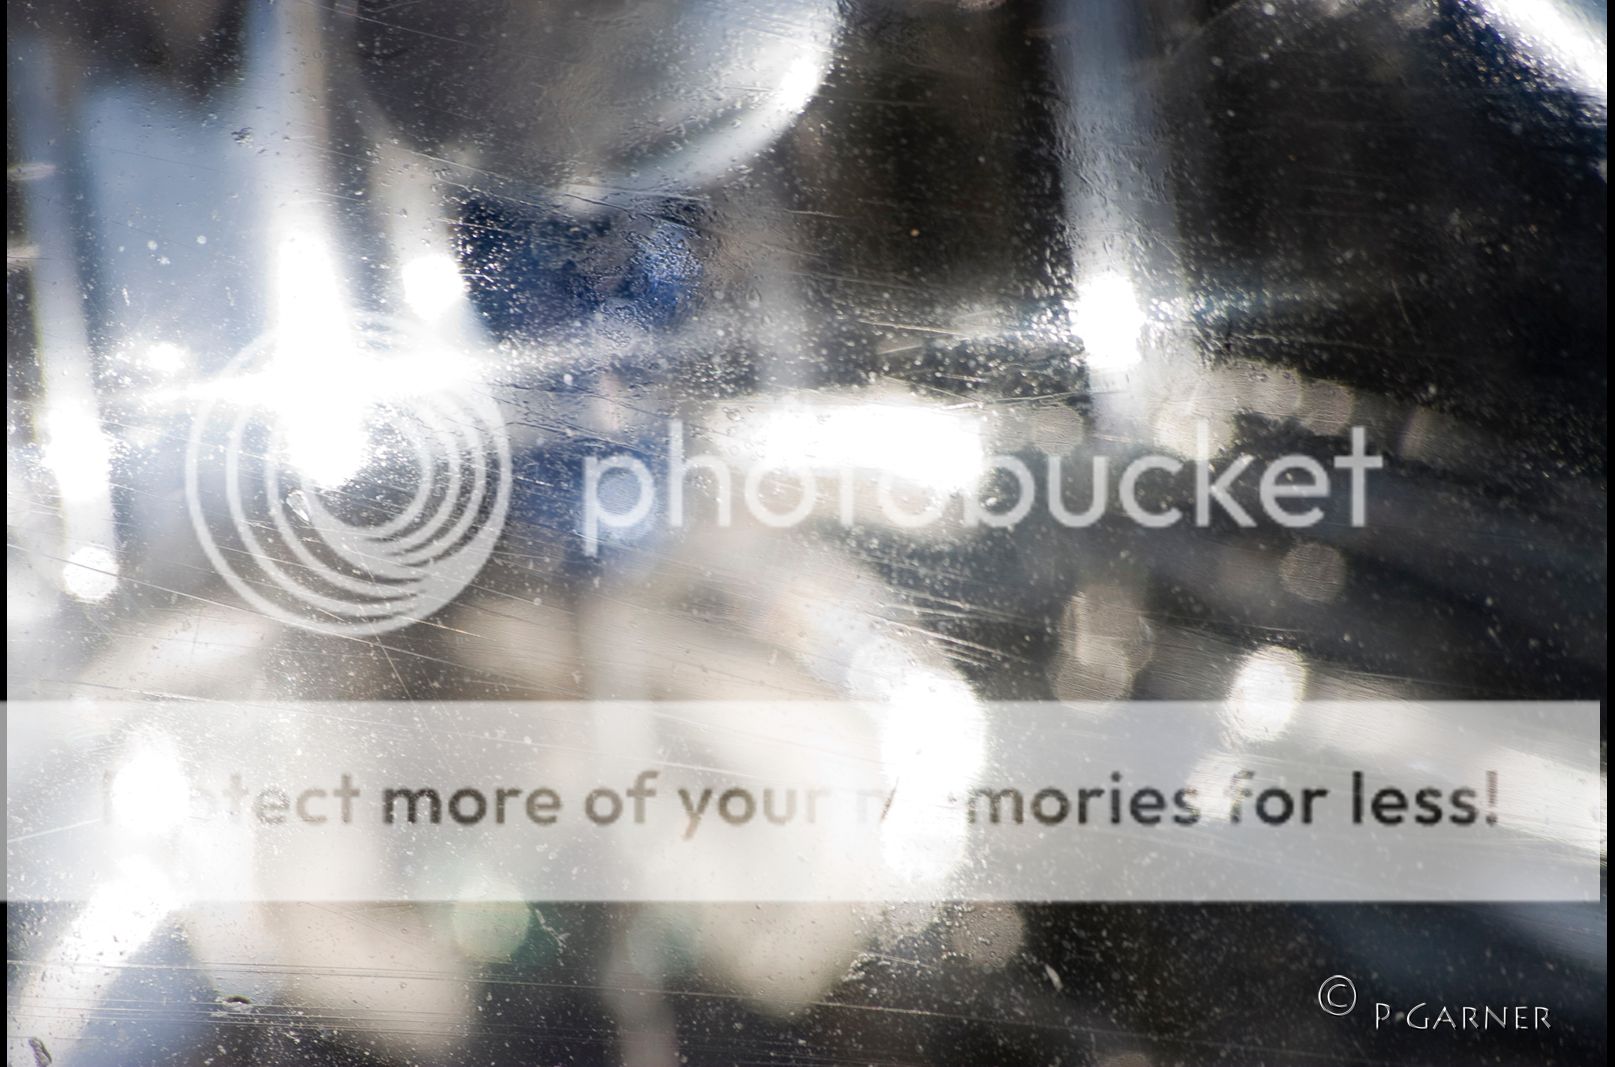
Ok something that has bothered me since i got the car is that it looks like someone had tried cleaning the headlights with a brick at some point in its past life
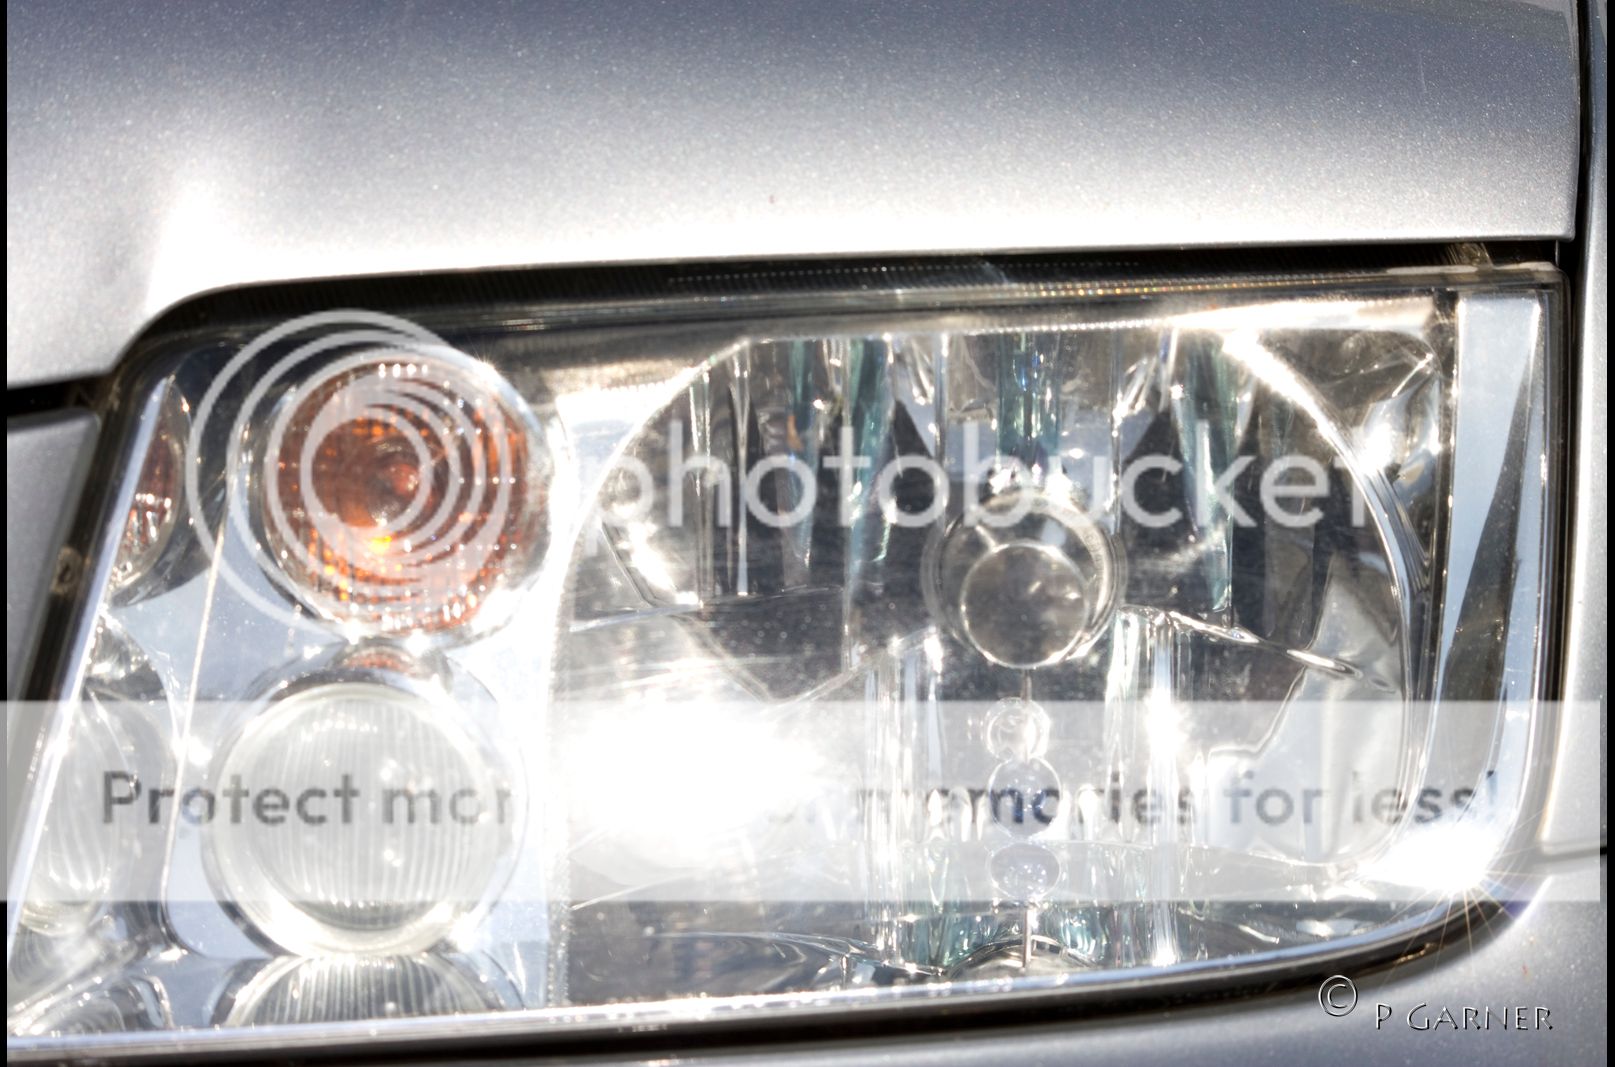

So decided today enough was enough and i would have a go at cleaning them up if it went belly up then at least its still light enough at the time to get a set from the scrappy.
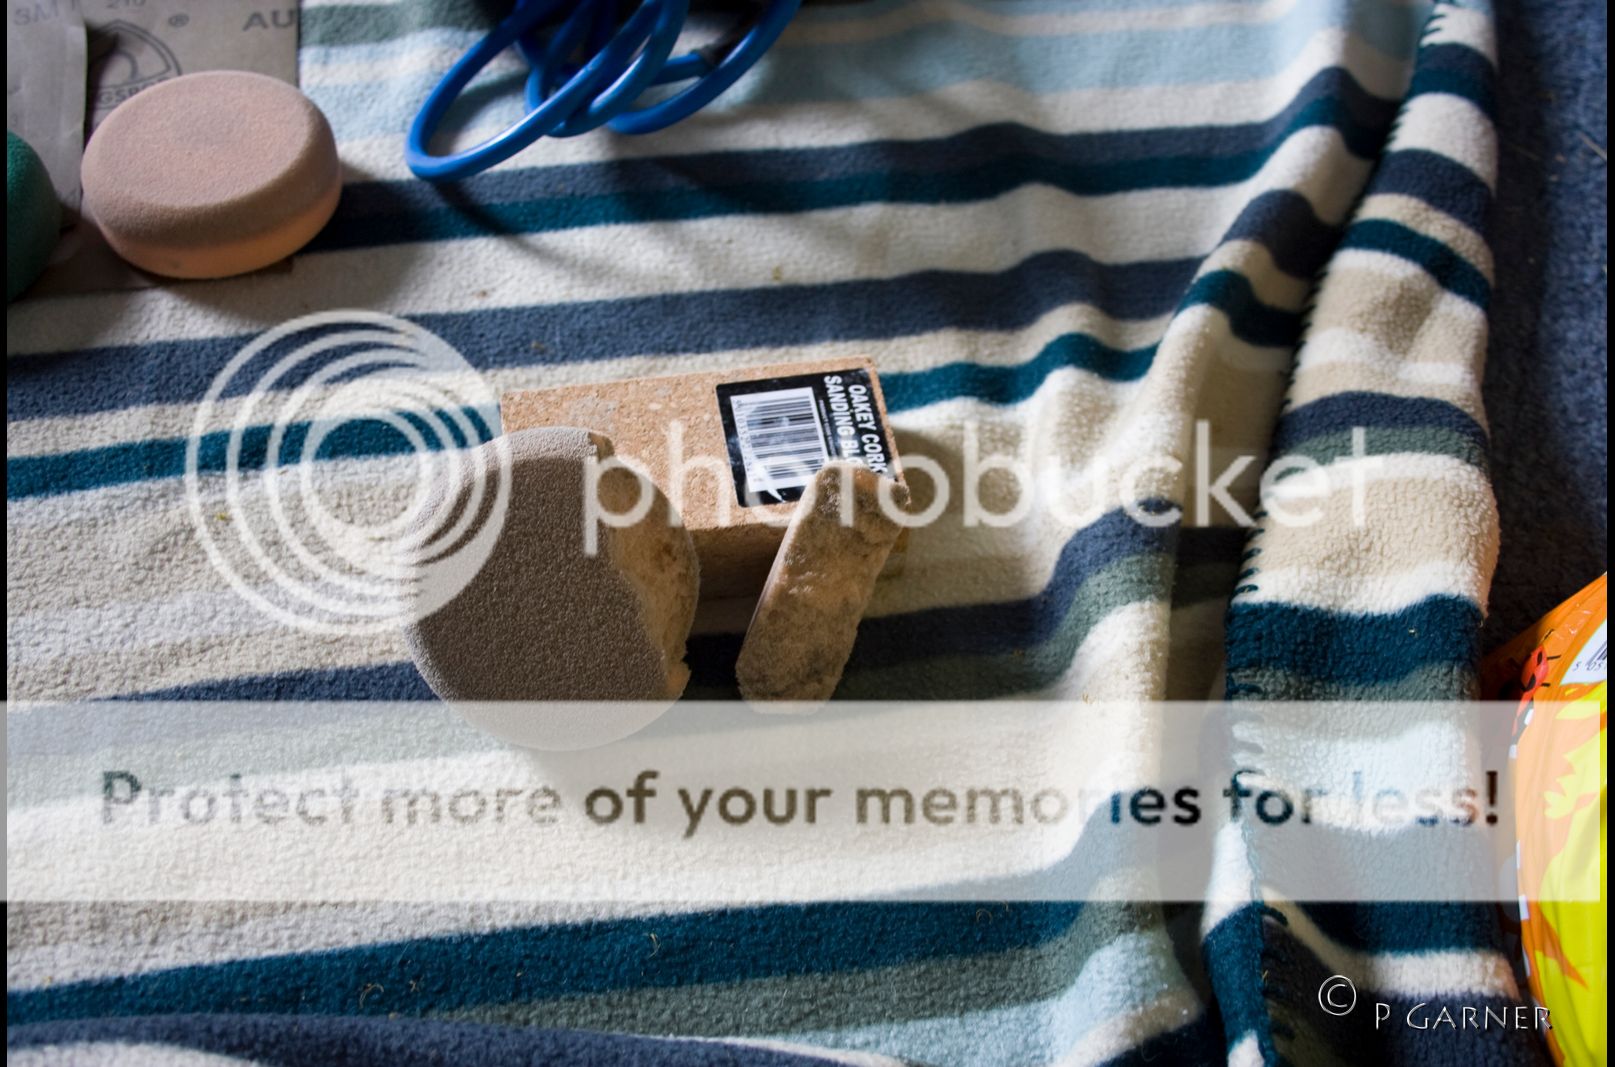
tools used
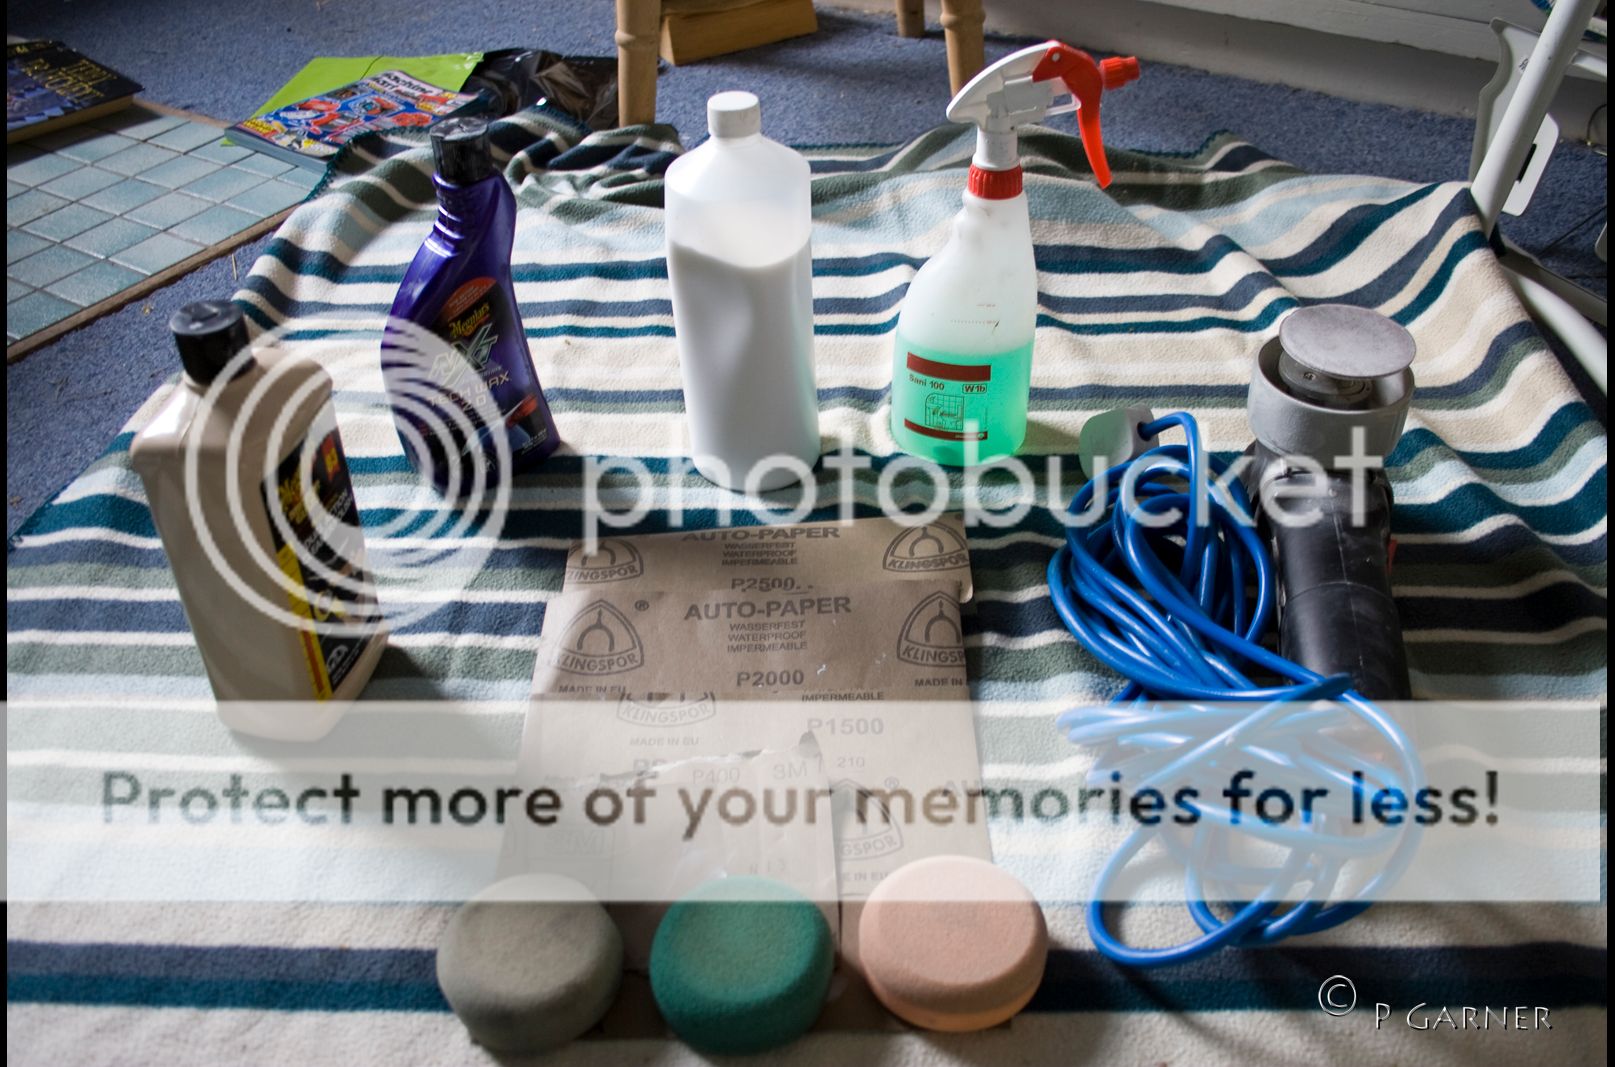
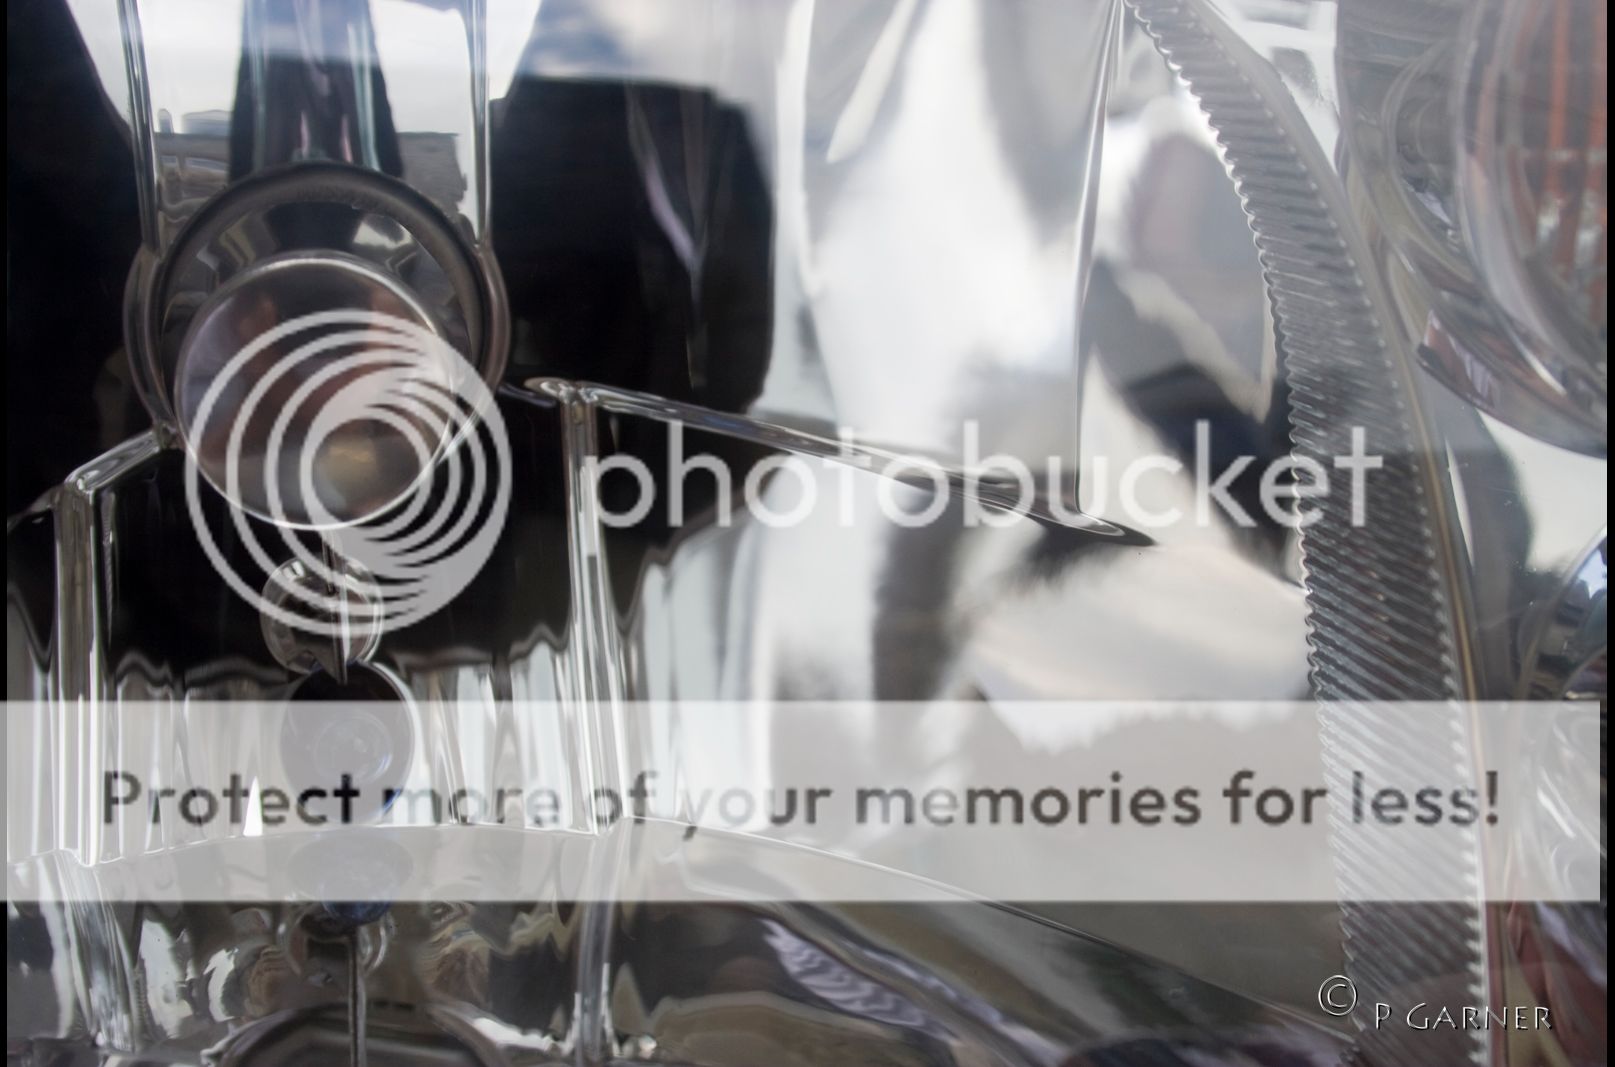
As in the Photo
Medium cut polish, sealant wax, Finish polish, APC @ 10% solution, DA polisher, grades of wet and dry paper 400 - for the really bad starches then 1500, 2000 and 2500, polishing pads - White/ Grey finishing, Green polishing, orange compounding
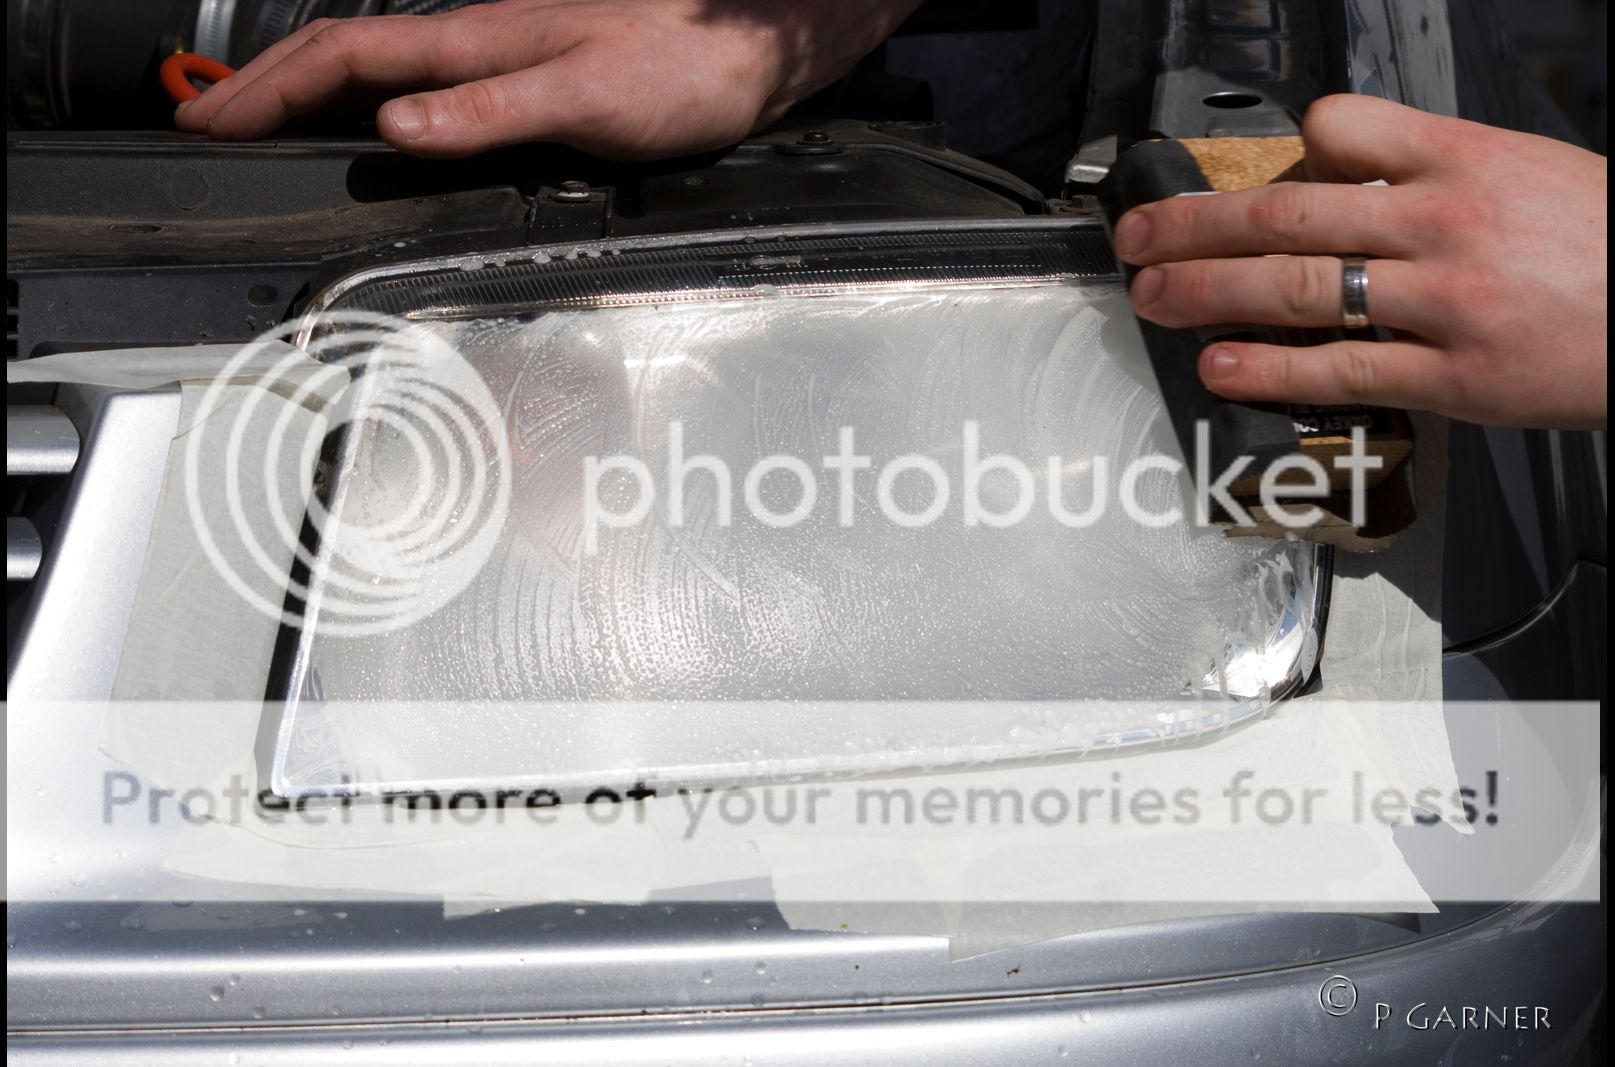
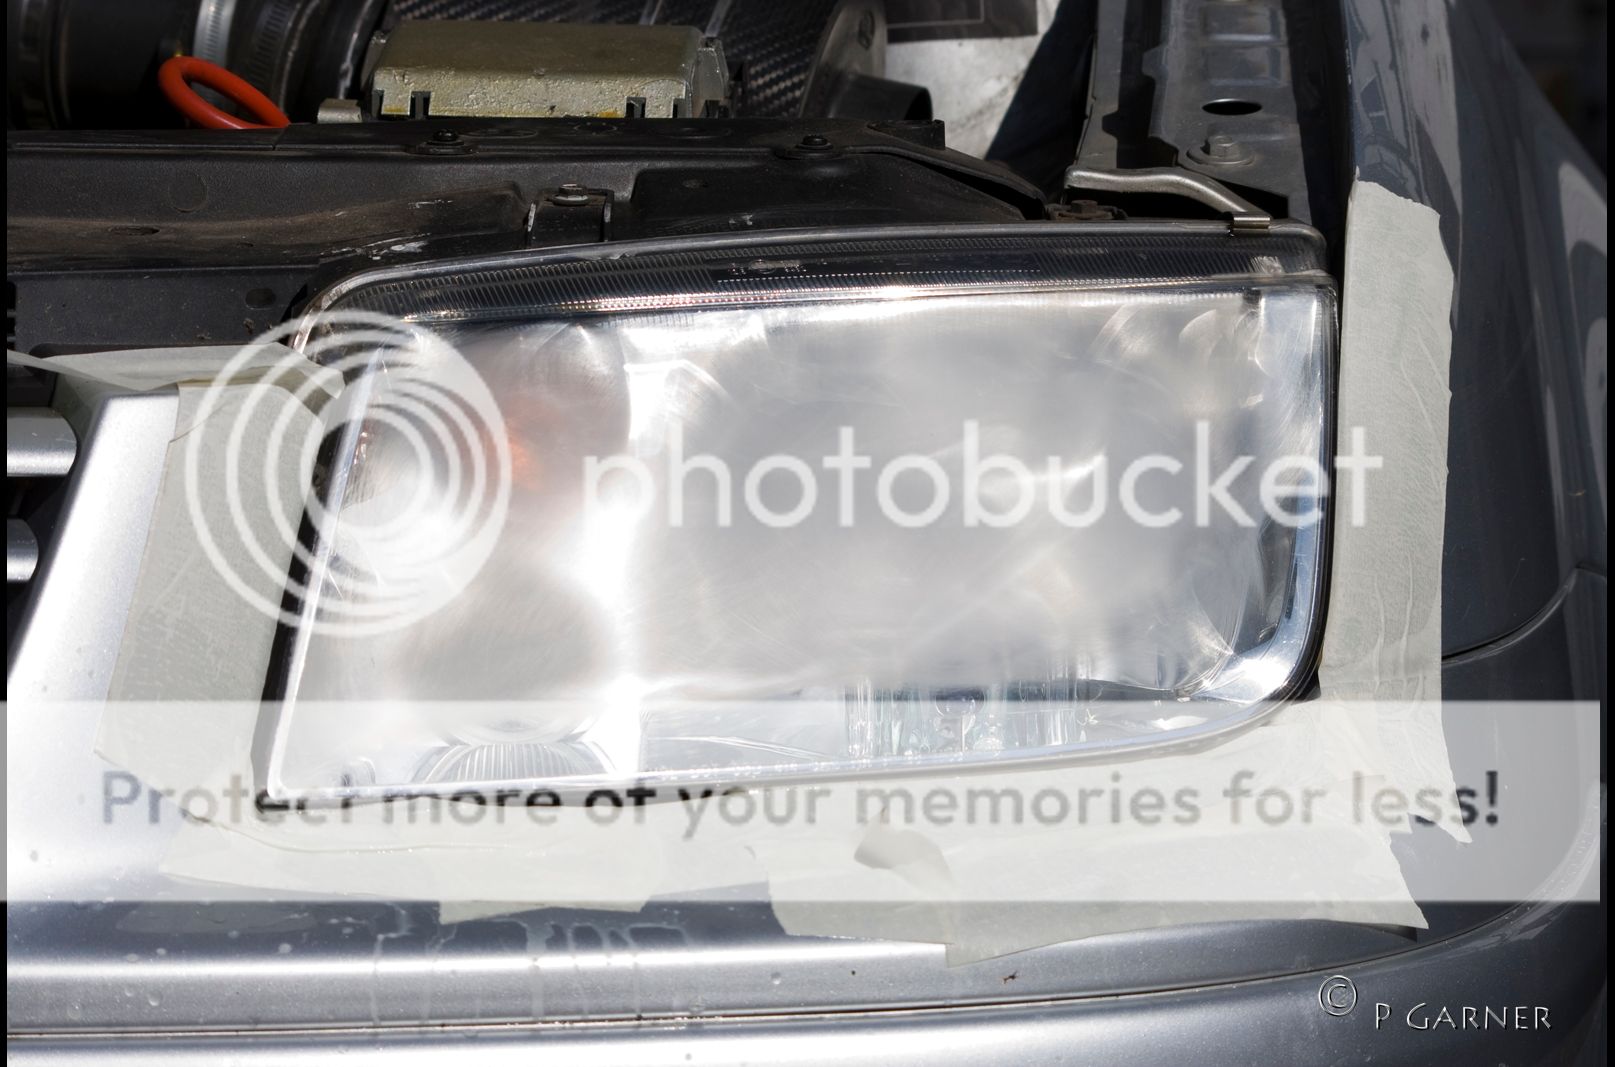
rather than take the bumper off i just taped around the headlights with some masking tape
soaked the headlight and the wet& dry paper with APC then started to wet sand the light
kept checking every so often to feel how bad the scrathes felt
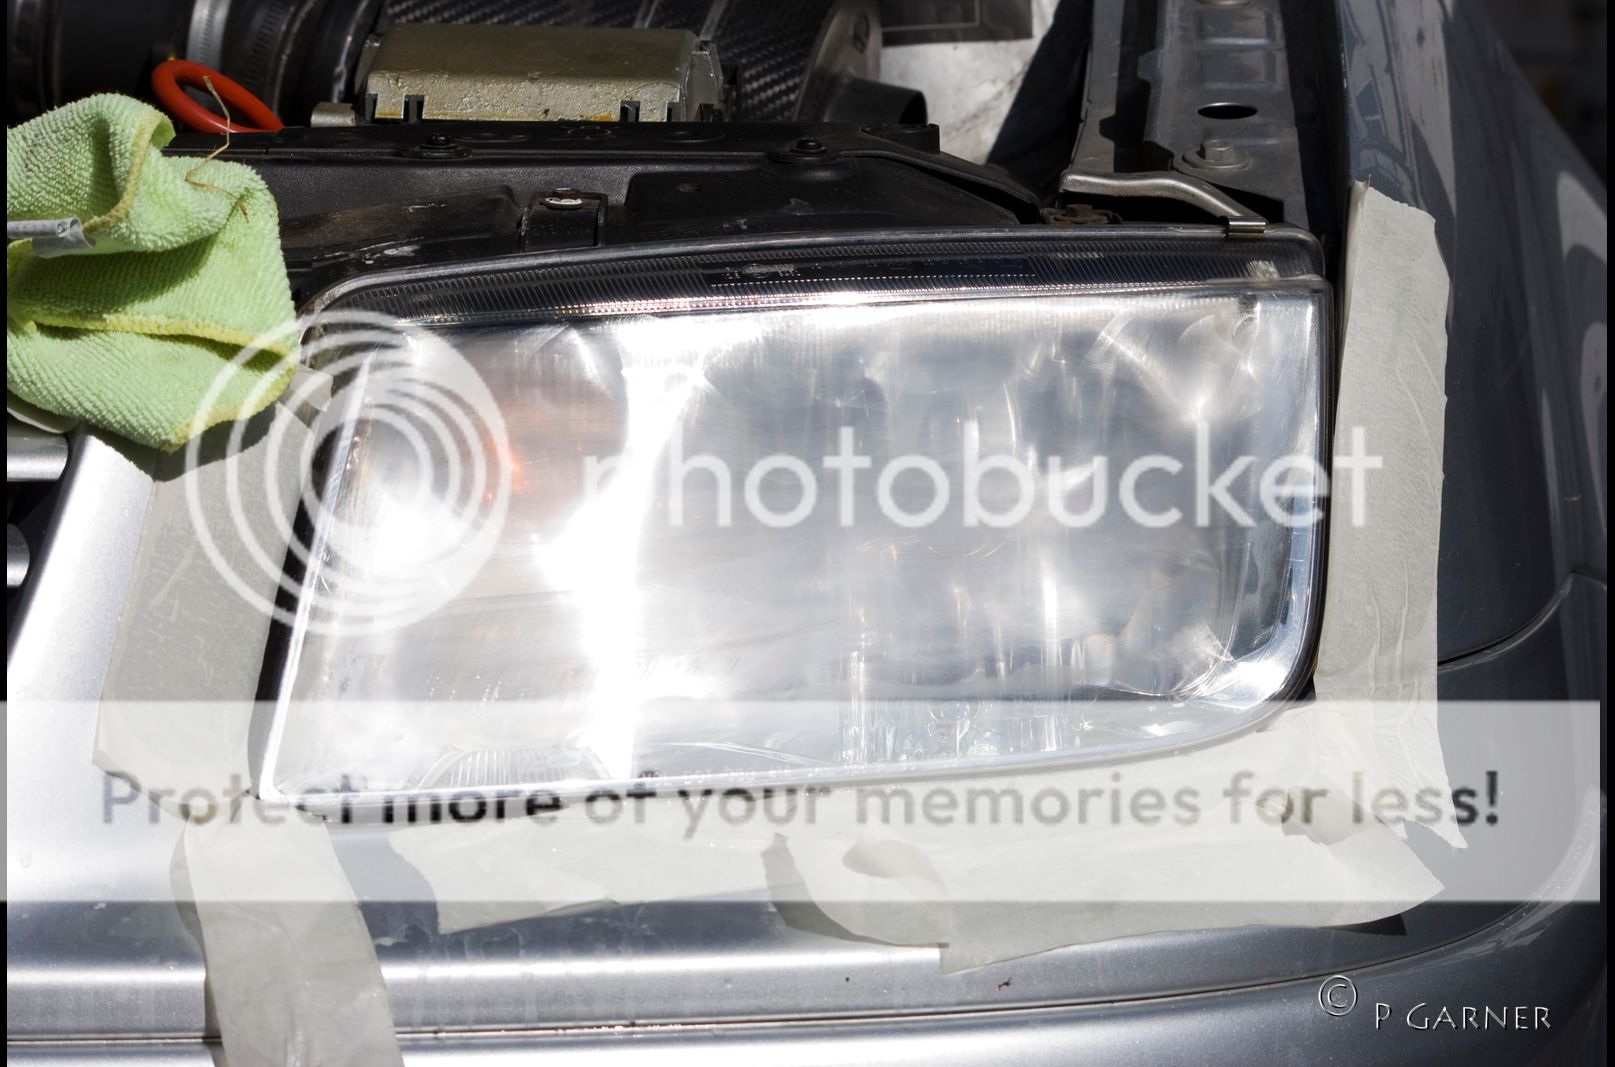
headlight after 1500 grit paper used
same again with the 2000 then the 2500.
headlight after 2500 grit paper used
As i had nothing more coarse than the 2500 i had to break out the DA earlier than i would really have liked - i was worried about the heat generated on the plastic.
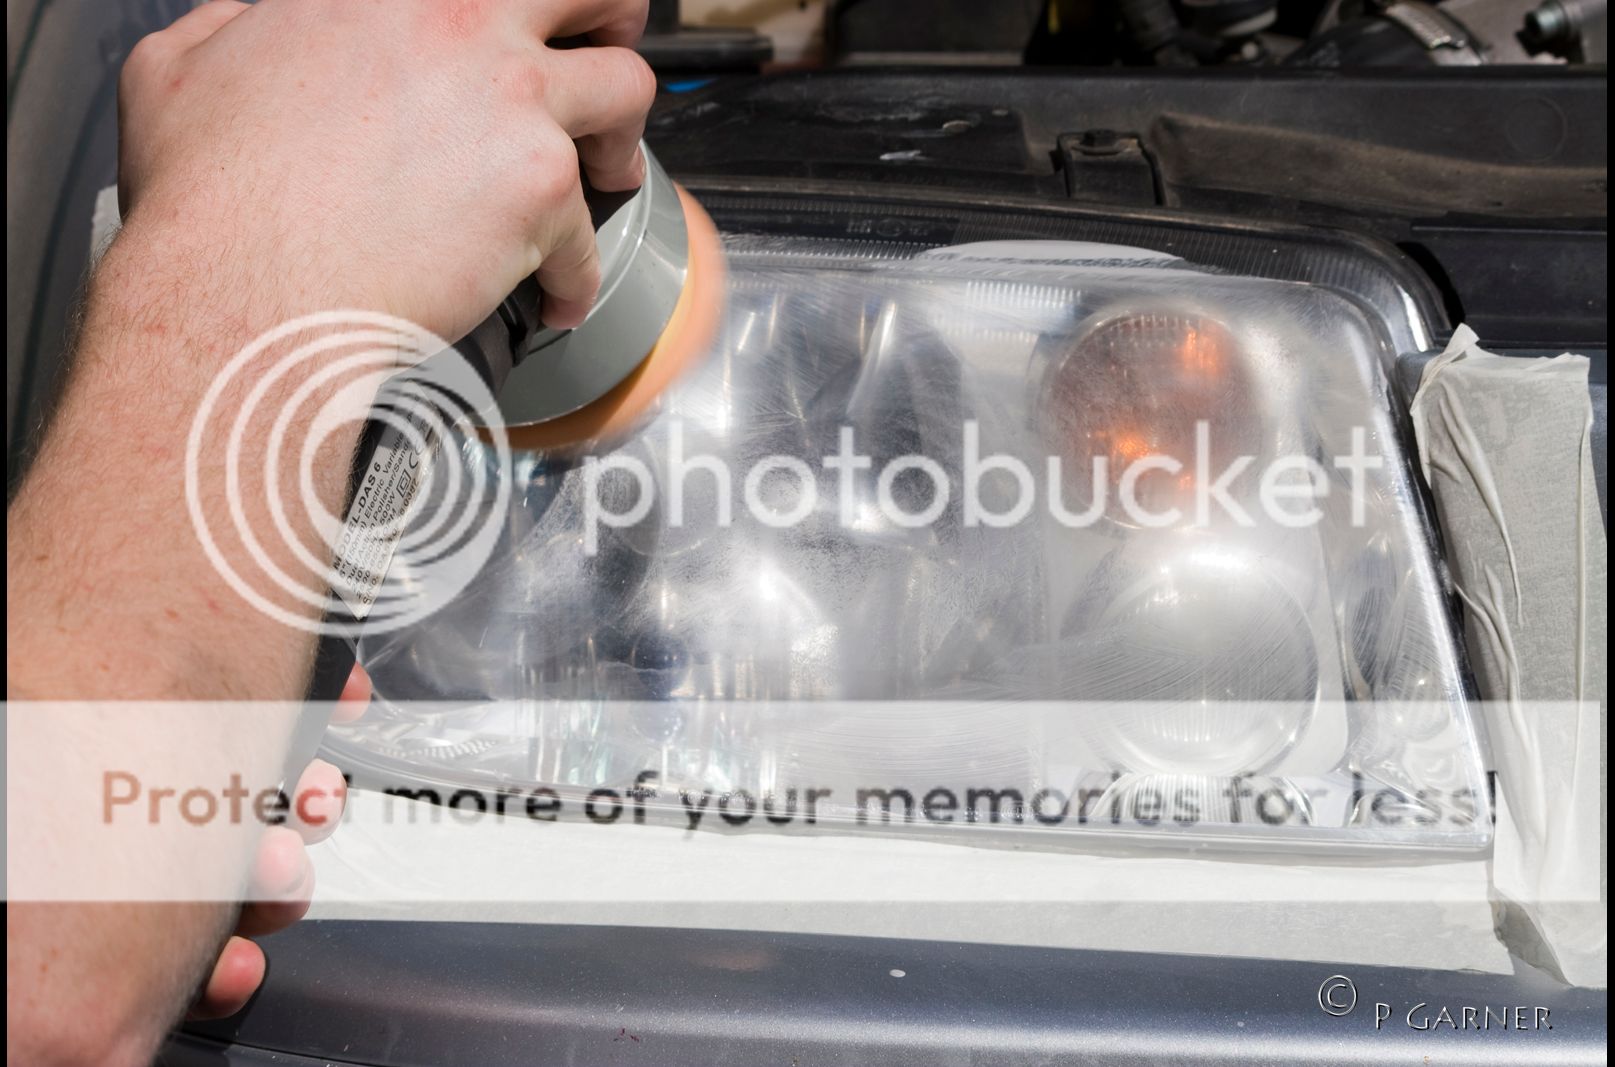
Started up with the Med cut polish on a compounding pad, then same polish on the polishing pad before moving onto the finishing pad with finishing polish.
However getting hit with a compounding pad in the face isnt very nice
a little too much speed near the edge meant that the pad went from around 5000 OPM to nothing by catching the edge.
quick wash and wipe down with the APC dried off and sealed
finished one
plastic polish might have been a better idea as there is still some very faint scratches there but they both look a hundred times better.
as with all guides this is simply a guide and myself, nor torquecars, do not accept responsibility for any damages caused by following the above
So decided today enough was enough and i would have a go at cleaning them up if it went belly up then at least its still light enough at the time to get a set from the scrappy.
tools used
As in the Photo
Medium cut polish, sealant wax, Finish polish, APC @ 10% solution, DA polisher, grades of wet and dry paper 400 - for the really bad starches then 1500, 2000 and 2500, polishing pads - White/ Grey finishing, Green polishing, orange compounding
rather than take the bumper off i just taped around the headlights with some masking tape
soaked the headlight and the wet& dry paper with APC then started to wet sand the light
kept checking every so often to feel how bad the scrathes felt
headlight after 1500 grit paper used
same again with the 2000 then the 2500.
headlight after 2500 grit paper used
As i had nothing more coarse than the 2500 i had to break out the DA earlier than i would really have liked - i was worried about the heat generated on the plastic.
Started up with the Med cut polish on a compounding pad, then same polish on the polishing pad before moving onto the finishing pad with finishing polish.
However getting hit with a compounding pad in the face isnt very nice
a little too much speed near the edge meant that the pad went from around 5000 OPM to nothing by catching the edge.
quick wash and wipe down with the APC dried off and sealed
finished one
plastic polish might have been a better idea as there is still some very faint scratches there but they both look a hundred times better.
as with all guides this is simply a guide and myself, nor torquecars, do not accept responsibility for any damages caused by following the above


